

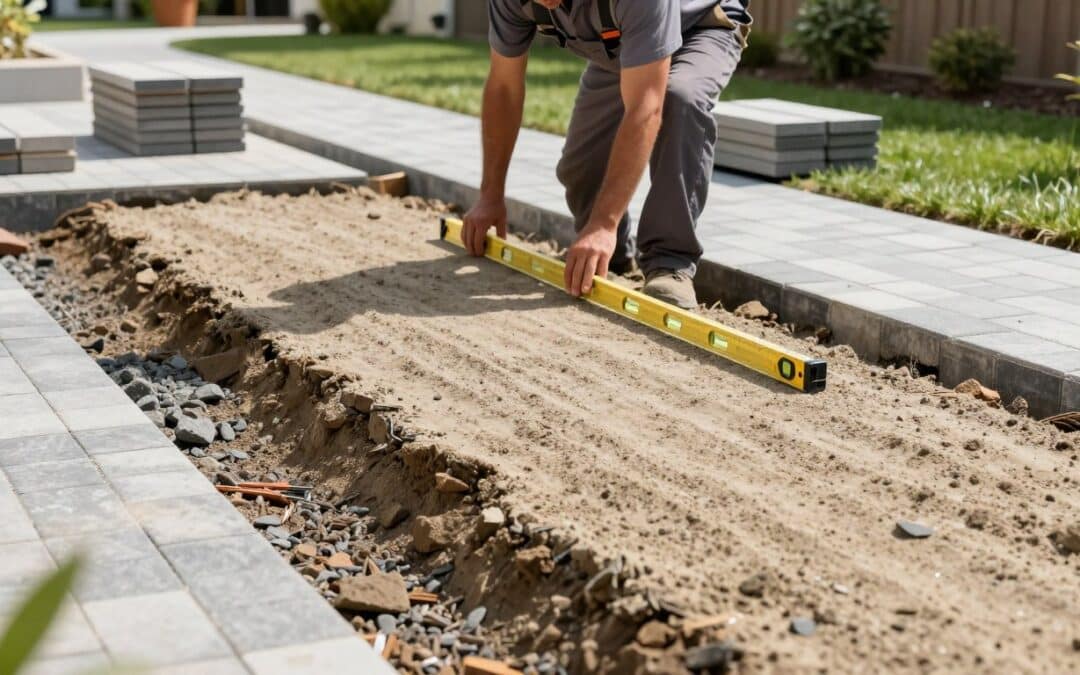
To learn how to install paver walkway surfaces, excavate 6–8 inches, build a firm gravel base, add about 1 inch of bedding sand, place the units, and sweep sand into the joints. In Wilbraham, Massachusetts, strong drainage and careful compaction help limit frost movement through repeated winter freeze-thaw cycles.
Last spring, a homeowner found that a front path had shifted after one harsh winter. The issue was not the bricks. It was a 5–6-inch sand layer beneath them, which allowed movement. A stable base matters more than a thick bedding layer.
This guide follows each step, from marking the ground and excavation through final compaction, joint sanding, and seasonal care. It also covers a practical layout and pattern that can reduce cuts, waste, labor, and uneven edges. One documented 3-foot by 72-foot project needed only 20 cuts. Properly set pavers drain through their joints, resist cracking, and let you replace damaged sections without rebuilding the entire surface.
Key Takeaways
- Excavate roughly 6–8 inches for pedestrian areas.
- Use compacted gravel for structural support.
- Keep the bedding sand layer thin and even.
- Plan the layout before ordering materials.
- Account for frost, drainage, and seasonal maintenance.
How to Install Paver Walkway in Wilbraham, MA
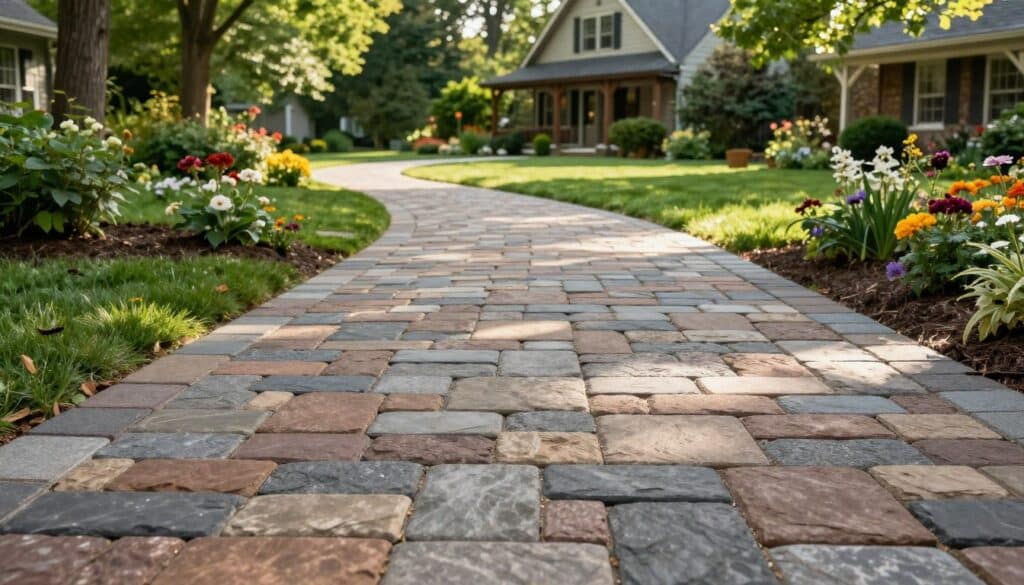
Wilbraham, MA properties need a surface plan that handles wet soil, snow, and changing temperatures. A clear drainage path and strong edge support help protect the walkway during each season.
Climate-Smart Design for Freeze-Thaw Conditions
Repeated freezing and thawing can lift pavers when water remains below them. A slope of 1 inch per 4 feet directs runoff away from the home. Cold climates also need a deeper, well-compacted base. A durable gravel base improves stability and reduces frost heave.
This local guide considers drainage, soil, edges, and joint spacing together. Concrete pavers, paver brick, and natural stone can all suit a Massachusetts landscape when the foundation matches site conditions.
Durability Backed by Committed to Excellence Quality
A 40+ years family-owned landscaping tradition supports careful planning and consistent workmanship. “Committed to Excellence” quality means using documented practices, sound materials, and reliable construction standards.
| Material | Appearance | Strength | Best Planning Focus |
|---|---|---|---|
| Concrete pavers | Many colors and shapes | Consistent and durable | Accurate joints and edges |
| Natural stone | Granite, slate, or limestone | Distinctive and long-lasting | Variable thickness and fit |
| Paver brick | Classic warm character | Proven outdoor performance | Drainage and firm compaction |
Choose Durable Pavers and Gather the Right Materials
The right materials shape the look, cost, and service life of a landscape path. Review samples in daylight, then order 10%–15% extra pavers for cuts, breakage, and future repairs.
Concrete Pavers, Natural Stone, and Paver Brick
Concrete pavers offer strength, fair pricing, even sizes, and fast placement. Natural stone, such as granite, slate, or limestone, gives a premium look but needs more fitting because thickness can vary. A paver brick should resist water and carry an SX severe-weather rating for freeze-thaw exposure.
| Material | Main benefit | Planning need |
|---|---|---|
| Concrete pavers | Economical and consistent | Match color batches |
| Natural stone | Distinctive, upscale style | Allow for varied sizes |
| Paver brick | Weather-resistant character | Confirm SX rating |
Gather bedding sand, jointing sand, crushed stone, edge restraints, and a paver base. One cubic yard covers about 108 square feet at 3 inches. For the project, collect a shovel, rake, wheelbarrow, level, string line, plate compactor, circular saw, and rubber mallet.
Tools and Safety Equipment for the Project
Wear gloves, goggles, and a dust mask during cutting and material handling. Use the mallet for small adjustments, never force pieces into an uneven layer. Keep all tools nearby before the first step to save time.
For added care guidance, review paver protection practices.
Plan the Walkway Layout, Width, and Slope
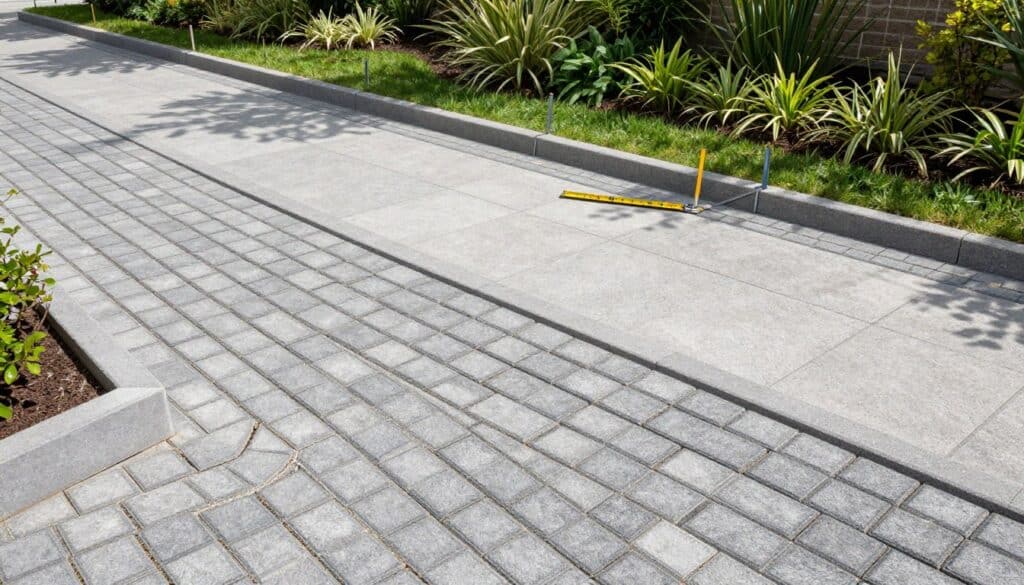
Good planning turns a long outdoor route into a clear, manageable project. Measure from the front door, porch, driveway, or garden destination. A width of 3 feet offers a practical reference for a pedestrian walkway, while a documented 72-foot route shows why careful layout matters.
Mark both edges with stakes and string. Keep each line visible before excavation begins. Check the finished surface near doors, steps, driveways, and existing paths. These checks help prevent trips and sudden changes in elevation.
Set a consistent 1-inch-per-4-foot slope away from the house. Confirm that runoff will not reach a foundation or neighboring property. Use a level at each step and transition point.
Next, place several pavers in a dry pattern. Test the width before ordering materials. A planned layout can reduce edge cuts and save time. One 72-foot project needed only 20 cuts. Review curves and steps early, since these areas often require precise paver cuts and repeated level checks.
Excavate the Site and Evaluate Local Soil Conditions
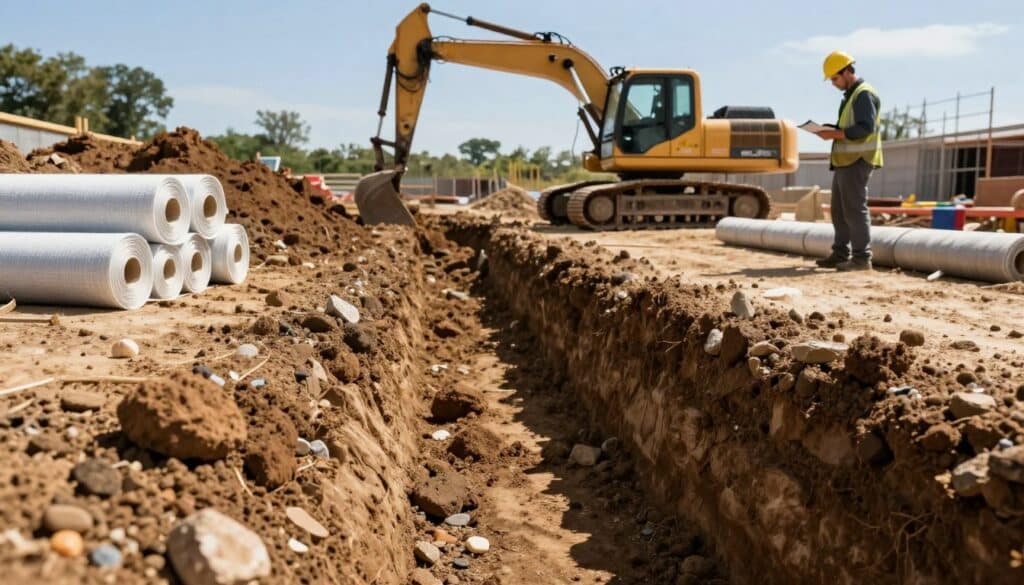
Strong ground preparation starts beneath the visible surface. Mark the route, then inspect the soil for roots, soft spots, standing water, and organic loam. Remove weak material rather than burying it, since decay can cause later settlement.
Clay Soil, Sandy Soil, and Geotextile Fabric
Clay soil holds water and may need added drainage. Sandy soil drains well, but erosion can move gravel and weaken the base. In either case, geotextile fabric can separate soil from the stone layer. Overlap seams as the manufacturer directs.
- Use fabric where loose soil may migrate into gravel.
- Remove roots and loam until firm ground appears.
- Check water flow before covering the prepared surface.
Excavation Depth for a Stable Pedestrian Walkway
For pedestrian areas, excavation usually reaches 6–8 inches. Allow space for pavers, about 1 inch of sand, and a compacted gravel base. Driveways often need 8–12 inches. Roger Cook has described removing nearly 1 foot of loam before reaching subsoil.
Do not copy a failed project that placed 5–6 inches of sand below bricks. Wide 1/2–1-inch gaps allowed movement. Check each step with a level and straightedge, keeping the finished height safe near doors and drainage points. See this concrete paver guide for added preparation context.
Build and Compact a Proper Gravel Base
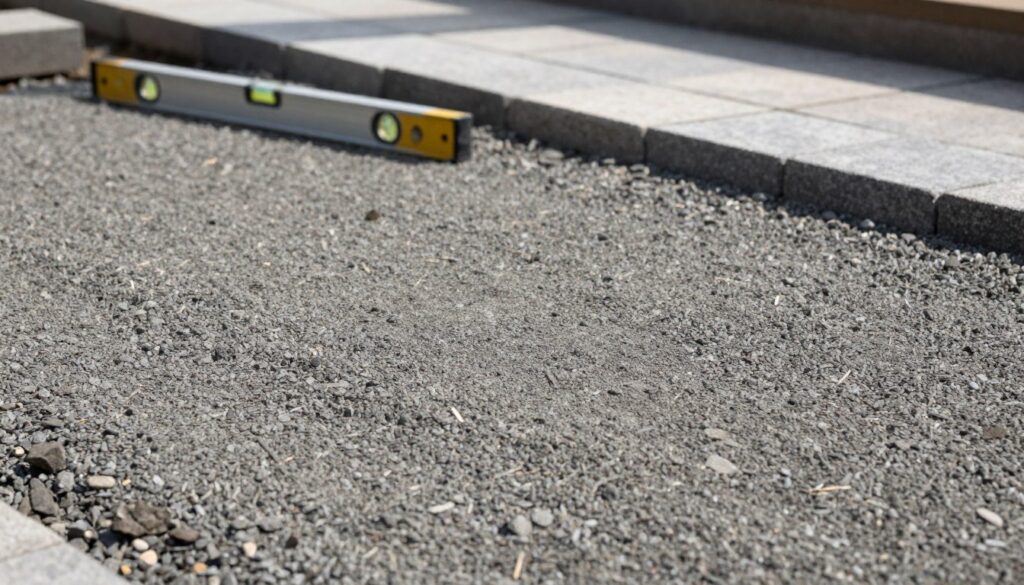
Drainage and stability begin with a compacted mineral platform. For a pedestrian walkway, spread a 4–6-inch gravel base over firm ground. A driveway usually needs 6–8 inches. Remove soft soil first, and place fabric where soil may mix with the stone.
Use graded base with three-quarter-inch stone and stone dust. The smaller fines fill voids and create a stable layer. Roger Cook recommends placing this material in roughly 3-inch layers. Compact each layer with a plate compactor before adding more gravel.
Layer Thickness and Plate Compactor Technique
Keep the gravel slightly damp for dust control, but avoid compacting saturated ground. Wet conditions can cause ruts and delay a project; one rain-soaked job lost about two days. Make several compactor passes in different directions for better stability.
- Check slope with a level and straightedge.
- Use a screed for a smooth, even base.
- Leave room for the 1-inch sand bed and paver thickness.
- Correct deep dips with gravel, not excess sand.
Before laying pavers, confirm the base surface feels firm underfoot and follows the planned landscape drainage line.
Install Drainage, Edge Restraints, and Bedding Sand
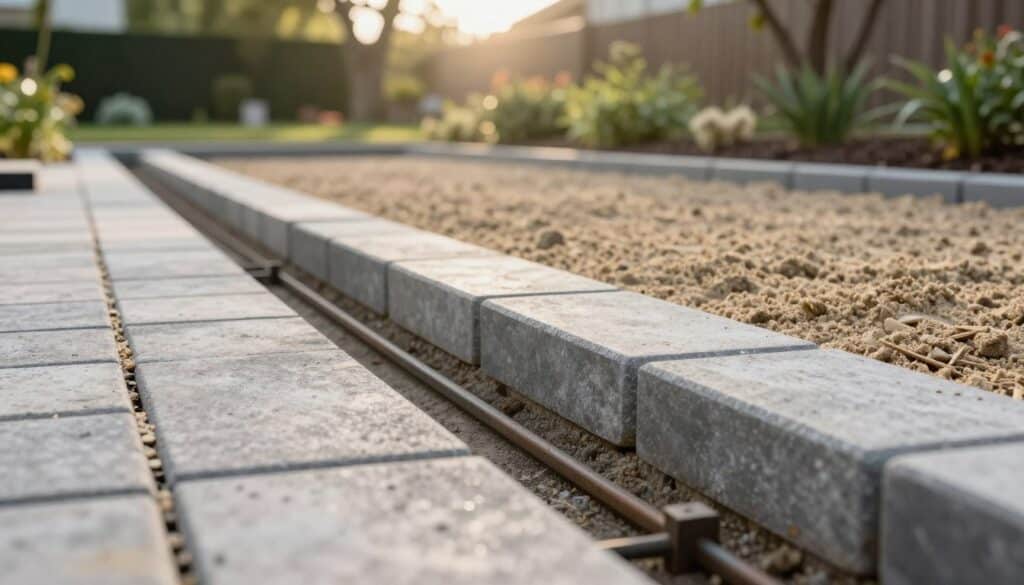
Before setting pavers, inspect the prepared base and confirm its water path. A 1-inch-per-4-foot slope usually moves runoff away from walls and doors. For front-yard landscape ideas, see front yard landscaping.
Direct Water Away From Structures
Low clay areas may need perforated pipe beneath the base. Cover the pipe with clean stone so trapped water can escape. Make sure the gravel surface remains even before spreading a uniform 1-inch layer of sand. Use a screed board, not extra sand, to correct dips.
Compare Steel, Concrete, and Plastic Edging
Set restraints along both edges and secure them with long landscaping spikes. Keep the sand bed undisturbed; place each unit from the finished surface. Polymeric sand later hardens with moisture and helps protect joints from weeds and washout.
| Edge Type | Durability | Winter Performance |
|---|---|---|
| Steel | Strong, clean, and slim | Resists movement when anchored |
| Concrete | Permanent and substantial | Blends well with pavers |
| Plastic | Flexible for curves | May heave during freeze-thaw cycles |
Choose materials that suit the curve, soil, and seasonal stress. A careful drainage step prevents disruptive repairs later.
Select a Paver Pattern That Minimizes Cuts
Pattern choice affects labor, waste, and the finished look. Review a small dry layout before ordering materials. This simple step reveals joint spaces, edge cuts, and the final surface width.
Running Bond, Herringbone, and Basket Weave Patterns
Running bond is usually the fastest option for a walkway. Staggered rows create a clean line and need fewer cuts. Roger Cook recommends this design when saving time and reducing waste matter most.
Herringbone adds bold movement and strong interlocking support. Its angled edges require more fitting and cutting. Basket weave offers a classic appearance, but each repeating group must stay aligned.
- Test concrete pavers or natural stone before purchase.
- Begin at the most visible straight line, then work outward.
- Reserve edge cuts for less noticeable borders.
- Check the layout against steps, curves, and fixed features.
A planned 3-foot-by-72-foot route required only 20 cuts. That result shows the value of accurate measurements before placement. Choose the design that suits the property, skill level, and desired character.
Lay, Level, and Cut the Pavers
Begin at a straight corner or fixed edge, then build outward across the prepared base. Lift each unit and drop it into place. Do not drag it over the screeded sand, since dragging can create low spots.
Maintain Straight Lines and Consistent Joint Spaces
Many pavers have spacer nibs that create even joints. If they do not, use consistent hand-set gaps. Check the layout with a string line after several rows. Tap each piece with a rubber mallet, then use a level to confirm a smooth surface.
- Correct small height changes before nearby units lock together.
- Keep edge restraints firm and inspect both edges as work progresses.
- Keep the plate compactor off the field until every piece is placed.
Make Safe Cuts Around Curves and Fixed Features
Mark cuts around curves, porch thresholds, and driveways. A circular saw with a masonry blade suits concrete pavers and natural stone. Wear gloves, goggles, and a dust mask for safety. One documented project needed 20 cuts, mostly near a driveway and porch. Avoid narrow slivers; use a wider cut that can carry foot traffic.
Compact the Surface and Fill the Joints
After every unit sits level, finish the field with careful vibration and joint filling. This step locks the pavers together and leaves a clean, stable compact surface.
Choose Regular Joint Sand or Polymeric Sand
Begin on a dry paver surface. Sweep regular joint sand across the pavers until every space is full. Run a plate compactor with a rubber mat over the area twice, using perpendicular directions. Add another sand layer, then sweep and vibrate again. Check the level after each pass.
Polymeric sand contains binders that activate with water. It hardens inside the joints and helps limit weeds, ants, and washout. Keep the pavers completely dry before application, and reserve two or three rain-free days for curing.
- Mist polymeric sand gently; excess water can remove binder or stain the surface.
- Inspect the compact surface for shifted units, low spots, and leftover sand.
- Regular joint sand may need topping up over time.
- Wait before regular foot traffic until the joints feel firm.
Correct small gaps at this final step. A full joint system supports long-term stability through wet weather and seasonal movement.
Maintain Pavers Through Wilbraham Winters
Wilbraham winters bring freeze-thaw cycles, snow, and wet ground. A simple care routine protects pavers and limits movement across the walkway. Begin each spring with a close inspection.
Sweep away leaves, grit, and organic debris before they hold moisture against the surface and joints. Rinse with clean water, then use a paver-safe cleaner when stains appear. Avoid harsh de-icing chemicals on concrete pavers and natural stone. Sand or cat litter improves traction with less risk of damage.
- Inspect the gravel base, edge restraints, and edges for spreading or settlement.
- Replace loose or sunken pieces before water enlarges the damaged area.
- Keep downspouts and landscape irrigation from draining directly onto the path.
- Refill eroded joints with sand or polymeric sand on a clean, dry surface.
- Correct drainage issues before the next freeze-thaw cycle.
A sound gravel base reduces standing water and frost heave. Check the area after winter and address small defects in a timely step. For related design ideas, explore durable paver patios or local path and driveway services.
Conclusion
A durable outdoor route starts with a clear layout, proper excavation, a compacted base, a thin sand layer, secure edges, and well-filled joints. Keep bedding sand near one inch, and compact each course with care. Stable preparation matters more than rushing the final step.
Concrete and natural stone create attractive landscape features when drainage and materials suit the property. This guide gives each paver project a practical path toward a level surface and easier seasonal care. Regular sand offers simple upkeep, while polymeric sand better resists weeds and washout.
What depth suits a pedestrian walkway? Excavate about 6–8 inches, with adjustments for soil and drainage.
Which base supports pavers? Use compacted graded gravel made from stone and stone dust.
Which joint material fits best? Regular sand is easy to refresh; polymeric sand offers firmer protection.
How can Massachusetts winters cause less damage? Maintain drainage, inspect edges, and use sand or cat litter instead of harsh de-icers.