

For paver patio base depth new england projects, a 4- to 6-inch compacted base often suits foot traffic. Clay soil, poor drainage, heavy loads, and repeated freeze-thaw cycles can require more depth. The hidden paver base controls movement, settlement, and water flow, so surface choices alone cannot protect a patio.
St. Clair Landscaping & Irrigation in Ludlow, MA, has served Hampden and Hampshire County for more than 40 years. Call 413-566-8866 for practical help with your outdoor project.
Driveways carry vehicle loads, while walkways and small outdoor areas face lighter use. Frost-sensitive soil, drainage, and excavation needs change with each site. For instance, a 20-by-10-foot area with a six-inch aggregate layer needs excavation beyond the finished edges.
Good installation also depends on staged compaction and proper water flow. Review this installation guidance, then explore freeze-thaw protection tips for long-term care.
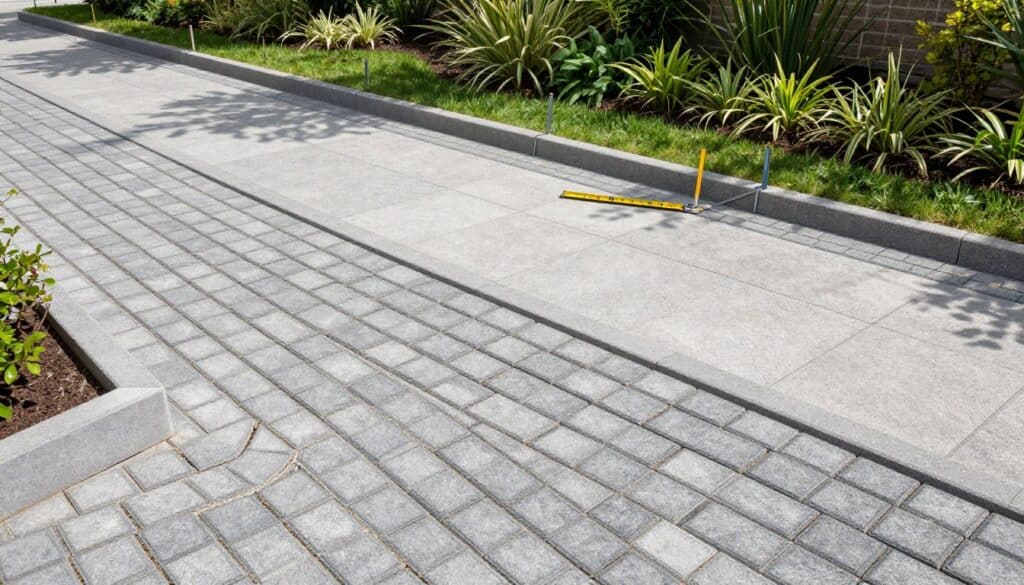
Key Takeaways
- Foot traffic commonly starts with four to six inches.
- Clay and poor drainage may require added excavation.
- Vehicle loads call for stronger structural planning.
- Compaction works best in thin, separate lifts.
- Drainage helps limit frost-related movement and damage.
Why Paver Patio Base Depth Matters in New England
Winter performance depends on more than the surface you see. A stable paver base must manage moisture, frost, and soil movement below the finished patio. The right depth supports even grades and limits seasonal shifting.
How Freeze-Thaw Cycles Move Water and Soil
When water in the ground freezes, it expands and can create frost heave. This lift may raise pavers during winter, then leave uneven areas after spring thaw. Free-draining crushed stone gives water a path away from the work area.
Why Clay Soil and Road Salt Raise the Risk of Failure
Clay soil holds water and changes volume as moisture and temperature shift. Road salt near driveways and walkways can add repeated wetting and freezing. Good drainage matters as much as measured depth, especially in areas close to structures or downspouts.
Use these ranges as planning points, not fixed rules. Site conditions, traffic, and the selected material still guide excavation.
| Use | Starting range | Main concern |
|---|---|---|
| Walkways and light-use areas | 4–6 inches | Frost movement and water control |
| Driveways and heavy loads | 8–12 inches | Vehicle weight and saturated soil |
| Clay or wet locations | Site-specific review | Drainage and soil stability |
paver patio base depth new england: Practical Starting Points
Use these figures as planning guides, not fixed rules. Local soil, drainage, traffic, and material choice can change the required excavation.
Pedestrian Areas: Walkways and Patios
Walkways and patios commonly start with a compacted base of 4 to 6 inches. Add about 1 inch for bedding and the thickness of the selected pavers. For example, a 20-by-10-foot patio may need excavation across 21 by 11 feet when the structural layer extends 6 inches beyond each finished edge.
Driveways and Heavier Loads
Driveways often need 8 to 12 inches because vehicles place greater stress on the paved area. Clay, soft soil, standing water, or poor drainage can require a deeper section. A site review helps confirm the right paver base for the project.
- Measure the finished area and edge allowance.
- Add the compacted layer, bedding, and paver thickness.
- Plan for extra excavation where soil stays wet.
| Use | Common range | Key planning factor |
|---|---|---|
| Walkways and patios | 4–6 inches | Foot traffic and drainage |
| Driveways | 8–12 inches | Vehicle weight and soil strength |
| Wet or clay areas | Site-specific | Water removal and stability |
How Soil Conditions Change the Required Base
A site review should guide the structural plan because ground conditions vary across Massachusetts yards. Clay soil feels dense, drains slowly, and may stay wet after ordinary rain. That soil can require more excavation to improve drainage and support long-term stability.
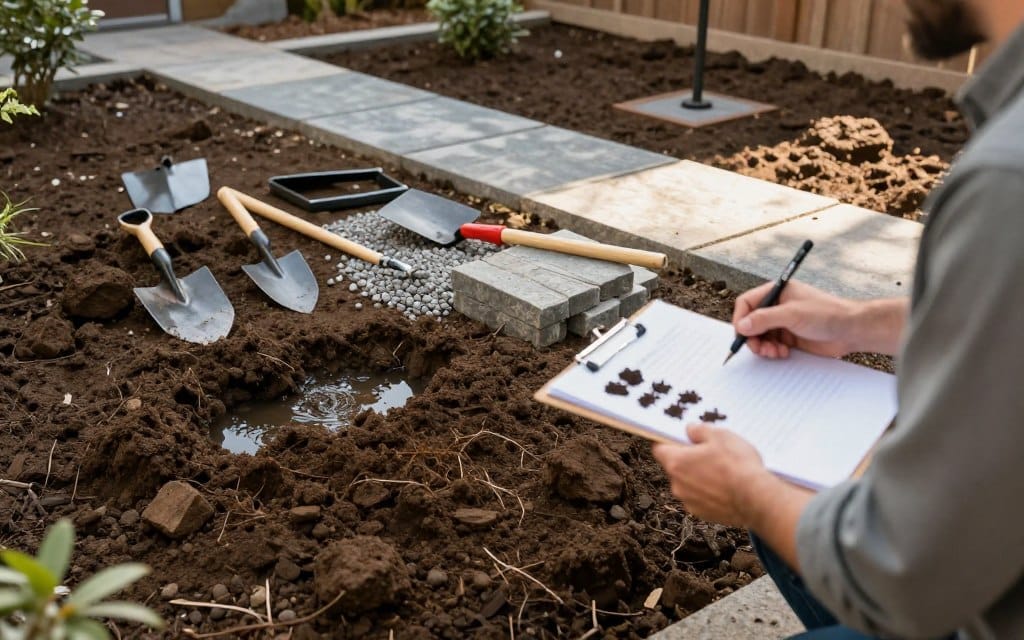
Testing for Clay, Soft Spots, and Poor Drainage
Inspectors look for standing water, soft spots, roots, organic matter, and changes in soil firmness. Disturbed ground and organic material may settle under finished pavers, so weak areas often need removal before the paver base goes in. The finished grade also affects how much structural material the work needs.
A simple test can reveal whether the soil holds water or loses strength when wet. Site conditions, load, and material type should guide the final decision rather than a fixed rule.
When Geotextile Separation May Help
Geotextile fabric may help separate clay from crushed stone. It forms a barrier between unlike materials and limits soil movement into the lower layer. This can protect the paver base in areas where clay could mix with granular layers.
Geotextile fabric differs from plastic. Plastic beneath paving can trap water and create added problems. A qualified contractor can select suitable materials and place the fabric only where site conditions support its use.
Choosing Base Material for Drainage and Stability
Material selection affects how well an installation handles weight, frost, and moisture. A strong paver base should lock together while allowing water to move through the structure. Review this paver base guide for added planning context.
Why Angular Crushed Stone Compacts Better
Angular crushed stone has fractured edges that interlock during compaction. This creates a firm layer with better stability than smooth stones. Clean crushed stone also supports drainage by leaving connected spaces for water to pass.
Why Sand, Stone Dust, and Rounded Gravel Are Not Structural Bases
Rounded gravel shifts under pressure, so it cannot replace a compacted structural layer. Stone dust and limestone screenings may contain too many fines. Those particles can hold water and increase the risk of early movement.
Reserve sand for bedding, usually about 1 inch thick. It helps level pavers but does not carry the same loads as crushed stone. Depending on the design, ASTM #9 stone, HPB, or clear ⅛-inch chip may provide free-draining bedding. Keep the selected material consistent beneath the joints and around edge restraints.
Excavation Depth and the Complete Patio Layer System
Plan the full assembly before digging. The finished surface depends on each layer, from firm soil to the visible paving.
From Firm Soil to the Finished Surface
Begin with a firm subgrade. Add a compacted paver base made from crushed stone, followed by about 1 inch of sand and the selected pavers. Total excavation must include the stone thickness, bedding, and paver thickness. New Hampshire guidance often places this total near 7 to 8 inches for a 4- to 6-inch stone course.
Supporting the Perimeter
Extend the structural stone beyond every finished edge by a distance equal to its thickness. For example, a 20-by-10-foot patio with a 6-inch course requires an excavation area measuring 21 by 11 feet. This extra room helps support the edge and reduces settlement along the paving boundary.
Directing Water From Buildings
Set the finished level to move water away from walls, doors, and steps. Check thresholds, stairs, nearby planting areas, and the planned surface elevation before placing material. A steady slope protects the project and helps keep the area dry.
| Layer | Typical size | Purpose |
|---|---|---|
| Crushed stone | 4–6 inches | Support and drainage |
| Bedding sand | About 1 inch | Level placement |
| Selected pavers | Material-specific | Finished walking surface |
Compaction Practices That Prevent Settling
Careful compaction gives a paved area the firm support it needs through seasonal changes. Work in thin lifts, check moisture, and confirm each elevation before moving forward. These simple habits reduce settlement and protect long-term stability.
Building the Base in Compactable Lifts
Place the base material in 3- to 4-inch lifts. A traditional plate compactor may leave the lower part loose when a lift is too thick. Run the plate over each lift several times before adding the next layer.
A 200- to 300-pound plate tamper suits many residential projects, although soil conditions may change the choice. Slight moisture can help crushed stone lock together. Do not add water when the excavation holds standing water.
Checking Moisture, Firmness, and Finished Elevations
Walk each compacted layer and watch for soft spots or movement. Check the level against fixed points, steps, walls, and the planned surface. Take time to correct low areas before placing pavers.
- Keep the bedding layer loose.
- Place pavers before final seating.
- Use the last pass to settle pavers and close joints.
| Work step | Recommended practice | Purpose |
|---|---|---|
| Lift placement | 3–4 inches | Promotes even compaction |
| Moisture check | Slightly damp material | Improves particle bonding |
| Final seating | Compact after pavers are placed | Sets the surface and joints |
Drainage Planning Under Massachusetts Stormwater Standards
Finished grades connect the paver base, surface, and nearby drainage features. A 1–2% slope usually supports drainage, guiding water away from walls and doors. This plan also helps protect the surrounding space from standing moisture.
Using Slope to Move Water Away From Structures
A 1% slope equals a ½-inch fall over 4 feet. Installers can use this field check to confirm the planned level across the area. The finished patio should move water toward a safe outlet, not toward a foundation.
Connecting Grades With Drainage and Waterproofing Work
Review downspouts, waterproofing, steps, and lower landscape areas before paving begins. The paver edge must meet doors, walls, and walkways without creating a trip point or blocking flow.
MassDEP Stormwater Standards may affect runoff planning beyond the immediate project. A contractor can assess whether the design needs added drainage features or a revised slope. Final checks should confirm that the compacted base, pavers, and drainage system work together across the outdoor space.
- Check the ½-inch fall over each 4-foot span.
- Keep downspout discharge away from the work area.
- Confirm waterproofing and finished grades before paving.
Permits, Utilities, and New England Installation Requirements
Good planning covers more than the paver base and surface pattern. Permit rules, utility locations, drainage changes, and property lines can affect the project before materials reach the area. Homeowners should confirm local review needs early.
Retaining Walls and 780 CMR
Massachusetts identifies 780 CMR as its building code. Under the provided guidance, retaining walls over 4 feet require a permit. This rule may apply when a patio design includes a raised grade, structural wall, or major soil change. Ask the local building office which permit type fits the work.
Stormwater Review for Changed Runoff
MassDEP Stormwater Standards may affect a design that changes runoff routes or sends more water toward nearby land. A drainage structure, waterproofing detail, or retaining wall can require closer review than ordinary paver installation. The final plan should place water at a safe outlet.
Utility Markouts Before Digging
Arrange utility markouts before excavation. Phone and gas lines may cross the planned area, even when no service feature appears nearby. Confirm local review, property limits, and required setbacks before the first step. This process helps separate routine pavers from regulated work.
Planning the Work Around Massachusetts Seasons
Seasonal planning keeps each project on track and protects the work from wet ground, frost, and delayed deliveries. UMass Extension timing guidance helps teams choose workable conditions for soil preparation, planting, and installation instead of relying on one calendar date.
Using UMass Extension Timing Guidance
Excavation works best when the soil supports equipment without smearing or rutting. Dry periods allow stronger compaction and cleaner grading. Planting also needs the right time for roots to settle before harsh weather arrives.
Allow time for material delivery, inspections, drainage checks, and final installation. St. Clair Landscaping & Irrigation can coordinate a paver base, pavers, landscape design, irrigation, waterproofing, maintenance, and outdoor living features as one project.
How Local Sites Differ
Ludlow and Wilbraham can show different grades, access limits, and drainage patterns. Belchertown, Palmer, Chicopee, and East Longmeadow also need individual reviews. Exposure, soil moisture, and available work space can change the schedule and installation range.
Homeowners benefit from a site visit before selecting materials or setting a start time. This approach helps each patio area receive practical planning and a durable result.
| Planning factor | What to review | Why it matters |
|---|---|---|
| Ground conditions | Moisture and firmness | Supports stable excavation |
| Access | Equipment and delivery route | Reduces handling delays |
| Planting schedule | Rooting and weather | Improves landscape establishment |
| Inspection time | Grades and drainage | Confirms work meets the plan |
Conclusion
Reliable outdoor surfaces begin with a site plan, not one fixed measurement. Intended use, soil, drainage, grade, and freeze-thaw exposure all shape the right base. For light foot traffic, 4–6 inches is a common starting point. Driveways often need 8–12 inches, while clay or wet ground calls for a closer review.
Angular stone, placed in 3–4-inch lifts, supports stable pavers better than sand or rounded gravel. Keep sand for bedding, and guide water away from buildings with a 1–2% slope. A ½-inch fall over 4 feet helps limit pooling and frost damage.
Call St. Clair Landscaping & Irrigation at 413-566-8866 or request an estimate for hardscaping, drainage, waterproofing, outdoor living, irrigation, and landscape work in Hampden and Hampshire County.