

Have you ever wondered what it takes to ensure a stunning and long-lasting surface for your home? The journey of a successful concrete driveway installation begins with meticulous planning and attention to detail. It’s not just about pouring a mixture; it’s about creating a robust foundation that can withstand the test of time.
Sarah Hutchinson, a respected voice in the industry, emphasizes that the quality of materials and workmanship plays a crucial role in how well your surface performs over the years. This guide aims to provide you with a comprehensive checklist to navigate your project, from the initial planning phase to the final pour.
Understanding the technical requirements can empower you to make informed decisions. By following professional guidelines, you can ensure your new surface remains both durable and visually appealing, enhancing your property’s value.
Understanding the Basics of Concrete Driveway Installation
What essential factors contribute to a durable surface for your home? Understanding the basics of concrete thickness is crucial for ensuring a robust foundation. According to the Tennessee Concrete Association, the thickness of your slab is the primary factor in determining its structural capacity.
For residential areas, the industry standard recommends a minimum thickness of 4 inches. This thickness is designed to support the weight of standard vehicles. However, if you increase the thickness to 5 inches, you can enhance the load-carrying capacity by nearly 50%. This slight increase adds only about 20% to the overall cost.
Here are some key points to consider:
| Thickness (inches) | Load Capacity | Cost Increase |
|---|---|---|
| 4 | Standard vehicles | Base cost |
| 5 | 50% more | +20% |
Thickening the edges of the area by 1 or 2 inches can also provide additional support where the slab is most vulnerable. Proper planning ensures that your new surface remains strong and visually appealing for years to come. For more insights on hardscaping, check out this resource.
Planning Your Driveway Layout and Design
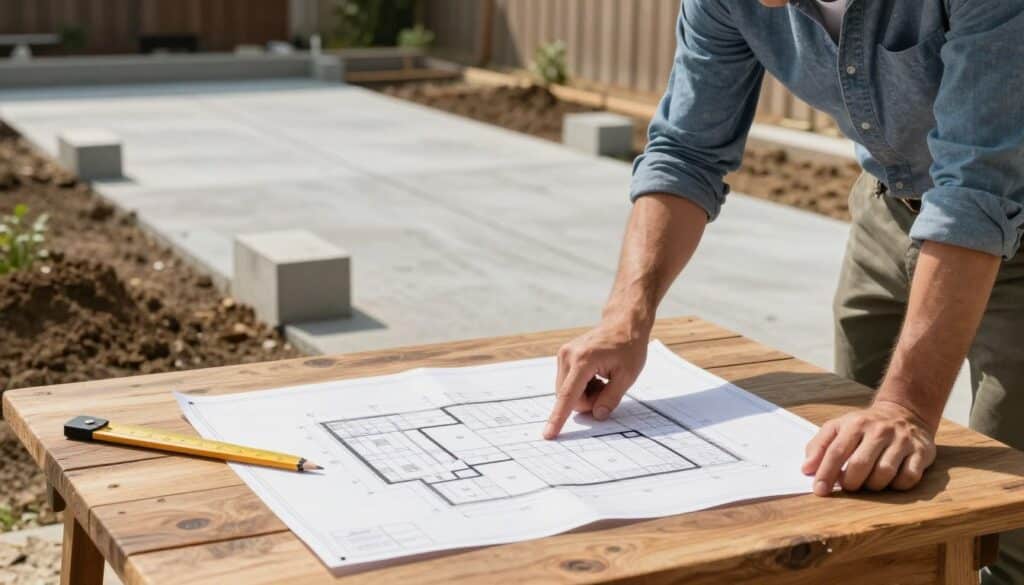
Planning the layout of your new surface is essential for both functionality and aesthetics. You need to determine the size and shape to accommodate the number of vehicles you intend to park.
A single vehicle typically requires a width of 10 feet to 12 feet to ensure easy access and maneuverability within the parking area. For standard cars, allow at least 18 feet to 20 feet of length. If you have larger vans or trucks, consider a length of 22 feet to 24 feet.
Every additional foot of length or width can significantly increase the total cost of your project. Therefore, precise measurements are essential. Use stakes and string to outline the path of your parking area, helping you visualize how it fits into your existing landscape design.
Proper layout design ensures that your space is functional for your vehicles while maintaining the aesthetic appeal of your home. For more insights on landscaping, check out this resource.
Permitting, Regulations, and HOA Guidelines
Before you lay the first stone, understanding the rules governing your project is crucial. Local ordinances can dictate various aspects of your new surface, including its height and width. Often, you may need to obtain a permit before construction begins.
Many municipalities have specific regulations that can impact your overall project design. This means checking with local authorities is essential to avoid any complications.
If your home is part of a homeowner association, you must also review their guidelines. These rules can dictate where and how you can install your new surface.
Consulting with a local contractor who understands the specific regulations in your area is advisable. They can help ensure your project remains compliant with local laws.
You can typically find permit applications on your city’s official website to start the legal process for your new driveway. Failing to secure the necessary permits can lead to costly fines or forced modifications later. For more information on permits, visit this resource.
Preparing the Subgrade and Base Materials
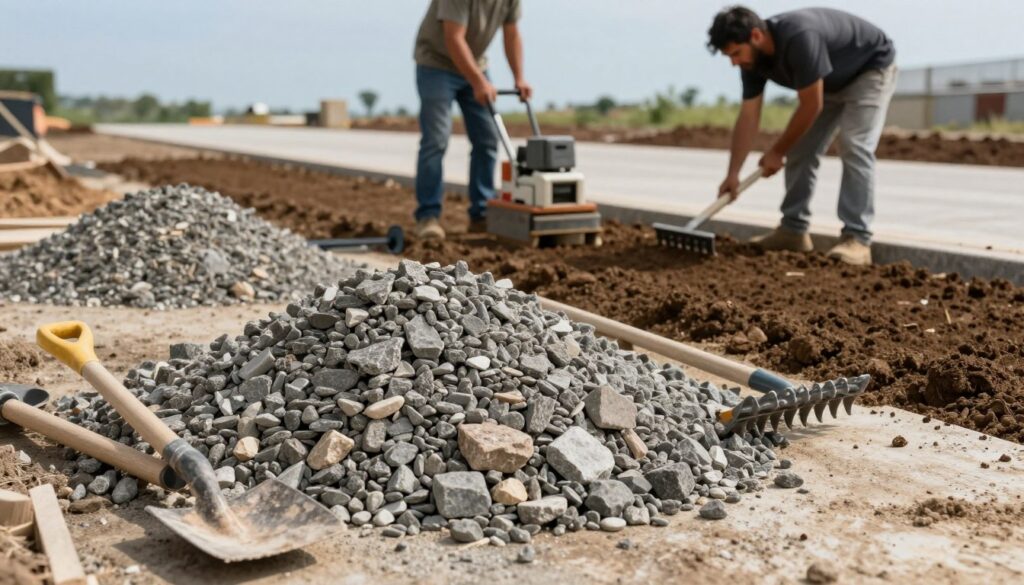
The success of your new surface lies in the meticulous preparation of the subgrade and base materials. Proper preparation ensures a strong foundation that can withstand various stresses over time.
Excavation is the first step, typically requiring the removal of 8-12 inches of soil. This creates space for both the base materials and the concrete slab. Following this, it’s essential to add a 4-6 inch layer of gravel or crushed rock. This layer provides necessary drainage and stability.
To ensure the soil and base material are firm and even, using a vibratory plate compactor or a rammer is recommended. If the soil in your area is loose or sandy, consider adding clay or extra gravel to enhance stability.
Additionally, spraying the subgrade with water before the pour can prevent the dry soil from wicking moisture away from the fresh mixture. A uniform subgrade is key to preventing slab settlement and structural cracking in your new surface.
For more insights on the importance of subgrade preparation, check out this resource.
| Preparation Step | Description | Purpose |
|---|---|---|
| Excavation | Remove 8-12 inches of soil | Create space for base materials |
| Gravel Layer | Add 4-6 inches of gravel or crushed rock | Provide drainage and stability |
| Compaction | Use vibratory plate compactor or rammer | Ensure firmness of the base |
Selecting Forms, Reinforcement, and Rebar Options
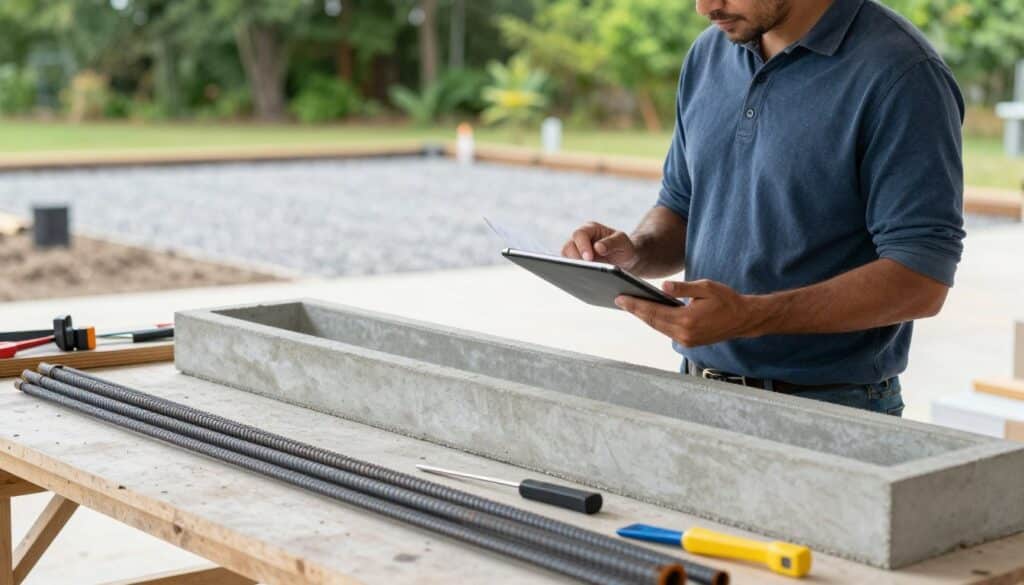
Selecting the right materials and reinforcement is vital for a strong and enduring surface. The forms you choose will shape the final appearance and structure of your new surface. For best results, use 1×4 pine boards as forms to hold the concrete in place.
Reinforcement is crucial to prevent cracking. For slabs that are 5 inches thick or more, #4 steel rebar is recommended. This should be placed in a grid pattern with approximately 12 inches between bars. For surfaces that are 4 to 5 inches thick, wire mesh can be used to help maintain the integrity of the concrete.
Ensure that the rebar or wire mesh is elevated slightly above the base. This keeps it centered within the weight of the concrete slab. To secure your forms, drive stakes into the ground every 3 feet. This will help maintain the desired shape and slope of your new surface.
Using high-quality reinforcement materials significantly increases the structural strength of your project. It also helps distribute the load of your vehicles effectively.
| Reinforcement Type | Recommended Thickness | Spacing |
|---|---|---|
| Wire Mesh | 4 to 5 inches | — |
| #4 Steel Rebar | 5 inches or more | 12 inches apart |
Executing the Pour and Finishing Techniques
Successfully pouring and finishing your new surface is crucial for achieving a durable and attractive finish. The process involves several key steps to ensure the material is evenly distributed and properly textured.
Start pouring from the center and work toward the edges. This technique helps achieve an even distribution of the material. Use a screed to level the surface, followed by a bull float to smooth out any imperfections. These steps are essential for a quality finish.
Applying a broom finish is highly recommended. This method improves traction, making the surface safer when wet. However, avoid overworking the surface or finishing while bleedwater is present. Doing so can lead to long-term defects.
It’s important to note that final finishing with a steel trowel is unnecessary. This can seal the surface too early, trapping moisture and potentially causing issues later. If you desire a decorative look, consider options like stamped concrete or exposed aggregate.
Ensuring Proper Curing, Drainage, and Crack Prevention
To ensure the longevity of your new surface, understanding curing and drainage is essential. Proper curing is the final step of the process. Neglecting this can lead to strength reductions of up to 50%.
For effective curing, keep the surface moist for at least 7 days after pouring. You can use a liquid curing compound, plastic sheets, or wet blankets to maintain moisture levels.
Additionally, to prevent random cracking, install control joints spaced no more than 10 feet apart. These should be cut to a depth of 1 inch. Isolation joints are also necessary where the surface meets existing structures.
Ensure your surface slopes toward the street at a minimum of 1/8 inch per foot. This helps eliminate standing water and provides effective drainage.
Finally, allow your surface to cure for at least a week before driving on it. This waiting period is crucial for the slab to reach its full structural strength.
Cost Estimation and Budgeting for Your Project
A well-planned budget can make all the difference in your construction journey. Understanding the costs involved is crucial for a successful project. Begin by calculating the volume of materials needed. Concrete is sold in cubic yards, so multiply the length, width, and thickness of your surface, then divide by 27.
In addition to materials, consider labor costs and equipment rentals. If hiring a contractor, ensure their proposal includes a jointing plan and all necessary materials. Don’t forget to budget for permits, gravel, and underlayment fabric.
Unexpected expenses can arise, such as needing extra fill material for soft soil or renting a concrete pump for hard-to-reach areas. By preparing for these possibilities, you can avoid financial surprises.
Investing in a quality project enhances your home’s value and functionality for years to come. With careful planning, you can achieve a stunning and durable surface that meets your needs.
Conclusion
Achieving a lasting and attractive surface involves meticulous attention to detail throughout the process. Successfully completing your project requires careful planning, proper preparation, and adherence to professional standards.
By following these steps, you can ensure your new surface remains a durable and functional asset for your home for many years. Always verify that your contractor follows local building codes and uses the correct materials to guarantee long-term structural integrity.
Proper curing and drainage are essential to prevent cracks and ensure the slab performs well under the weight of your vehicles. With the right approach, you can confidently manage your project from the initial layout to the final pour.
Remember, a well-installed surface is a significant investment that adds lasting value and curb appeal to your property.