


Have you ever wondered why some houses look like five-star resorts at night while others simply vanish into the shadows? Mastering how to install landscape lighting is the easiest way to give your home a high-end look that boosts curb appeal.
This transformation creates a sophisticated appearance that catches every eye during the evening hours. Many people worry about the complexity of electrical work, but modern low voltage options make this a simple diy task.
You can achieve professional results for your outdoor lighting without hiring expensive contractors or needing a special license. This comprehensive guide provides the definitive resource for homeowners ready to showcase their unique architectural features.
We will walk you through planning and setting up a complete power arrangement to ensure your property shines. Improving the visibility of your landscape adds lasting value and safety to any home.
Key Takeaways
- Low voltage systems provide a safe and easy entry point for beginners.
- Strategic fixture placement enhances both architectural beauty and property security.
- Completing this project yourself saves significant labor costs compared to hiring pros.
- LED technology offers energy-efficient illumination that lasts for many years.
- Careful planning of the cable layout is the most important step for success.
- Modern kits allow for professional results without specialized electrical knowledge.
Understanding Low Voltage Landscape Lighting Systems

Homeowners often prefer low voltage systems because they combine safety with high performance. Before you begin your project, you must understand how a reliable lighting system functions in an outdoor environment. A well-designed system transforms your yard into a night-time oasis without the risks of standard electrical work.
What Is Low Voltage Landscape Lighting
A low voltage landscape lighting system uses a transformer to step down standard 120-volt household current. It reduces that energy to a much safer 12-volt or 24-volt level specifically for outdoor applications. Most residential projects use the 12-volt option for powering various lighting fixtures across the lawn.
This conversion makes it much easier to install low voltage landscape lighting without hiring a professional electrician. The landscape lighting system provides beautiful illumination while remaining incredibly easy to manage during the installation process. This setup is the industry standard for modern landscape lighting designs.
| Feature | Line Voltage (120V) | Low Voltage (12V) |
|---|---|---|
| DIY Difficulty | High / Pro Required | Low / DIY Friendly |
| Wire Trench Depth | 18+ Inches | Shallow (3-6 Inches) |
| Shock Risk | Dangerous | Extremely Low |
| Energy Usage | High Consumption | Highly Efficient |
Key Advantages of Low Voltage Systems
Choosing a low voltage setup offers many practical benefits for your landscape. These components are durable and perfect for highlighting specific landscape lighting features. They provide a professional look with very little maintenance required over time.
Safety Benefits for DIY Installation
The reduced voltage significantly lowers the risk of accidental electrical shock during installation. This lighting setup is safe for operation in wet weather. It also poses no danger to pets or children who might contact the wires.
Energy Efficiency and Cost Savings
Low voltage lights consume significantly less electricity than traditional 120-volt bulbs. This efficiency results in lower utility bills and a smaller environmental footprint. Using a modern system allows you to keep the lights on longer for less money.
No Polarity Requirements
Installers do not need to worry about matching positive and negative wires when connecting the lighting system. This lack of polarity makes the assembly quick and stress-free. You can focus on the lighting design rather than complex electrical diagrams.
No Conduit Burial Needed
A low voltage setup does not require expensive metal conduits or deep digging. You can simply tuck the landscape wires into shallow trenches and cover them with soil. This flexibility allows you to adjust your landscape lighting as your plants grow.
Planning Your Landscape Lighting Layout

Thorough planning serves as the foundation for a successful outdoor illumination project. Proper layout decisions prevent costly mistakes and save time during the installation process.
Taking the time to visualize the final result ensures your yard looks professional. It also helps you buy the exact amount of supplies needed for the job.
Deciding Where to Place Your Lights
Begin your landscape design by walking your property during the evening hours. Identify key features like large trees, stone walls, or architectural details that deserve a spotlight.
Think about how you use the space and where you need safety illumination. Note the location of specific focal points on a sketch to guide your fixture selection later.
Mapping Available Outdoor Electrical Outlets
Your existing outdoor electrical outlets determine where you can place a transformer. Most homeowners use GFCI outlets located near the house or deck for these connections.
Map these spots early to see how far your wire must travel. This step ensures you have enough power for every light in your planned system.
Determining How Many Transformers You Need
A large landscape lighting project might require more than one transformer to maintain consistent voltage. Consider your property size and the total wattage of all planned fixtures.
If your yard has a complex layout, using multiple transformers may be easier to manage. This approach reduces the length of wire runs and improves system reliability.
Creating Lighting Zones Around Obstacles
Organize your fixtures into logical zones to simplify the wiring process. Grouping lighting by area helps you manage the system and troubleshoot any future issues.
Planning these zones allows you to tailor the brightness for different parts of the yard. It also makes the installation much more organized for the homeowner.
Working Around Driveways and Walkways
Driveways and sidewalks often act as barriers to buried wires. Create separate zones for each side of a path to avoid difficult trenching under concrete or pavers.
Spacing Lights for Optimal Effect
Proper spacing ensures balanced illumination across your landscape without creating harsh glares. Review online photos to see how different distances affect the overall look of a home.
| Lighting Area | Recommended Spacing | Primary Purpose |
|---|---|---|
| Walkways | 6 – 8 Feet | Safety and Visibility |
| Flower Beds | 5 – 10 Feet | Highlight Textures |
| Large Trees | 2 – 3 Fixtures | Create Focal Points |
Essential Supplies and Equipment for Landscape Lighting Installation
Success in outdoor lighting installation begins with a solid inventory of durable and efficient electrical equipment. You must choose high-quality fixtures and a reliable power source to withstand the elements. Professional-grade materials ensure your landscape looks stunning for years to come.
Choosing the Right Transformer for Your Project
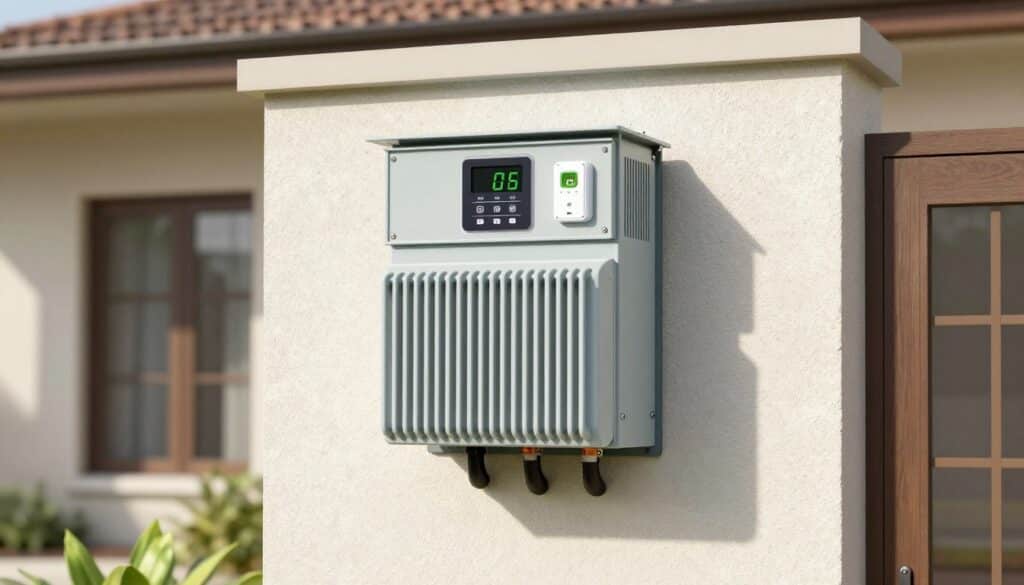
A quality transformer serves as the brain of your outdoor system. It reduces standard household current to a safe level for your yard. Choosing the correct size ensures all your bulbs shine with consistent brightness.
Calculating Transformer Wattage Requirements
To find the necessary capacity, add the wattage of every individual fixture in your plan. Multiply this total by 1.25 to account for the voltage drop that occurs across long distances. For example, if you use seven 7-watt bulbs, you need at least 61.25 watts of capacity.
Important Transformer Features to Look For
Look for a model that includes a built-in photo sensor to activate the system at sunset automatically. Modern units also offer a programmable timer to control exactly when the lights turn off. Ensure the housing has a weatherproof type of rating to protect internal components from rain.
Placement and Clearance Requirements
Mount your transformers at least one foot above the ground to prevent moisture buildup. Maintain one foot of open space on all sides to allow for proper heat dissipation. Keep the unit at least 30 feet away from pools or decorative water features for safety.
Selecting LED Landscape Lights
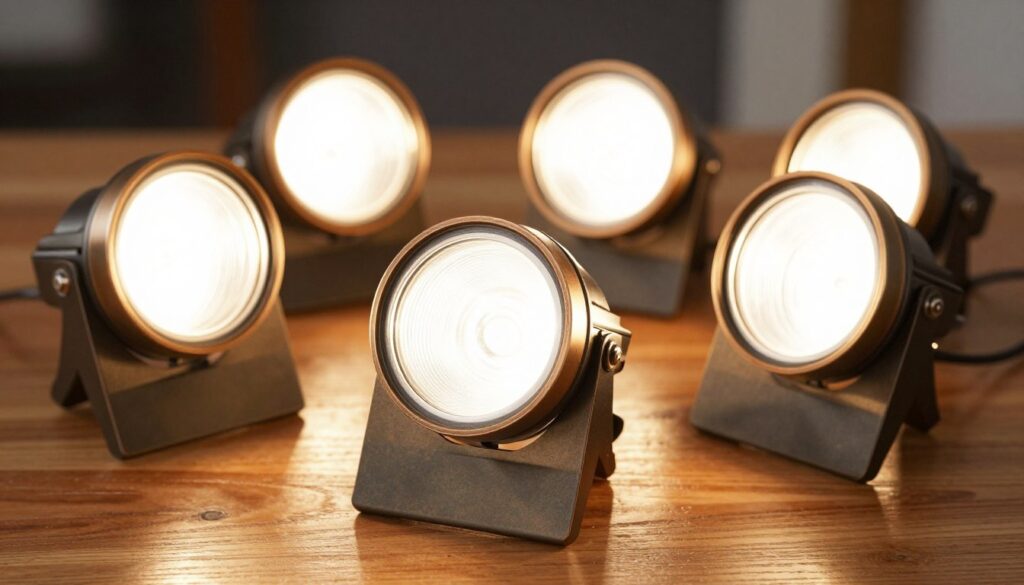
Modern LED technology has replaced old halogen bulbs because it uses much less energy. These lights stay cool to the touch and last significantly longer than traditional options. Most homeowners prefer a warm white light to create a cozy and inviting atmosphere.
Spotlight vs. Floodlight Options
A spotlight creates a narrow beam that is perfect for highlighting a specific tree or architectural detail. Use a floodlight fixture when you need to wash a wide wall or a large shrub with even illumination. Mixing both styles adds depth and drama to your garden layout.
Color Temperature and Brightness Considerations
Select bulbs with a color temperature between 2700K and 3000K to mimic the soft glow of incandescent bulbs. Higher Kelvin ratings produce a bluish tint that can look harsh in a residential setting. Brightness levels should vary depending on whether you are lighting a path or a tall canopy.
Build Quality and Durability Features
Check the build features of your fixtures to ensure they use solid brass or die-cast aluminum. Cheap plastic models often crack or fade after just one season in the sun. Quality seals and gaskets prevent water from entering the housing and shorting out the electronics.
Picking the Correct Low Voltage Wire
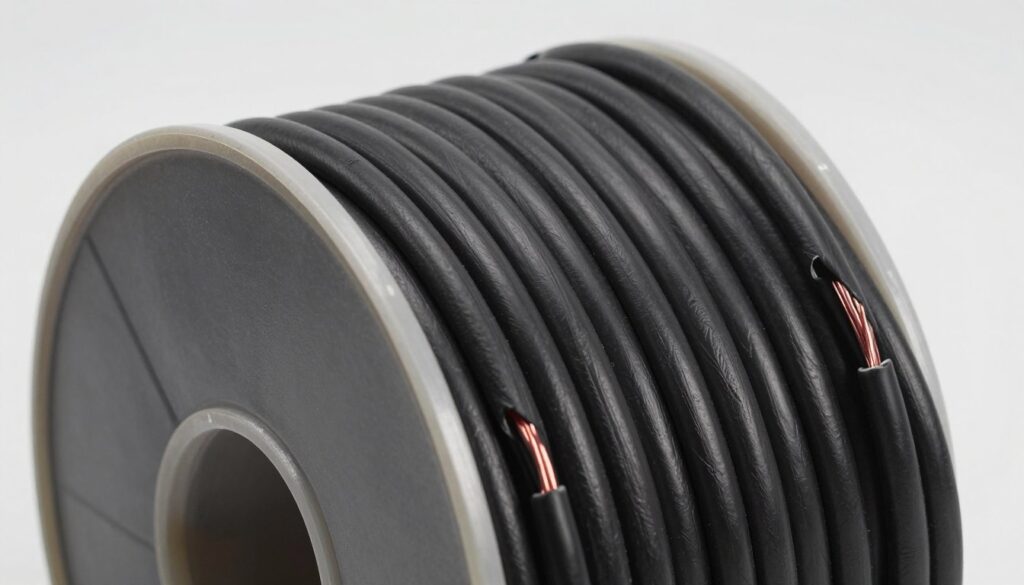
The wire acts as the circulatory system for your outdoor project. You must select a heavy-duty cable designed for direct burial in the soil. Choosing the right thickness prevents your lights from dimming at the end of the run.
Understanding Wire Gauge Numbers
Gauge numbers tell you how thick the copper core is inside the insulation. A lower number represents a thicker wire that can carry more electricity over longer distances. Most residential projects use either 12-gauge or 14-gauge options.
12 Gauge vs. 14 Gauge Wire
Standard 14-gauge wire works well for most runs under 100 feet that draw less than 200 watts. Use 12-gauge cable for longer distances or systems with many high-wattage bulbs. The thicker copper reduces resistance and keeps the current steady throughout the line.
Determining Wire Length Needs
Measure the path from your power source to each fixture and add them together. Always include an extra 10 percent of length to allow for slack and small adjustments during burial. Most medium-sized yards require between 50 and 100 feet of cable.
Wire Connectors and Installation Tools
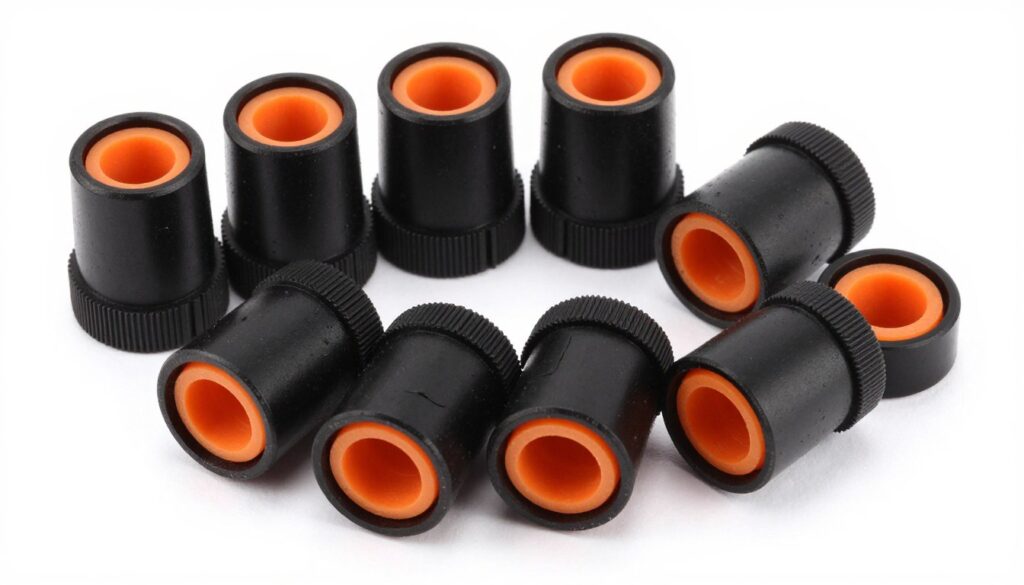
Strong connections are vital for a reliable landscape lighting system. Using the wrong hardware can lead to flickering or total system failure over time. Waterproof components protect the copper from corrosion caused by ground moisture.
Types of Wire Connectors Available
Classic twist-on connectors require you to strip the insulation off both ends before joining them. Modern clamp-style connectors use metal prongs that pierce the jacket of the main line for a faster connection. Always ensure any connector you choose features a pre-filled silicone sealant.
Additional Tools You’ll Need
A pair of high-quality wire strippers makes preparing the ends for the transformers much easier. You will also need a sturdy shovel or a trenching spade to bury the lines safely underground. Keep a set of screwdrivers handy for mounting the unit and securing the terminal blocks.
How to Install Landscape Lighting: Step-by-Step Process
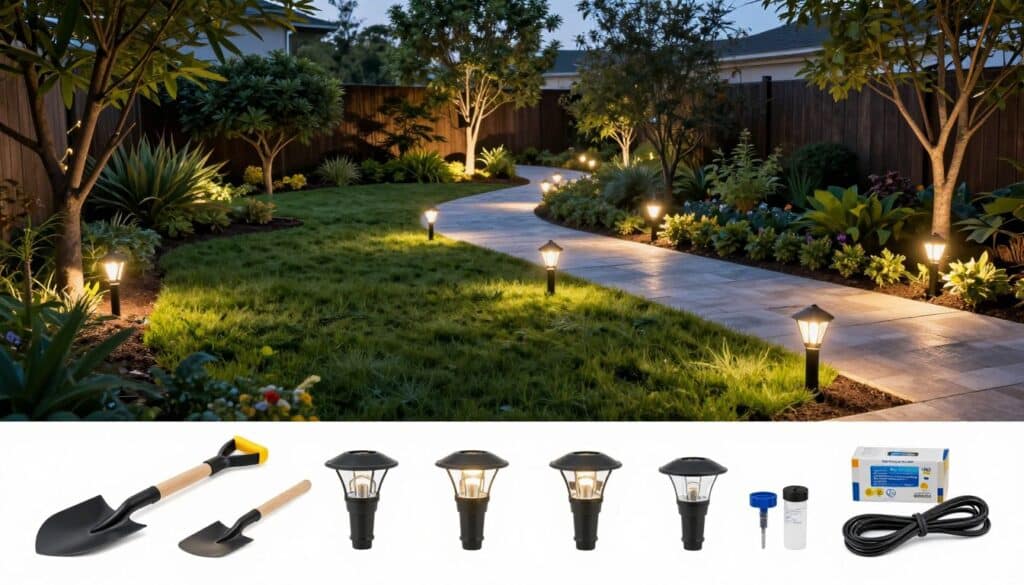
Executing a successful landscape lighting installation depends on careful attention to every technical detail during the build. A professional result comes from a structured workflow that prioritizes safety and durability. This systematic process ensures your system remains functional and safe for years to come.
By following these specific steps, you can create a high-end look with a diy approach. This guide breaks down the physical work into manageable tasks. It focuses on the precision and attention to detail expected from a professional landscaping expert.
Step 1: Mark Existing Cable and Irrigation Lines
Start the project by physically marking all underground utility runs. This include any buried cable or irrigation pipes that might be in your work area. Damaging an existing line can lead to expensive repairs or service outages in your home.
Use marking flags or specialized spray paint to identify these zones clearly. Avoid digging in areas where utility companies have indicated hidden hazards. This initial step protects both your property and your safety during the trenching phase.
Step 2: Unpack and Assemble Your Landscape Lighting Fixtures
Unpack all your fixtures carefully and verify that you have all the necessary components. It is best to have every light ready before you start digging or running the wire. This organization saves time and prevents you from losing small mounting screws in the grass.
Installing Bulbs in Fixtures
Place your LED bulbs into each lamp-ready fixture according to the manufacturer’s instructions. Ensure the bulbs are seated firmly in their sockets to avoid connectivity issues. Check that the rubber seals are tight to prevent moisture from entering the housing.
Understanding Mounting Options
Different fixtures require different mounting methods based on their location. Stake mounting attaches directly to ground stakes for easy insertion into soil. Surface mounting uses screws on hard surfaces like decks, while in-ground mounting embeds the unit flush with the soil.
Step 3: Position Lights in Your Landscape
Place each light in its planned landscape location to visualize the final effect. Press the stakes lightly into the dirt to hold their positions temporarily. This allows you to adjust the lighting installation if a beam does not hit the intended architectural feature.
A professional landscape lighting installation requires testing different angles before final burial. Take a moment to walk around your yard and view the layout from various vantage points. This ensures the lights highlight your home’s best features without causing glare.
Step 4: Mount Your Low Voltage Transformer
The transformer is the heart of your entire outdoor lighting system. It must be mounted near a dedicated outdoor GFCI outlet to receive power. Proper mounting protects the electrical components from environmental damage and ensures long-term reliability.
Transformer Location Requirements
Keep the unit at least twelve inches above the ground to protect it from moisture. This height prevents snow accumulation or heavy rain splashes from reaching the internal components. Make sure the location is easily accessible for future programming or maintenance.
Using Siding Clips for Installation
For a non-invasive installation on homes with vinyl siding, use specialized siding clips. These clips slide under the siding panels to hold the transformer securely without the need for drilling. This method preserves the integrity of your home’s exterior while providing a stable mount.
Alternative Mounting Methods
If you are mounting to brick or stone, you will need to use masonry anchors and screws. Drill small holes and insert the anchors before tightening the unit against the surface. Always use a level to ensure the transformer is perfectly straight for a clean look.
Step 5: Attach Wire to the Transformer Terminals
Preparing the main wire is a critical step in the electrical setup. You must establish a solid connection between the power source and the distribution lines. This ensures that every light fixture receives the correct amount of electricity for consistent brightness.
Stripping Wire for Connection
Use a professional wire stripper to remove about 1/2 inch of insulation from the wire ends. Twist the copper strands together tightly to consolidate them before insertion. This prevents stray strands from causing short circuits within the terminal block.
No Polarity Concerns with Low Voltage
One benefit of low voltage systems is that polarity does not matter for the connection. You can attach either side of the wire to either terminal screw on the transformer. Tighten the screws firmly with a screwdriver to ensure the wire does not slip out over time.
Step 6: Run Wire from Transformer to All Lights
Run the main wire from the transformer along the planned routes to reach all fixture locations. Follow the edges of flower beds or walkways to make trenching easier later. Be careful not to cross over existing utility lines that you marked in the first step.
Leaving Appropriate Slack
Maintain appropriate slack in the wire at every fixture location. Leaving about two feet of extra wire allows you to reposition the light as plants grow. This flexibility is essential for maintaining a high-quality landscape over several years.
Avoiding Excess Wire
While slack is helpful, avoid leaving excessive amounts of wire that create burial difficulties. Too much extra wire can also lead to a drop in voltage, making distant lights appear dimmer. Trim the wire to the necessary length while keeping enough for minor future adjustments.
Step 7: Lay Out and Dig Trenches for Wire Runs
Once the wire is positioned, it is time to dig the channels for burial. Use a square shovel or a trenching tool to clear a narrow path through the mulch and soil. This part of the process requires physical effort but is vital for protecting the system.
Proper Trench Depth
Local codes often require trenches to be at least 6 inches deep for safety. This depth protects the wire from lawnmowers, aerators, and common gardening tools. Deeper trenches may be necessary in areas with high foot traffic or near driveways.
Leaving Wire at Ends for Adjustments
Leave at least 5 feet of unburied wire at the end of each run before you finish. This provides a “buffer” for final positioning during the testing phase of the installation. Having this extra length ensures you won’t be short on wire if you need to move a light slightly.
Step 8: Connect Lights to Main Wire Using Connectors
Connecting the individual fixtures to the main line requires specific connectors designed for outdoor use. These joints must be waterproof to prevent corrosion and electrical failure. A secure connection is the key to a maintenance-free lighting system.
| Connector Type | Installation Style | Best Application |
|---|---|---|
| Clamp Connector | Piercing Prongs | Fast DIY setups |
| Twist-On Nut | Manual Stripping | Permanent repairs |
| Direct Burial Lug | Screw Tightened | Heavy-duty runs |
Stripping Lead Wires from Fixtures
Strip 1/2 inch from the fixture lead wires to expose the copper. Since these wires are often thinner than the main line, handle them with care to avoid breaking the strands. Twist the copper strands to keep them unified before attaching the connectors.
Using Clamp Connect or Twist-On Connectors
Clamp connectors pierce the main wire insulation to create a contact without cutting the cable. Twist-on connectors require you to strip both the main wire and lead wire before twisting them together. Both methods are effective if you use high-quality, gel-filled waterproof components.
Securing All Connections Properly
Make sure every connection is tight by giving the wires a gentle tug. If a wire pulls out, you must redo the connection to avoid future flickering. Proper security at this stage prevents most common system failures in landscape lighting.
Step 9: Push Light Stakes Firmly into the Ground
After completing the connections, push the fixture stakes firmly into the ground. Ensure that the fixtures are stable and stand perfectly vertical. They must be able to withstand wind, lawn maintenance equipment, and accidental contact from pets or people.
If the soil is too hard, use a large screwdriver to create a pilot hole first. Never use a hammer directly on the light fixture as this can damage the internal components. Once the stake is in the ground, confirm that the light is aimed correctly at its target.
Step 10: Cover Wire with Mulch or Soil
The final step in the physical installation is covering all the buried wire. Replace the excavated soil into the trenches and spread mulch over the top. This creates a smooth finished grade that completely conceals the system infrastructure.
Tamp the soil down lightly to prevent it from washing away during the next rainstorm. Concealing the wire not only looks better but also adds another layer of protection against the elements. Your landscape now looks professional and the lighting is ready for the final testing phase.
Testing and Adjusting Your Lighting System
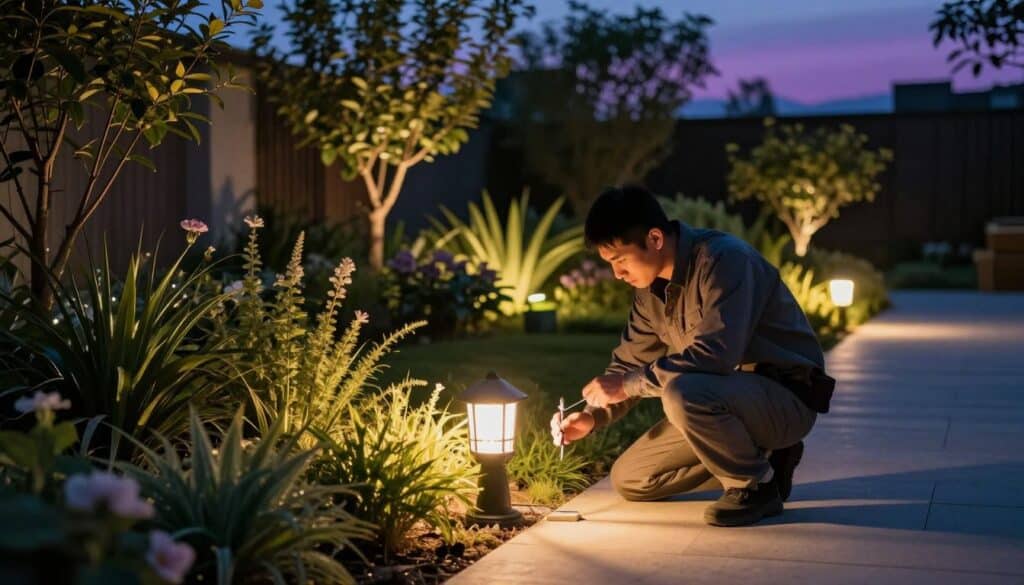
The final steps of a lighting project involve ensuring every bulb glows and every shadow falls perfectly. After finishing your wiring, you must verify that the landscape design functions as intended. This thorough check confirms your system is reliable and safe for nightly use.
Power Up Transformers and Check All Bulbs
Begin by turning on each transformer to check for immediate power flow. Systematically walk the property to verify that every single fixture illuminates correctly. If a lamp fails to glow, check the connection points or the bulb seating immediately.
| Adjustment Type | Component Target | Tool Required | Desired Result |
|---|---|---|---|
| Beam Aiming | Tree Canopies | Built-in Knobs | Focused Accent |
| Stake Leveling | Pathway Lights | Hand Trowel | Uniform Height |
| Glare Control | Outdoor Fixtures | Hex Key | Visual Comfort |
Fine-Tuning After Dark for Best Impact
You must wait until full darkness to perform final lighting adjustments. The true effect of your work is impossible to evaluate properly during daylight hours. Take this time to see how the beams interact with your home, plants, and garden structures.
Setting Beam Angles and Direction
Use the built-in knobs on a high-quality fixture to fine-tune the beam direction. Aim the light precisely at specific targets like architectural details or tall trees. These small adjustments create a professional and polished look for your home.
Eliminating Unwanted Glare
Walk your yard from different viewing spots, such as the street or driveway, to check for glare. Unwanted glare happens when the source shines directly into your eyes rather than on the target. Adjust the angle or add a shroud to keep the light focused on the foliage.
Moving Fixtures as Needed
Sometimes, rotating a head is not enough to get the right illumination pattern. You may need to move the stake several feet to achieve a better landscape lighting effect. Changing the location of your fixtures ensures the illumination spreads evenly across the ground.
Securing Connections with Electrical Tape
Some installers wrap electrical tape around wire connectors for extra security against moisture. While quality lights are waterproof, this step prevents wires from pulling loose or shifting over time. Choosing components with strong performance warranties ensures your light system stays bright. High-quality lighting parts often come with built-in protection that minimizes the need for extra tape.
Programming and Optimizing Your Landscape Lighting

Success with a landscape lighting system depends on how well you program the transformer features. Setting up the controls maximizes the convenience of your low voltage landscape lighting system. This final part of the project ensures your home stays lit without daily manual effort.
Proper programming makes the installation look professional and inviting. It transforms a simple layout into a smart, automated display. This helps you save energy while highlighting your favorite outdoor elements.
Setting Up Photo Sensors vs. Manual Timers
Transformers usually offer two type options for control. Photo sensors detect light levels to trigger the lighting system at dusk. However, different sensor sensitivities can cause multiple units to activate at a different time.
| Control Type | Best Use Case | Main Benefit |
|---|---|---|
| Photo Sensor | Single transformer setups | Dusk-to-dawn automation |
| Digital Timer | Multi-zone properties | Precise synchronization |
| Hybrid Mode | Custom schedules | Advanced flexibility |
Programming Your Transformer Timer Settings
The process of setting up your lighting system starts with the internal clock. Ensure the transformer has steady power before you begin. Use the onboard tools to input the current hour and date correctly.
Setting On and Off Times
Most home owners prefer lights to activate at sunset. You can set the low voltage units to turn off at 11 PM or midnight to save energy. This keeps the voltage levels stable while providing security during dark hours.
Ensuring Consistent Operation Across Zones
If your project uses multiple zones, timers provide better results than sensors. They ensure every system activates at the exact same moment. If you use a timer, you should remove the photo sensor to prevent control conflicts.
Final Adjustments and System Check
Once you program the units, observe the operation for several nights. This allows you to verify that the timing works across the whole yard. You might need to tweak the schedule as the seasons change and days get shorter.
- Confirm all zones activate simultaneously.
- Check for any flickering caused by timer conflicts.
- Ensure the schedule aligns with your personal routine.
Conclusion
As you wrap up this effort, your outdoor lighting system will finally showcase the beauty of your garden at night. Completing a diy low voltage project is a rewarding way to improve your home and its security. You have successfully managed every step from the initial guide to the final lighting installation.
This comprehensive guide taught you how to choose transformers and pick the right wire for your yard. You learned to place fixtures along a path to ensure safe movement after dark. Each light now highlights your landscape and its unique features with a warm glow. By following this landscape lighting installation, you saved money while achieving professional results.
A well-planned landscape lighting system offers more than just aesthetic beauty for your landscape. It provides security by eliminating dark corners around your property. Your landscape looks more inviting, and your fixtures add a sophisticated touch to your lighting design. Properly buried wire ensures your lighting remains reliable for years to come.
When you learn how to design outdoor living spaces, you understand the value of a quality lighting installation. The landscape will change over time, and your landscape lighting can adapt as well. You might need to move a fixture or adjust a wire as plants grow taller. This lighting installation is just the beginning of your journey to a better landscape.
The process of running wire through a path or garden bed is simple but effective. If you have questions about your specific lighting installation, reach out to local experts. They can help with complex landscape lighting needs or technical wire issues. Feel free to ask questions if you decide to expand your outdoor lighting later.
Remember to check your wire connections and fixtures periodically for the best performance. A successful landscape lighting installation increases your pride in your garden. The glow of the bulbs highlights the textures of your landscape in a way that daylight cannot match. Enjoy the peaceful atmosphere that your new design creates every single evening.
We hope this guide made the installation of your wire and light components easy to follow. Your landscape deserves to shine throughout the night. By taking the time to plan, you have secured a beautiful landscape for your family. Congratulations on completing this impressive home improvement task.
| Project Aspect | Main Benefit |
|---|---|
| Security | Illuminated paths and entry points reduce risks. |
| Aesthetics | Fixtures highlight trees and architectural details. |
| Value | Proper installation boosts overall curb appeal. |
| Reliability | Quality wire and connectors ensure long-term use. |