

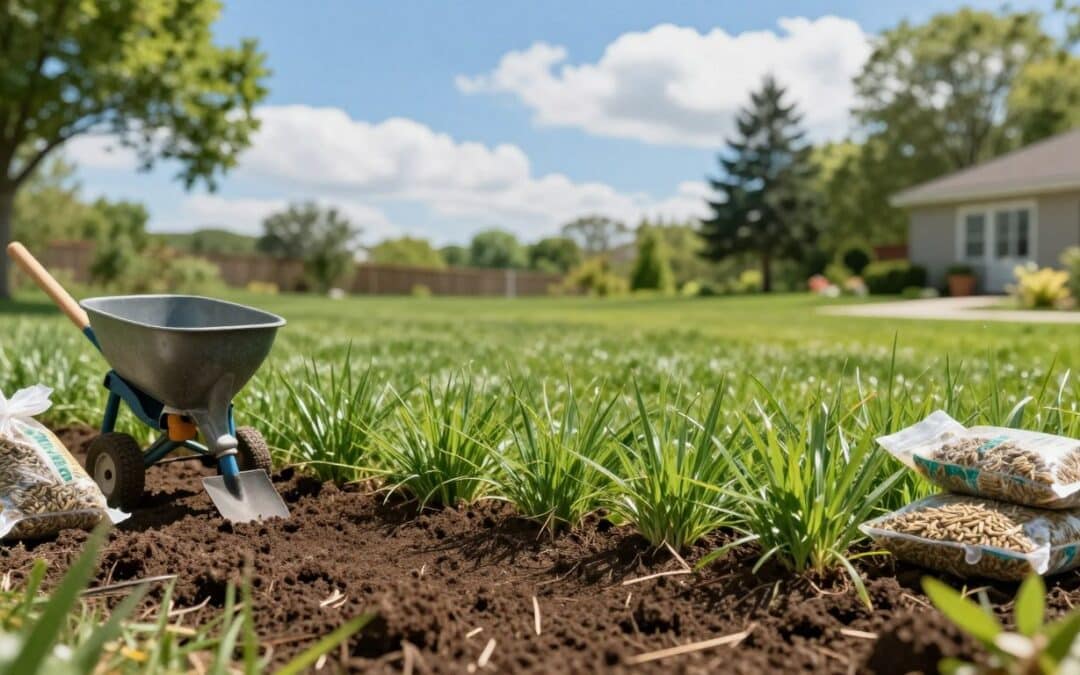
Lawn renovation rebuilds weak turf by correcting soil, drainage, weeds, and thatch before adding new seed. For homes in Wilbraham, MA, the best time is mid-August through mid-September, when cool-season grass can establish before summer stress returns. Early spring is the next best window, helping the turf develop lasting strength through changing weather.
Last fall, a Wilbraham homeowner noticed thin patches near the driveway. Instead of spreading seed over the problem, the family tested the soil, improved drainage, removed excess thatch, and chose grass suited to the region. That simple step produced thicker growth and less summer damage.
This guide explains a practical process based on sound university extension guidance. You will learn how to assess the site, mow correctly, aerate compacted ground, complete seeding, and water new growth. With more than 40 years of family-owned experience and a “Committed to Excellence” standard, each project receives careful planning for dependable lawn care results.
Key Takeaways
- Evaluate soil, drainage, weeds, and thatch before planting.
- Choose mid-August through mid-September for the strongest establishment window.
- Use early spring when fall conditions are not suitable.
- Select cool-season grass that fits Wilbraham’s climate.
- Protect seedlings with proper watering and gentle maintenance.
Determine Whether Your Wilbraham Lawn Needs Renovation
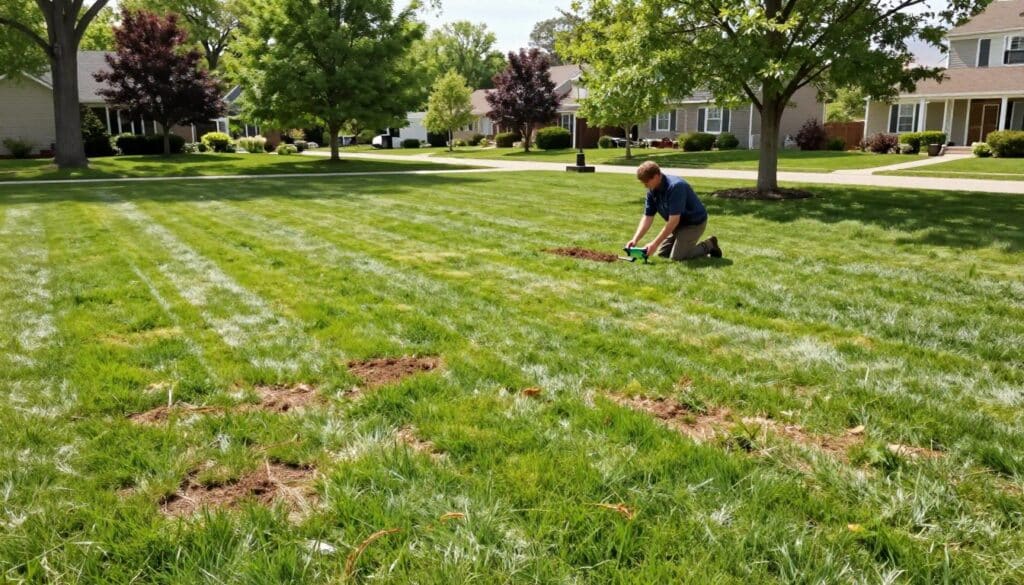
Start with a careful walk-around before buying seed or equipment. Check color, healthy turf, bare areas, weed coverage, compaction, and recurring damage. A soil test can reveal problems that surface checks miss.
Signs That Repair or Overseeding May Be Enough
Small bare spots, isolated dandelions, pet damage, or short-term drought stress often need simple repair. Rake the area, loosen the soil, add seed, and water lightly. Aeration can also help thin grass where roots struggle in compacted ground.
When Bare Areas, Weeds, and Thatch Require a Full Renovation
Consider a larger renovation when about 30% to 50% of the existing lawn is dead or sparse. Broadleaf weeds, crabgrass, or other unwanted plants across a similar share show that remaining grass may not recover. A soft, spongy surface may signal thatch over 3/4 inch thick. Use this guide to choose the least intensive step.
For detailed regional lawn care guidance, compare your findings with local service advice.
| Condition | Common signs | Best first action |
|---|---|---|
| Decent | Full grass with minor spots | Spot repair or routine care |
| Thinning | Sparse grass and limited weeds | Aeration and overseeding |
| Severely failing | 30%–50% loss, heavy weeds, thick thatch | Full renovation after soil correction |
Choose the Right Time and Grass Seed for Wilbraham’s Climate
Wilbraham’s cool-season climate makes timing a key step in lawn renovation. Mid-August through mid-September offers warm soil, cooler nights, and fewer weed pressures. Early spring is the next best time, but young plants may face summer heat before their roots mature.
Cool-Season Grass Selection for Sun, Shade, and Drought
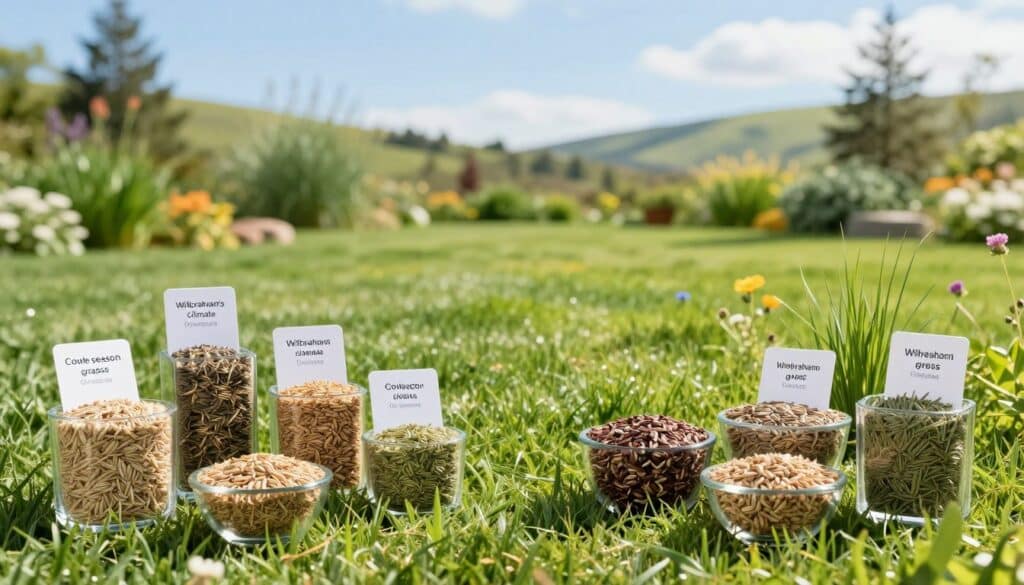
For a sunny yard with limited maintenance, consider 50% to 60% common Kentucky bluegrass and 40% to 50% fine fescue. Kentucky bluegrass can need two to three weeks to germinate, so steady moisture supports reliable seeding.
Partly shaded areas often perform better with 80% to 100% fine fescue and about 20% Kentucky bluegrass. Fine fescue handles lower light, while turf-type tall fescue suits dry spots, heat, pets, children, and heavy traffic.
Match the blend to sunlight, soil conditions, and expected use rather than choosing a generic bag. For tailored regional lawn renovation services, local guidance can support long-term care and maintenance.
Test the Soil and Correct Drainage Problems
A soil check can prevent wasted materials and weak growth. Test Wilbraham soil before adding lime, sulfur, compost, phosphorus, potassium, or fertilizer. A pH near 6.0 to 7.0 suits many cool-season grasses, but the ideal range depends on the blend. The University of Minnesota Soil Testing Laboratory offers a useful basic testing resource.
Use Results to Guide Soil Amendments
Use compost only when results show a need. It can improve sandy or clay soil, but excess material may upset nutrients. After testing, follow the report for lime or fertilizer rates.
Improve Compaction and the Root Zone
Push a screwdriver 4 to 6 inches into the ground. Little entry suggests compaction. Wet the soil 6 to 8 inches, then wait 1 to 2 days until the surface firms. Make three to five aerifier passes over hard areas. Vertical mowing can nick the surface 1/8 to 1/2 inch; use two to three passes when needed. Avoid deep tilling near tree roots, irrigation lines, or utilities.
Address Standing Water Before Seeding
Correct puddles that last over 24 hours after rain. Grade low spots, improve soil structure, or install drainage before the next renovation step. Review these drainage issue signs before planting.
Gather the Materials and Equipment for Lawn Renovation
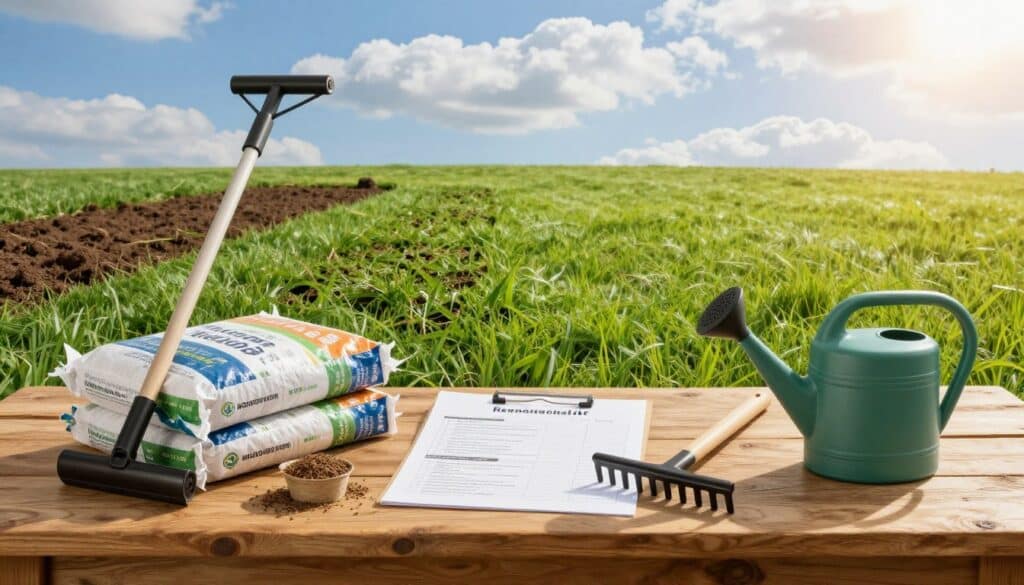
Gather supplies before the first step so the renovation process stays organized. Match each tool to the size of the site, soil condition, and amount of damaged turf.
- For patches under 8 feet across, use a hand rake, measuring cup, gloves, hose, and seed. Mix one part seed with four parts natural organic fertilizer for even coverage.
- For compacted soil or heavy thatch, rent a core aerifier, vertical mower, drop spreader, rotary spreader, roller, and protective seed blanket.
- For complete turf removal, add a sod cutter, rake, screened soil, and compost. Use test results to guide amendments instead of guessing.
- Prepare drainage areas with grading tools and a hose for checking water flow. Choose tools that remain stable on slopes.
Slit seeders place grass seed into narrow grooves, but they require skill. Poor operation can harm healthy turf or create uneven growth. A trained professional may offer safer results for larger sites.
Inspect rented equipment before transport. Check guards, tires, controls, and cables. Mark buried utilities, use proper lifting help, and wear eye and foot protection. For broader front-yard care, plan access before moving heavy machines.
Complete the Lawn Renovation Process for Strong Seed-to-Soil Contact
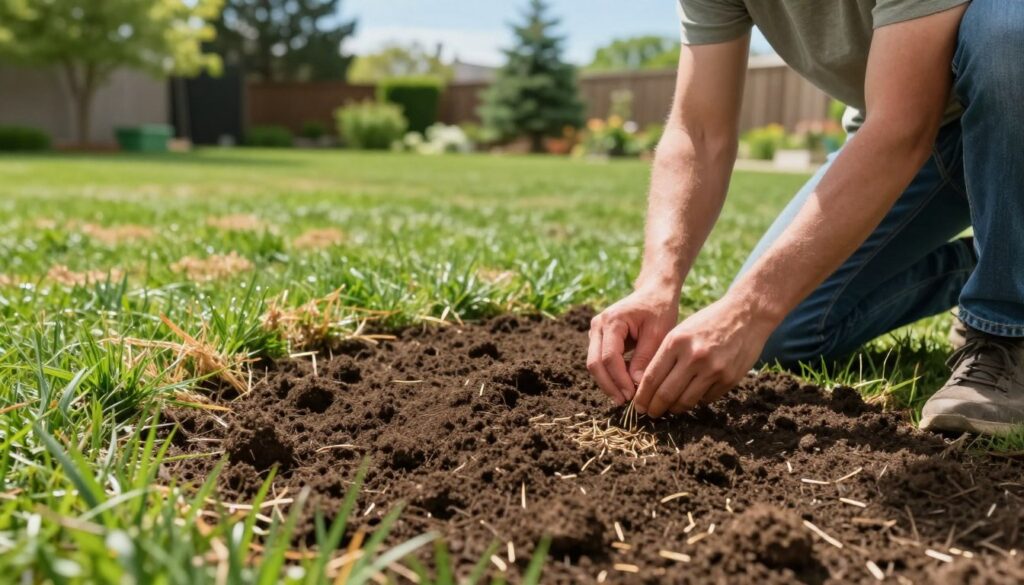
Work in a clear sequence to give new grass the best start. Dry conditions help equipment move smoothly and keep the surface easier to manage.
Remove Weeds, Debris, Thatch, and Failing Turf
First, mow failing turf to 1.5 to 2 inches. Remove leaves, stones, dead grass, weed crowns, and other debris. For overseeding, cut the existing lawn to about 1 inch. This exposes more soil and improves light for new seedlings.
Use vertical mowing when thatch forms a thick layer. A sod cutter may be better when much of the turf has failed. If weeds remain, follow the pesticide label. Non-selective products may need 5 to 14 days before seeding.
Aerate, Level, Fertilize, and Spread Grass Seed Evenly
Make three to five core aeration passes across compacted areas. Add screened soil to low spots, then use compost only when soil results support it. Apply fertilizer by label; about 1/2 pound of actual nitrogen per 1,000 square feet may support post-seeding growth.
Divide grass seed into halves or quarters. Spread it in two or four directions, using a hand method for areas under 8 feet wide. Lightly rake seed into the top 1/8 to 1/4 inch, then roll gently to improve soil contact without burying it.
Protect New Seedlings With Climate-Smart Watering and Care
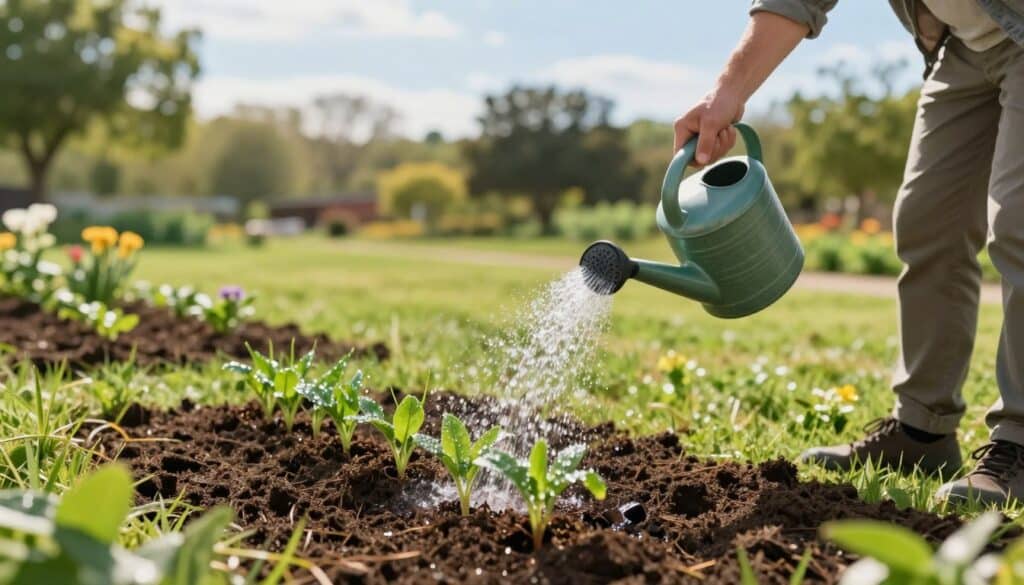
After seeding, steady care protects the soil surface and supports strong roots. Use climate-smart watering practices to respond to Wilbraham’s heat, wind, rain, and dry periods.
Maintain Moisture Without Overwatering
Keep the upper soil slightly damp with light applications. Avoid muddy areas and standing water. In hot, dry, or windy weather, water two to four times daily until germination begins.
Most seed needs consistent moisture for 7 to 30 days. Kentucky bluegrass may take two to three weeks, so adjust watering by grass type and weather. Once seedlings appear, water less often but more deeply to encourage stronger roots and better drought tolerance.
Mow at the Right Height and Limit Early Foot Traffic
Wait until new grass reaches 3 to 4 inches before mowing. Remove no more than one-third of the leaf tissue, or about the top inch. Keep children, pets, furniture, and equipment off seeded areas during the first weeks.
Delay weed control until the product label permits treatment. Remove large weeds by hand when possible. Raise the mowing height gradually as new seedlings blend with established turf, then continue regular lawn care.
Conclusion
A durable Wilbraham lawn starts with a clear diagnosis. Correct drainage and soil issues, choose cool-season grass, and prepare a clean seedbed. Press seed into the soil, keep it lightly moist for 7 to 30 days, and limit traffic while new seedlings build roots. Small damage may need repair or overseeding. About 30% to 50% loss, heavy thatch, or widespread weeds can justify full renovation. Consistent lawn care helps new grass handle heat and wear.
Can you spread topsoil over existing grass? Yes. A layer near 1/4 inch may improve thin areas, but it cannot replace proper preparation for a failing lawn.
How much does complete renovation cost? Small DIY reseeding projects often cost $100 to $500. Professional work may range from $2,000 to $8,000 or more.
Does throwing seed over turf work? Rarely. Much of the seed misses soil, so growth stays uneven.
What is the best time for seeding? Mid-August through mid-September works best for cool-season grass. Early spring is the next option.