

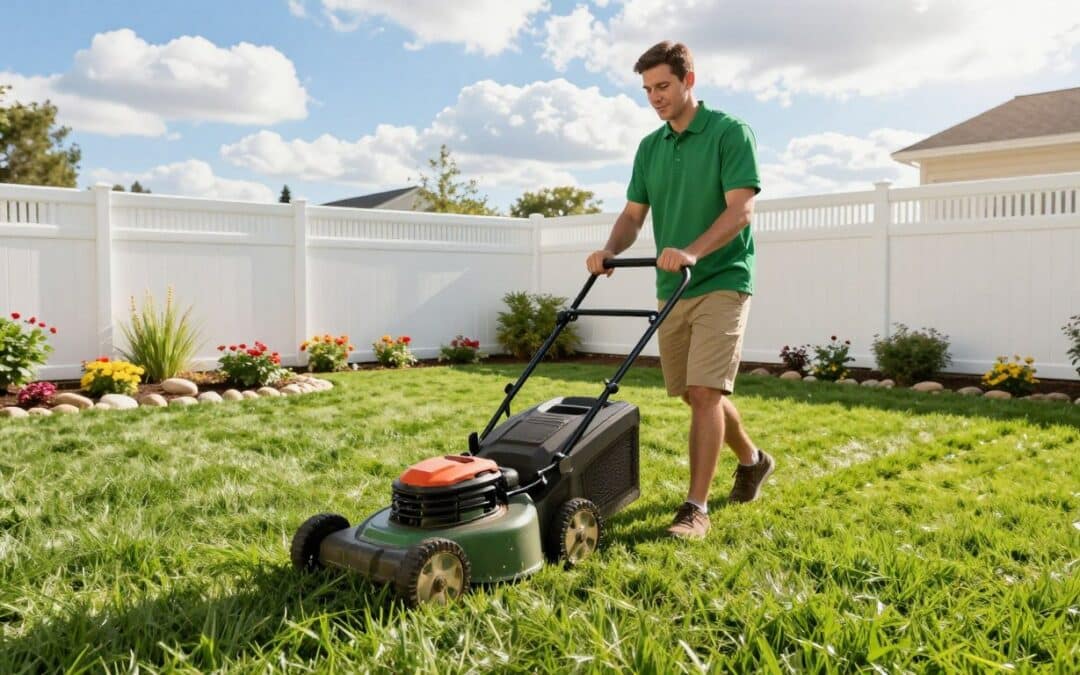
ave you ever wondered why some lawns stay lush and green while others become thin, patchy, and unhealthy? The secret often comes down to professional lawn care services and proper maintenance. Whether you’re caring for a new lawn or restoring an older one, understanding the fundamentals of lawn care is essential for creating a vibrant outdoor space. A healthy, well-maintained lawn not only enhances your home’s curb appeal but also provides the perfect setting for family gatherings, outdoor activities, and enjoying nature throughout the year.
This ultimate guide is designed to walk you through every essential aspect of maintaining a healthy lawn. From grasping soil composition to mastering seasonal maintenance, we aim to present clear and actionable advice that won’t overwhelm beginners. Every yard is unique, influenced by geographic location, grass type, and soil conditions. Our guide will help you identify the specific needs of your own space.
Many homeowners unknowingly make mistakes, such as overwatering or mowing too short. This guide will teach you how to avoid these pitfalls and empower you to take control of your yard’s health. While professional services are popular, we believe in equipping you with the knowledge to make informed decisions, whether you choose to go DIY or hire help.
Join us on this rewarding journey of lawn maintenance, and by the end, you’ll have the confidence to cultivate a vibrant, resilient yard that turns heads in your neighborhood.
Key Takeaways
- A well-maintained yard enhances your home’s curb appeal.
- This guide covers essential tips for soil, grass, and seasonal maintenance.
- Understanding your yard’s unique needs is crucial for success.
- Avoid common mistakes like overwatering and improper mowing.
- Gain the knowledge to decide between DIY or hiring professionals.
- Visible improvements can take time, but consistency is key.
Understanding Your Lawn: Soil Testing and Grass Types
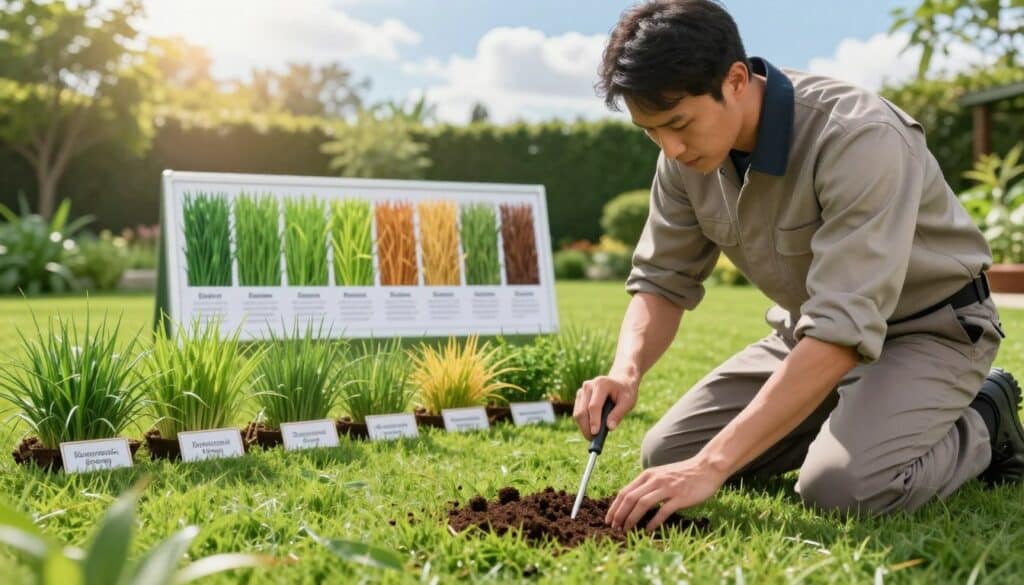
To cultivate a thriving outdoor space, it’s crucial to understand the foundation of your yard: the soil and grass types. Just like a doctor needs bloodwork to diagnose a patient, you need soil testing to ensure your yard receives the right nutrients. This process helps you make informed decisions about fertilizers and amendments, leading to a lush, healthy environment.
Why Soil Testing is the First Step
Soil testing is the single most important first step in any maintenance journey. It reveals the pH level, nutrient profile, and texture of the soil. This diagnostic process prevents wasted money and effort on unnecessary fertilizers. Most turf grasses thrive in a slightly acidic range between 6.0 and 7.0. Soil test results will indicate whether lime or sulfur is needed to adjust pH for optimal grass growth.
Soil texture also plays a significant role in watering frequency and nutrient retention. For example, clay soils hold moisture longer, requiring less frequent irrigation. In contrast, sandy soils drain quickly and may need more frequent watering and organic matter amendments to support strong roots. Testing should be repeated every 2 to 3 years to monitor changes and adjust your regimen accordingly.
Identifying Cool-Season vs Warm-Season Grasses
All grass species in the United States fall into two broad categories: cool-season and warm-season. Knowing which type grows in your yard is essential. Every subsequent care decision, from fertilizing schedules to mowing heights, depends on this classification.
Cool-season grasses, such as Kentucky bluegrass and tall fescue, thrive in Northern states with long winters and mild summers. They actively grow in spring and fall, entering dormancy during the hot summer months. On the other hand, warm-season grasses like bermudagrass and zoysiagrass flourish in Southern states with long, hot summers and mild winters, growing actively during the summer heat.
The Impact of Soil and Grass Type on Lawn Care
The transition zone in the middle of the country presents unique challenges. This area can support either grass type. If your yard remains green during the summer, it likely has warm-season grass. Conversely, if it browns out, it’s probably cool-season grass. Understanding this relationship is vital for effective management.
The interplay between soil type and grass type dictates everything from watering schedules to fertilizer application rates. This knowledge can mean the difference between a struggling yard and a thriving, resilient turf that withstands drought, pests, and heavy foot traffic.
| Grass Type | Optimal Conditions | Growth Period | Common Varieties |
|---|---|---|---|
| Cool-Season | Northern states with long winters | Spring and Fall | Kentucky Bluegrass, Tall Fescue, Perennial Ryegrass |
| Warm-Season | Southern states with long summers | Summer | Bermudagrass, Zoysiagrass, St. Augustine |
By understanding both soil and grass types, you can tailor your approach to meet the specific needs of your yard. This guide equips you with the knowledge to create a beautiful, healthy space that enhances your property’s appeal.
Lawn Care Basics: Essential Tools and Equipment
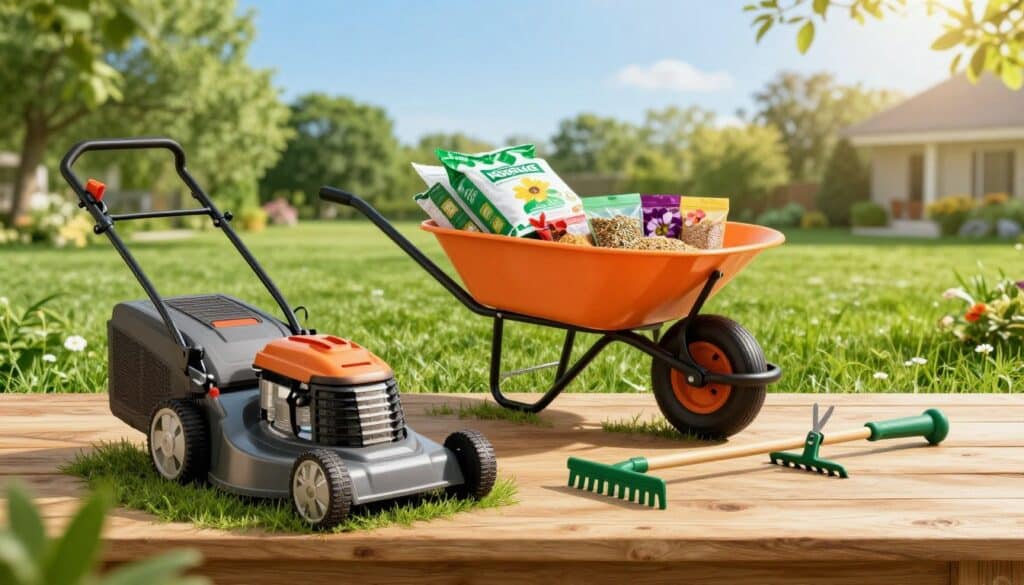
Equipping yourself with the right tools can make all the difference in maintaining a vibrant outdoor space. Walking into a garden center or browsing online for equipment can feel overwhelming. However, only a handful of essential tools are truly necessary to keep your yard healthy. This section will help you prioritize your purchases based on your specific yard size and needs.
Choosing the Right Lawn Mower and Maintaining Blades
The lawn mower is the cornerstone of any maintenance toolkit. Among the options available, walk-behind mowers are the most practical and cost-effective choice for most homeowners. Budget electric models start around $108, while standard models average about $322.
Maintaining sharp mower blades is critical. Cutting grass with dull blades is like using blunt scissors on hair; it rips and shreds the grass tips. This leaves your yard looking ragged and creates entry points for pests and diseases that can compromise turf health. Sharpen your mower blades at least once a year, ideally at the start of the growing season. If you mow a large area or frequently encounter rocks, sharpen them more often. You can either learn DIY sharpening techniques or take the blades to a local hardware store for professional help.
Additional Tools: Spreaders, Edgers, and Aerators
Besides the mower, consider investing in a spreader for even fertilizer application. Prices range from $11 for a basic handheld model to $300 for a broadcast spreader suitable for larger properties. A quality spreader prevents streaking and uneven growth, ensuring that your products are applied uniformly.
An edger is also important for creating crisp boundaries along walkways, driveways, and flower beds. Both manual and motorized options are available, and well-defined edges instantly elevate the appearance of your yard. This prevents grass from creeping into garden beds, where it competes with ornamental plants.
A string trimmer, or weed eater, is valuable for tackling grass in areas the mower cannot reach, such as around trees and fence posts. This tool is essential for achieving a polished, professionally maintained look.
Watering Equipment: Hoses, Sprinklers, and Water Conservation
Watering equipment includes garden hoses, which start around $20, and sprinklers. Consider investing in a WaterSense labeled sprinkler controller, which can save up to 15,000 gallons of water annually. This makes them both environmentally responsible and cost-effective over time.
To round out your toolkit, include supporting tools such as a bow rake for leveling soil and mulch, a wheelbarrow for hauling heavy materials, and a shovel for digging and edging tasks. Building a complete toolkit can happen gradually, so there’s no need for a large upfront investment.
Best Practices for Mowing Your Lawn
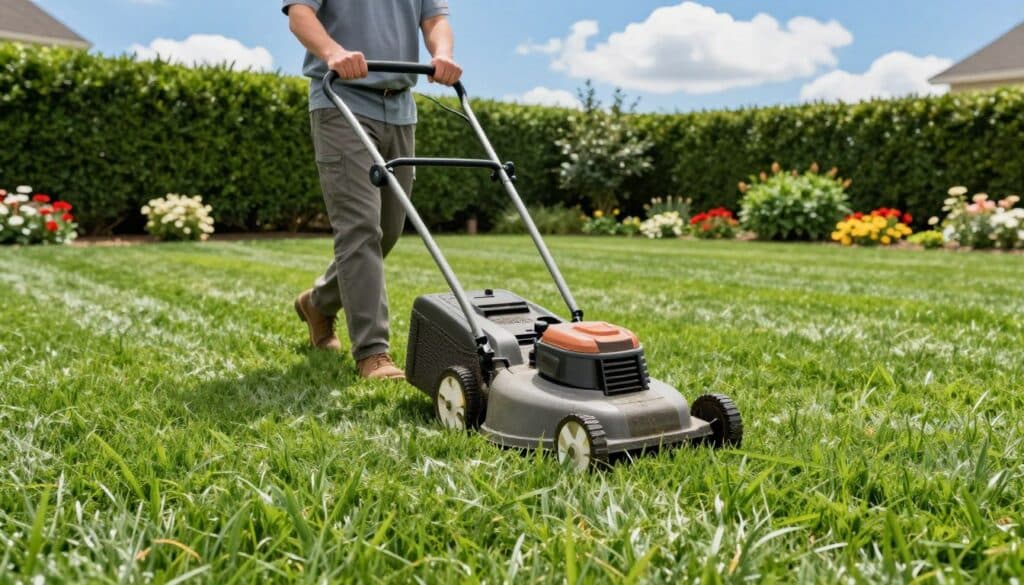
Mowing is not just a routine task; it is a vital practice that influences the health and appearance of your outdoor space. Regular mowing encourages roots to spread, filling gaps and blocking out weeds. Understanding the best practices can lead to a lush, thriving environment.
When and How Often to Mow
During the active growing season, homeowners should aim to cut their grass at least once a week in summer. In spring, autumn, and mild winter conditions, mowing every two weeks is sufficient. It’s essential to let the growth rate of the grass dictate your mowing schedule rather than strictly adhering to the calendar.
Adjusting Cutting Heights for Different Seasons
Adjusting the height of your mower is crucial for grass health. In summer, raise the cutting height to leave grass blades longer, around 5 to 10 centimeters. This helps shade the soil, reduces evaporation, and minimizes the risk of browning during dry spells.
Following the One-Third Rule to Protect Grass Health
The one-third rule is a golden principle for mowing. Never remove more than one-third of the total grass blade height in a single mowing session. For example, if the grass is 3 inches tall, set your mower to cut no more than 1 inch. Cutting more can shock the plant and divert energy from root growth to recovery.
Scalping, or cutting below the recommended height, exposes brown stems and stresses the plant. This practice makes the grass more susceptible to weeds and diseases. It’s important to mow before winter, as tall grass can attract pests and promote fungal diseases like snow molds.
When it comes to clippings, mulching is usually the best option. It returns nutrients to the soil, promoting healthy growth. However, if the grass is excessively tall, wet, or diseased, bagging the clippings is advisable to prevent clumping and smothering the turf beneath.
Varying your mowing patterns—switching between horizontal, vertical, and diagonal passes—helps prevent soil compaction and encourages grass to grow upright. This technique results in a more uniform and professional-looking finish.
Finally, ensure your mower is well-maintained with sharp blades. Inspect and sharpen them at least annually for clean cuts that heal quickly, keeping your outdoor space looking its best throughout the growing season.
Watering Your Lawn Effectively: Timing, Amount, and Techniques
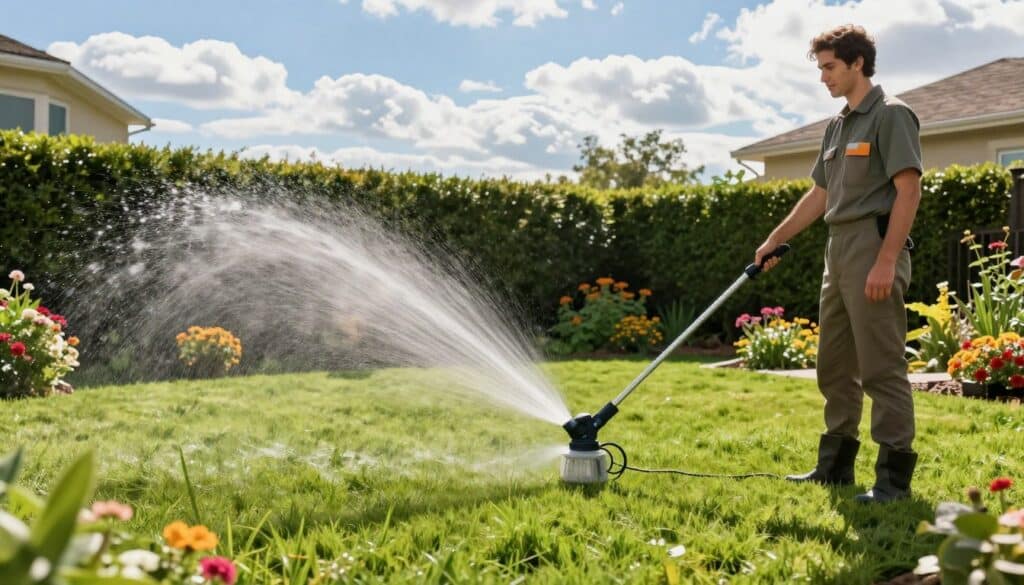
Mastering the art of watering can significantly enhance the health of your greenery. Proper hydration is vital for promoting strong roots and vibrant growth. However, many homeowners misunderstand how much and how often to water. This section will clarify the best practices for effective watering.
Watering Frequency and Depth to Promote Strong Roots
Most turf grasses require between 1 to 1.5 inches of water each week. This amount should be delivered in one or two deep watering sessions. Frequent light watering can lead to shallow roots, making the grass vulnerable to drought and heat stress.
Roots naturally seek moisture. When water is only applied to the surface, roots remain shallow. Infrequent deep watering encourages roots to extend deeper into the soil, accessing more nutrients and stabilizing moisture levels during dry spells.
Best Times of Day to Water
The best time to water is early in the morning, before 8 a.m. During this time, temperatures are cooler, and winds are calmer. This allows water to soak into the soil effectively before the sun’s heat causes evaporation. Grass blades also dry completely during the day, preventing fungal diseases that thrive in overnight moisture.
Avoid watering in the evening. Keeping grass wet overnight creates a breeding ground for pests and diseases, leading to potential lawn issues.
Using Rainwater and Grey Water to Conserve Resources
Water conservation is a responsible practice every homeowner should embrace. Utilizing stored rainwater collected from roofs or grey water from household activities can significantly reduce reliance on municipal water supplies. These free sources of water provide adequate moisture while lowering water bills.
For new lawns, watering every seven to ten days during dry weather is essential until they are well established. However, avoid saturating the soil, as this can lead to shallow rooting and poor establishment.
- Overwatering is one of the most damaging mistakes homeowners make. Experts estimate that up to 50% of irrigation water is wasted due to evaporation, wind drift, and runoff.
- Deliver water in one or two deep sessions each week to encourage deep root growth.
- Recognize signs of drought stress, such as grayish-blue turf or visible footprints in the grass.
- Established lawns often do not require supplemental watering, as they can naturally enter a temporary dormancy during dry periods.
- Collect rainwater and grey water to reduce demand on municipal supplies and lower water bills.
| Watering Practice | Recommended Amount | Frequency | Best Time |
|---|---|---|---|
| Established Grass | 1 to 1.5 inches | 1-2 times a week | Before 8 a.m. |
| New Grass | As needed | Every 7-10 days | Before 8 a.m. |
By following these guidelines, you can ensure that your outdoor space thrives. Remember, effective watering is not just about quantity but also about timing and technique.
Feeding Your Lawn: Fertilizing Tips for Optimal Growth
Understanding how to properly feed your yard is essential for promoting healthy growth. Many homeowners believe that frequent applications of fertilizer are necessary. However, most established lawns can thrive without regular feeding. Fertilizer should only be applied when a soil test indicates a genuine nutrient deficiency. This approach not only conserves resources but also supports a healthy ecosystem.
Understanding Nutrient Needs: Nitrogen, Phosphorus, and Potassium
The three key nutrients for healthy growth are nitrogen (N), phosphorus (P), and potassium (K). Nitrogen is crucial for leaf growth and provides the rich green color that many homeowners desire. Phosphorus helps develop strong roots, which anchor the plant and access water and nutrients. Potassium strengthens the grass against environmental stresses, including drought and disease.
When reading fertilizer labels, you’ll often see a series of three numbers, such as 25-10-15. This indicates the percentage of each nutrient by weight. For example, a 25-10-15 fertilizer contains 25% nitrogen, 10% phosphorus, and 15% potassium. It’s essential to remember that no more than 1 pound of actual nitrogen should be applied per 1,000 square feet in a single application. This helps prevent burning the turf and promotes healthy growth.
When and How to Apply Fertilizer Depending on Grass Type
Timing is critical when it comes to fertilizing. For cool-season grasses, such as Kentucky bluegrass and tall fescue, the best time to fertilize is in early fall. This is when they are actively growing and storing energy for winter. An optional lighter application can be made in spring after the grass has fully greened up, ensuring that root development is prioritized.
Warm-season grasses, like bermudagrass and zoysiagrass, should be fertilized during their active growth period from mid-spring through summer. Avoid fertilizing in the fall, as this can interfere with their natural preparation for winter dormancy.
It’s also important to avoid mowing immediately after fertilizing. If both tasks are necessary on the same day, mow first and wait several hours before applying any fertilizer.
Choosing Organic vs Synthetic Lawn Feeds
When selecting fertilizer, consider whether to use organic or synthetic options. Organic fertilizers, such as seaweed-based products, sieved compost, and leafmould, work in harmony with existing soil microbes. They help build long-term soil fertility and improve soil structure. In contrast, synthetic fertilizers can decrease microbial populations over time and require significant energy to manufacture.
Animal-derived organic fertilizers, like fish emulsion and pelleted chicken manure, can be effective. However, it’s crucial to consider the source and production conditions, as some may come from animals raised with synthetic hormones and antibiotics.
Ultimately, the most sustainable approach to feeding is a minimalist one. Conduct soil tests every few years to determine what nutrients are genuinely needed. Apply only the necessary nutrients and favor slow-release organic amendments. This strategy improves soil health over time rather than providing a quick green-up that fades within weeks.
| Nutrient | Role | Source Examples |
|---|---|---|
| Nitrogen (N) | Promotes leafy growth and green color | Blood meal, fish emulsion, synthetic fertilizers |
| Phosphorus (P) | Supports root development | Bone meal, rock phosphate, organic compost |
| Potassium (K) | Enhances stress and disease resistance | Wood ash, greensand, pelleted chicken manure |
By following these fertilizing tips, you can create a thriving environment for your grass. Remember, a well-fed yard is not just about the nutrients; it’s about the timing and the method of application. With the right approach, your outdoor space can flourish beautifully.
Managing Lawn Weeds, Pests, and Diseases Naturally
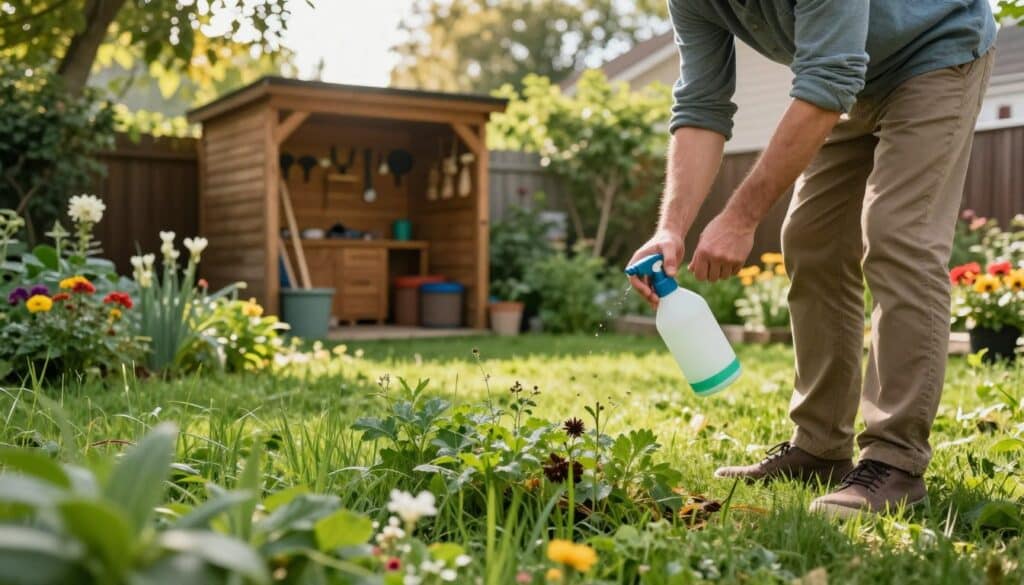
Creating a thriving outdoor space goes beyond just planting grass. Managing weeds, pests, and diseases is essential for a healthy yard. A natural approach not only supports biodiversity but also enhances the overall health of your greenery. Here, we’ll explore effective strategies to tackle these common problems without relying on harsh chemicals.
Common Lawn Weeds and Prevention Strategies
Weeds can be more than just an eyesore; they can also inhibit the growth of grass. However, not all plants labeled as weeds are detrimental. Some, like clover, contribute positively to the ecosystem by fixing nitrogen in the soil. Here are some common weeds to watch for:
- Dandelions: Recognizable by their deep taproots and wide leaves, they can smother grass.
- Plantains: These form flat rosettes and can quickly take over large areas.
- Buttercups: A creeping spreader that can colonize thin turf.
- Clover: While often seen as a weed, it supports pollinators and enriches the soil.
- Yellow Medick: Another creeping invader that can weaken grass.
Non-Chemical Weed Removal Techniques
Hand-weeding is a highly effective method for controlling unwanted plants. Use a hand trowel or daisy grubber to remove weeds completely, roots and all, especially when the soil is moist. This method is labor-intensive but eliminates the weed without introducing chemicals into the environment.
Another effective technique is raking the lawn before mowing. This lifts the long stems of creeping weeds like clover and buttercups upright, allowing mower blades to cut them down. Repeating this practice consistently can weaken these weeds over time, reducing their ability to photosynthesize.
Moss is often seen as a nuisance, but it can indicate underlying soil issues. If you have damp, poorly drained areas, consider embracing moss as a low-maintenance groundcover or address the drainage problems that allowed it to thrive.
Recognizing and Controlling Lawn Pests and Diseases
Being vigilant about the signs of pests and diseases can save your yard from significant damage. Look for:
- Visible fungus, mildew, or mushrooms on the turf.
- Brown spots or patches that spread over time.
- Discoloration of individual grass blades, known as leaf spot diseases.
- Areas of dead or dying grass that do not respond to watering.
The most effective long-term solution for pest and disease problems is improved maintenance. A lawn that is properly mowed, watered deeply but infrequently, and grown in healthy soil is naturally resistant to most issues.
Thatch management is also crucial. Excessive thatch, more than half an inch thick, creates a moist environment for pests and diseases. Regular aeration and dethatching improve air circulation and water penetration, reducing these risks.
While pre-emergent and post-emergent herbicides exist, they should be a last resort. Addressing the root causes of weed and pest problems—like poor soil health and improper watering—will yield more lasting results than any chemical quick fix.
Repairing Your Lawn: Overseeding, Patching, and Aeration
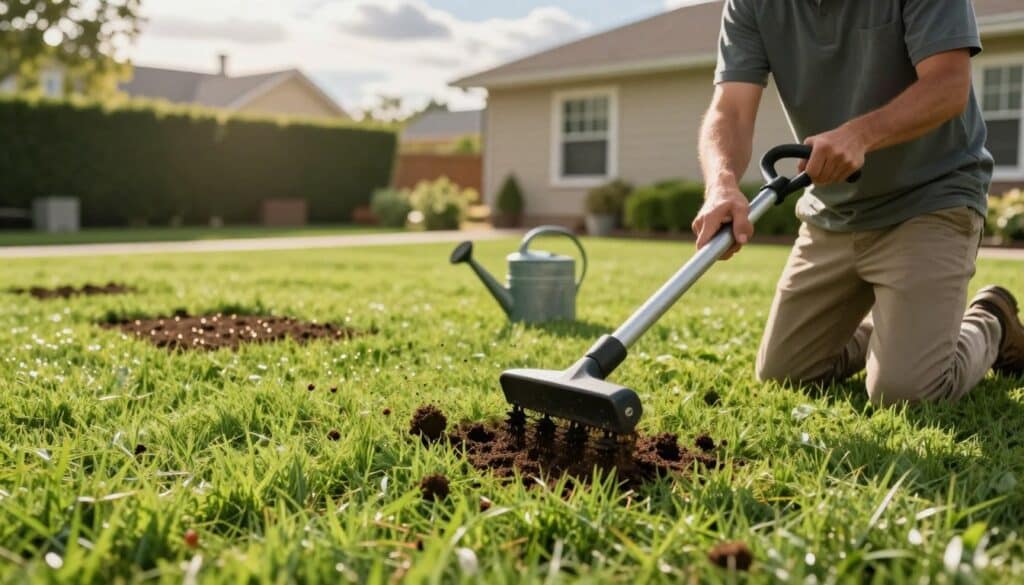
Revitalizing your outdoor area can be a fulfilling project that enhances both beauty and functionality. Learning how to effectively repair your yard can help you maintain a lush, green environment. This section will guide you through overseeding, patching, and aeration, providing you with the confidence to tackle these tasks as DIY projects.
How to Overseed for a Fuller Lawn
Overseeding is the proactive secret behind thick, dense grass that neighbors envy. Instead of waiting for bare patches to appear, smart homeowners regularly spread grass seed over their existing lawn. This technique introduces young, vigorous plants that fill in thin areas before they become visible problems.
Timing is crucial when overseeding:
- For warm-season lawns like bermudagrass or zoysiagrass, overseed in spring or early summer when soil temperatures are warm.
- For cool-season lawns such as Kentucky bluegrass or tall fescue, overseed in fall when cooler temperatures and reliable moisture create ideal conditions.
If your yard experiences heavy foot traffic or naturally thins out, overseed annually. Lawns that maintain their density well can be overseeded every few years as a preventative measure.
Repairing Bare Patches with Seed and Turf
When you encounter bare patches, there are two effective methods for repair:
- Seed Method: Rake the bare soil to create a loose seedbed. Scatter grass seed evenly, then apply a thin layer of compost or straw to retain moisture and protect against birds.
- Turf Method: Cut a square of healthy turf to fit precisely into the damaged area. Firm it down so it sits flush with the surrounding grass.
While early autumn is the ideal time for sowing grass seed, mid-spring is also acceptable once temperatures have moderated. This gives homeowners two opportunities each year to address lawn damage effectively.
The Benefits of Aerating to Alleviate Soil Compaction
Aeration is essential for maintaining healthy roots and soil. Think of compacted soil like a corked bottle—water, air, and nutrients cannot penetrate the dense surface. Aeration involves removing small plugs of soil to uncork the ground, restoring the flow of essential elements to the root zone.
Soil compaction can occur due to:
- Foot traffic from family activities.
- Heavy lawn mower passes.
- Rainfall compacting bare soil.
Warm-season grasses should be aerated during their active summer growth period for quick recovery. Cool-season grasses benefit from aeration in fall when cooler temperatures and moist conditions support healing.
For lawns on heavy clay soils or those experiencing constant traffic, aerate annually. Sandy soils can often go two to three years between aeration treatments. Consider brushing sharp sand or fine horticultural grit into the aeration holes to improve drainage and prevent further compaction.
Lawn Care Tips for Season-Long Maintenance
Understanding the rhythm of seasonal tasks can transform your yard into a lush paradise. Each season presents unique opportunities and challenges that require specific attention. This guide will help you navigate the essential tasks throughout the year to keep your outdoor space healthy and vibrant.
Spring Lawn Care: Preparation and Early Growth
As the weather warms, it’s time to prepare your yard for the growing season. Begin with your first mow once the grass starts actively growing. Set the cutting height appropriately for early spring conditions. Use a half-moon edging iron to create an 8-centimeter gutter along the lawn borders. This prevents grass from creeping into flower beds and vegetable gardens.
If a soil test indicates the need, apply a slow-release fertilizer high in nitrogen in mid-spring, typically from late March to April. This will help your grass thrive without forcing leafy growth at the expense of root development. Additionally, consider the “No Mow May” initiative. By stopping all mowing from early May through at least August, you allow wild plants to flower, providing essential pollen and shelter for beneficial insects.
Summer Strategies: Mowing, Watering, and Drought Management
During the hot months, focus on stress reduction and water conservation. Raise the mower cutting height to 5 to 10 centimeters. This leaves longer grass blades that shade the soil and reduce evaporation. Water deeply but infrequently, only when the lawn shows signs of drought stress, such as a grayish-blue tint or persistent footprints.
Reassure yourself that an established yard turning brown in summer is not dying. It’s simply entering a natural dormancy from which it will fully recover once autumn rains return. Choosing not to water during summer drought is an environmentally responsible decision that saves water and money without causing permanent damage.
Fall and Winter Care: Feeding and Preparing for Dormancy
As autumn arrives, it’s time to set the stage for next year’s success. Fertilize cool-season grasses during their peak autumn growth period. This is when nutrients are stored in roots for winter survival and rapid spring green-up. Overseed and aerate cool-season lawns under ideal conditions of warm soil and cool air.
Managing fallen leaves is critical. A thick, wet mat of leaves can block sunlight, create conditions for fungal diseases, and smother grass beneath. Rake leaves every few days throughout the fall season to maintain a healthy yard.
Finally, prepare for winter by giving your grass one last mow before the first hard freeze. This prevents tall grass from matting down under snow and developing snow mold diseases. Apply organic autumn feeds like seaweed-based fertilizers or sieved compost, and avoid walking on frost-covered grass to prevent damage that will be visible in spring.
Conclusion
Creating a beautiful outdoor space is a rewarding journey that requires consistent, informed care. Throughout this guide, we’ve explored everything from soil composition to effective watering techniques. The common thread is that success lies in understanding your yard’s unique needs and responding accordingly.
Visible improvements can appear surprisingly quickly. Better mowing and watering practices often yield results within just 2 to 4 weeks. However, more significant changes, like thicker turf from overseeding, typically require patience through a full growing season.
Remember, consistency is more important than quick fixes. The most beautiful yards are maintained by those who commit time each week to care for their space. If the upkeep feels overwhelming, know that hiring professionals is a common and practical choice.
Take the first step today. Whether it’s conducting a soil test or adjusting your watering schedule, every action counts. Embrace this journey as a rewarding practice that connects you to your outdoor space and enhances your home’s beauty for years to come.