

The best approach to water proofing for basement areas combines exterior drainage, crack repair, and interior moisture control instead of relying on one barrier. In Wilbraham, MA, seasonal rain, saturated soil, and freeze-thaw cycles make durable materials and proper drainage essential for lasting results.
When Sarah noticed a damp corner beneath her Wilbraham home, she first blamed a small wall crack. The real issue was soil pressing against the foundation after heavy rain. That hydrostatic pressure can push moisture through joints, cracks, and weak points.
Interior waterproofing can manage minor seepage and condensation when outside access is limited. However, coatings alone cannot remove pressure from saturated soil. A sound plan starts with inspection, grading, gutters, and downspouts.
The following steps explain when a French drain, sump pump, membrane, sealant, wall liner, or other products make sense. They also show how basement waterproofing supports cleaner air, lower mold risk, fewer repairs, and stronger home value.
Key Takeaways
- Drainage should address outside pressure first.
- Interior systems help control minor seepage.
- Wilbraham’s freeze-thaw cycle demands durable materials.
- Inspection should guide product selection.
- A dry living space can reduce mold concerns.
- Today’s careful planning may prevent costly repairs.
What Is the Best Water Proofing for Basement Foundations in Wilbraham, MA?
Wilbraham homes need a drainage-first plan that matches local weather and soil. Heavy rain can saturate soil around a foundation, creating hydrostatic pressure against basement walls. The best way to limit that force is to move runoff away before it reaches the structure.
Why Climate and Soil Conditions Matter
Some Wilbraham soil holds moisture, while sloped areas redirect runoff toward a home. Exterior grading, footing drainage, and a drain tile system can guide excess groundwater to a safe discharge point. This method reduces pressure instead of hiding its effects behind an interior coating.
How Durable Waterproofing Protects Your Home
A lasting plan may combine a compatible membrane, careful crack repair, and reliable drainage. Material choice should reflect foundation construction, access, room use, and entry patterns. More than 40 years of family-owned experience supports inspection-led decisions and careful preparation.
“Committed to Excellence” quality means selecting compatible products and installing each layer correctly. It also means checking performance after completion, not relying on temporary surface coverage.
| System | Main Role | Best Advantage |
|---|---|---|
| Drain tile | Channels runoff | Relieves hydrostatic pressure |
| Exterior membrane | Seals foundation surfaces | Durable moisture control |
| Interior barrier | Manages minor seepage | Useful when excavation is limited |
How Water Enters Basement Foundations
Moisture can reach a basement through soil, masonry, air, or household activity. Identifying the entry path helps homeowners choose the right waterproofing method.
Hydrostatic Pressure and Groundwater Intrusion
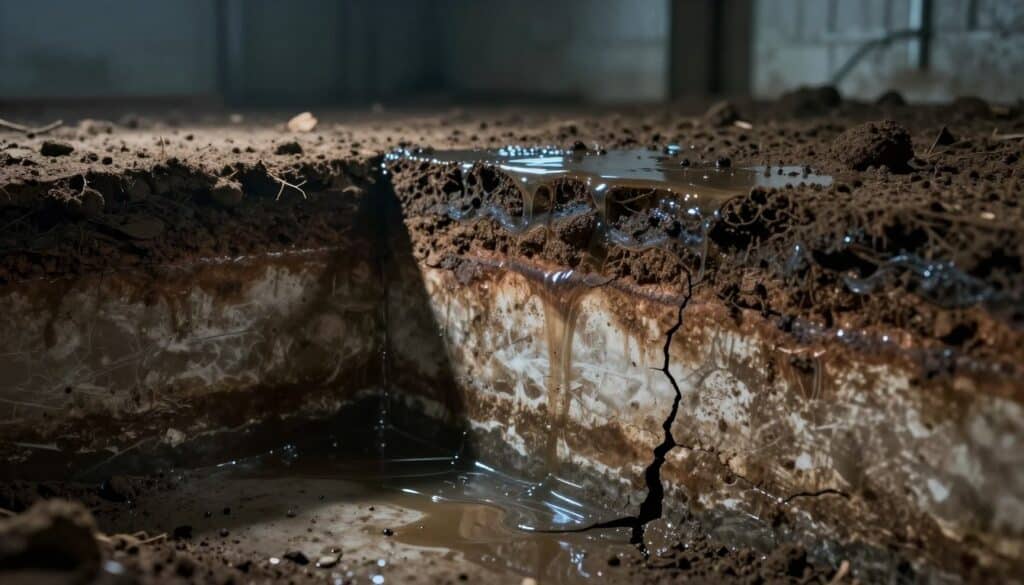
When saturated soil cannot drain, hydrostatic pressure builds around and beneath the foundation. This force may push water through joints, small cracks, and porous concrete. Poor grading can increase pressure and cause recurring intrusion.
Foundation Cracks, Joints, and Capillary Moisture
Concrete contains tiny pores that allow capillary movement. Moisture can travel through these paths even without a visible opening. A vapor barrier may slow surface dampness, but it cannot relieve pressure or repair active cracks. An interior drain may help manage seepage after the source receives an inspection.
Condensation and Indoor Moisture Sources
Warm, humid air forms condensation when it meets cool walls or floors. Unvented dryers, cooking, showers, fresh concrete, and open windows can raise indoor humidity. Persistent dampness may cause mold, odors, finish damage, and air-quality concerns. See this basement waterproofing service to discuss local solutions.
| Entry Path | Common Sign | Useful Response |
|---|---|---|
| Groundwater | Seepage after storms | Improve drainage |
| Capillary movement | Damp masonry | Seal compatible surfaces |
| Condensation | Surface droplets | Reduce indoor humidity |
Inspect the Basement Before Choosing a Waterproofing Method
A careful inspection reveals the moisture path before any repair begins. Remove standing water first, since it may hide leakage beneath the basement floor or make wall stains look worse than they are.
Signs of Water Damage, Mold, and Efflorescence
Look for pools, trickling walls, damp wall bases, musty odors, mold, mildew, and damaged carpet or wood. White, powdery efflorescence also matters. These crystal-like salts remain after moisture moves through masonry and evaporates.
Record each crack, stain, and area of concrete damage. Take photos after heavy rain, snowmelt, or sudden temperature changes. This record helps show whether problems are seasonal or ongoing.
Checking Walls, Floors, Windows, and Drainage
An evaluation should cover the foundation, wall-to-floor joints, windows, window wells, gutters, downspouts, grading, and existing drains. Inspectors also check indoor humidity and air movement.
These findings guide the next step. The home may need exterior excavation, interior drainage, crack sealing, or humidity control. Reviewing exterior wall products after an inspection can prevent an unsuitable coating in the living space.
Improve Exterior Drainage Around the Foundation
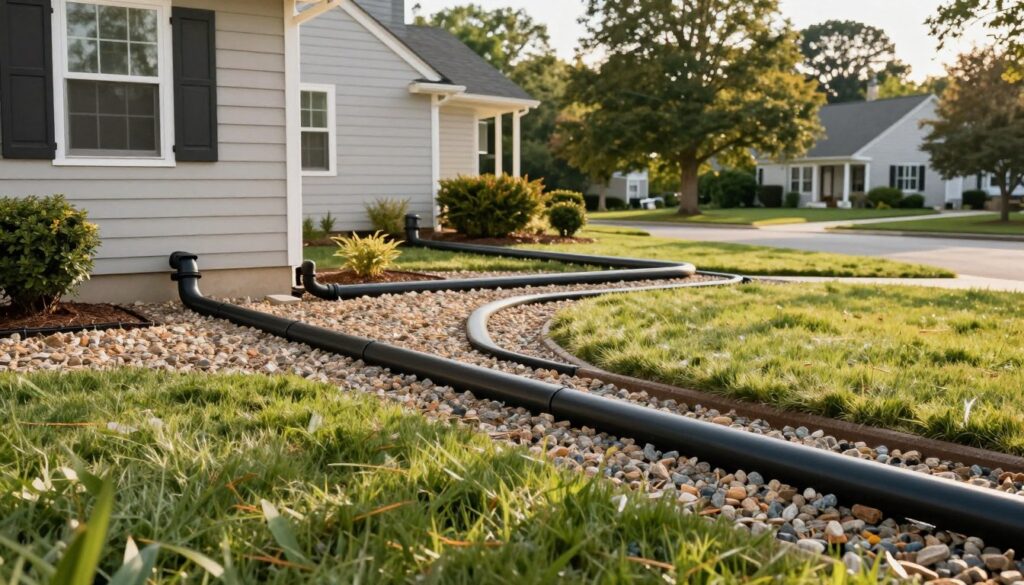
Small landscape changes can redirect runoff before it reaches a Wilbraham home. This exterior step often lowers soil pressure and supports a durable waterproofing plan.
Correcting Soil Grade and Downspout Discharge
Check whether the yard slopes away from the foundation. Low spots can collect water beside basement walls. Clay-heavy soil may drain slowly, especially after storms or snowmelt.
Extend each downspout several feet from the foundation. Direct the outlet toward a stable grade, dry well, or approved drain path. Avoid sending roof runoff onto a neighbor’s property or a paved walkway.
Managing Gutters, Window Wells, and Foundation Plantings
Clean gutters each spring and fall. Blocked channels overflow and add moisture near the basement perimeter. Window wells should shed water freely and stay clear of leaves, ice, and soil.
- Choose low-water plants near foundation walls.
- Keep mulch below siding and vents.
- Inspect drainage after heavy rain.
These steps can reduce groundwater loads before larger work begins. A local drainage assessment can identify grading and discharge concerns.
| Area | Risk | Practical Action |
|---|---|---|
| Yard grade | Pooling beside walls | Slope soil away |
| Downspouts | Saturated ground | Add extensions |
| Window wells | Basement window leaks | Clear the drain |
Exterior Basement Waterproofing Methods
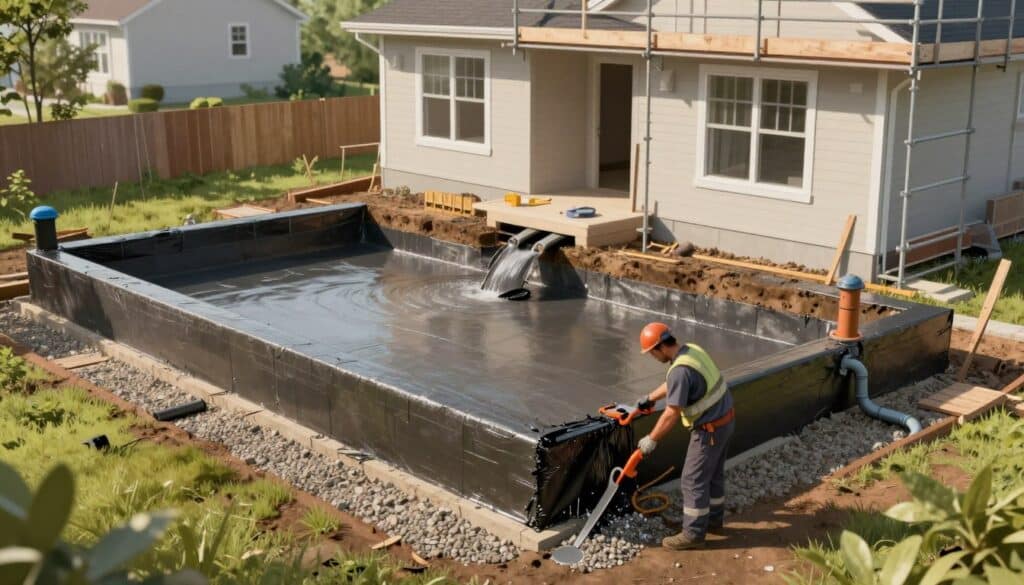
Exterior work reaches the source directly by exposing the foundation wall. This approach can limit water intrusion before it enters the living space. It also reduces hydrostatic pressure against concrete and masonry.
Foundation Excavation and Drain Tile Installation
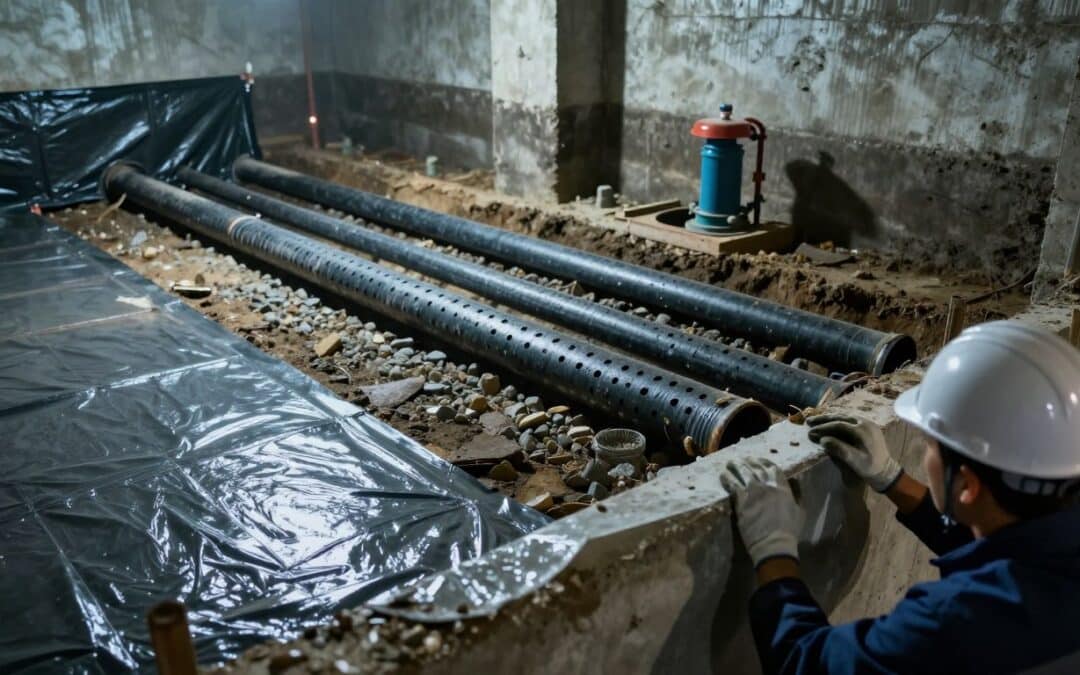
Crews excavate to footing level and dig a trench around the perimeter. Several inches of gravel support a socked, perforated pipe. At least two feet of washed drainage stone above the pipe helps preserve flow and limits soil blockage.
Drain tile, also called a footing drain, French drain, perimeter drain, or weeping tile, can send water to daylight when the lot has enough slope. Difficult grades may require a sump-based discharge system.
Membranes, Sealants, and Protective Drainage Stone
After cleaning the walls, installers apply a compatible membrane and seal joints or cracks with a suitable sealant. A protective drainage layer shields the wall during backfill. Material selection should match masonry, concrete condition, and expected pressure. Although exterior basement waterproofing costs more than an interior system, it offers direct control at the foundation.
| Component | Installation Detail | Primary Benefit |
|---|---|---|
| Perforated pipe | Set in gravel at footing level | Collects groundwater |
| Washed stone | Place at least two feet above pipe | Maintains drainage flow |
| Membrane | Apply across prepared walls | Reduces moisture entry |
Interior Water Proofing for Basement Walls and Floors
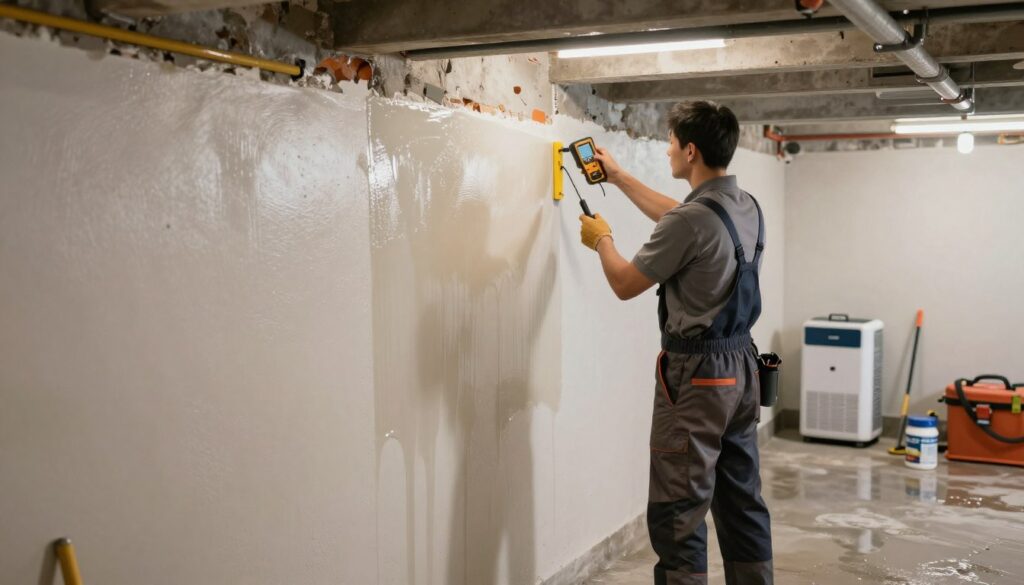
Interior work can manage seepage when outside access is limited. It works best after an inspection confirms that severe hydrostatic pressure does not remain against the foundation.
Preparing Concrete and Masonry Surfaces
Start by removing standing water, old coatings, dust, grease, mold, loose masonry, and damaged material. Scrub efflorescence with a wire brush. Surfaces must be clean, dry, and grease-free. This step helps new coatings bond with concrete, walls, and the basement floor.
Sealing Cracks with Hydraulic Cement
Hydraulic cement suits some cracks and active leaks. One referenced product forms a waterproof seal in about three to five minutes. Follow its label directions, since rapid setting leaves little time to shape the repair.
Using Waterproof Coatings and Wall Liners
DRYLOK Extreme Masonry Waterproofer covers about 75 to 100 square feet per gallon. Apply at least two coats when temperatures reach 50°F or higher. Allow two to three hours between coats. A 40-mil Polyguard WM40 self-adhering membrane suits ICF and other foundation types.
Reinforced wall liners can manage severe seepage when paired with interior drainage. Coatings and barriers may limit surface moisture, yet they cannot replace drainage when outside pressure causes recurring damage. Review this interior moisture control guide before selecting products.
Install an Interior French Drain and Sump Pump System
An interior drainage system gives groundwater a planned route beneath the living area. It can support basement waterproofing when exterior excavation seems unsafe, inaccessible, or too costly. This approach also suits homes with limited yard access.
How Perimeter Drainage Controls Hydrostatic Pressure
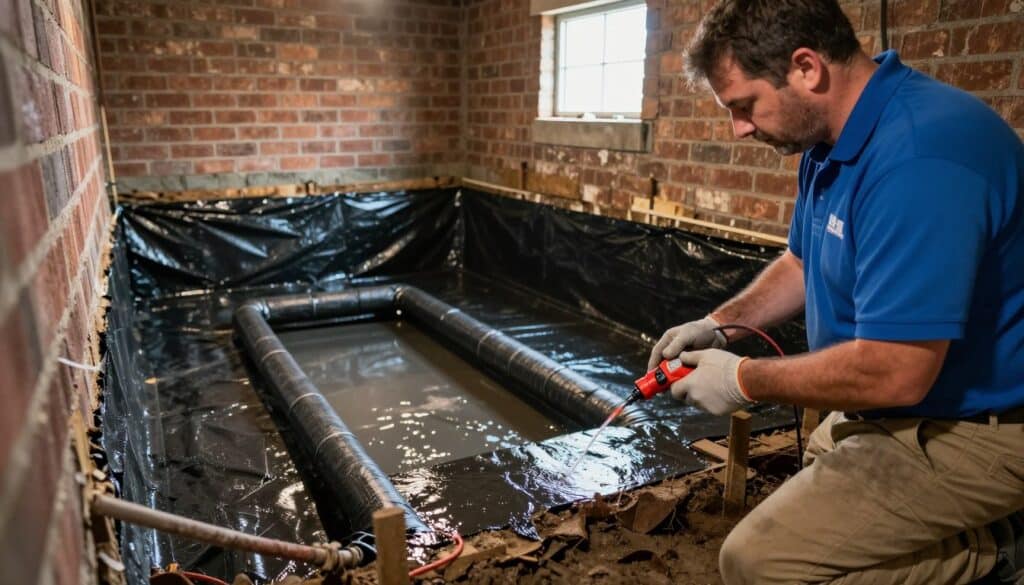
A French drain uses a perimeter trench beneath or beside the basement floor. Installers remove floor finishes, break concrete, excavate the trench, add gravel, and set perforated pipe. They then restore the concrete surface.
The drain guides groundwater into a sump pit. This path lowers hydrostatic pressure beneath the slab and along foundation walls. A sump pump then sends collected water away from the foundation, limiting intrusion and supporting a more waterproof basement.
Choosing Sump Pump Capacity and Backup Protection
Selection depends on inflow rate, pit size, discharge distance, vertical lift, electrical demand, and failure risk. A reliable system may include a second sump pump, battery backup, generator readiness, check valves, and a high-water alarm.
- Use sensors to detect rising levels.
- Test backup power twice each year.
- Keep discharge lines clear of ice and debris.
Gravity-fed drainage may add another layer of protection. Review this paver protection guide when planning exterior surface drainage.
| Component | Purpose | Key Check |
|---|---|---|
| Perimeter drain | Collects groundwater | Pipe slope and gravel |
| Sump pit | Stores collected flow | Cover and sensor fit |
| Sump pump | Moves discharge away | Capacity and backup power |
Compare Basement Waterproofing Options for Wilbraham Homes
Each method addresses a different entry path, so one product rarely creates a waterproof basement. A dry basement plan should match soil saturation, wall access, concrete condition, and the home’s drainage layout.
Exterior excavation offers the strongest response to intrusion beside the foundation. Crews place drain tile at footing level, then send flow to daylight when the grade allows. Interior drainage moves flow beneath the slab into a sump pit, which suits walls that workers cannot reach outside.
Coatings may cover about 75 to 100 square feet per gallon and need at least two coats. One cited product reached 15 PSI under ASTM D-7088 testing, equal to a 33-foot wall of water. Still, coatings and crack repair suit prepared masonry and small leaks, not high pressure.
Cost depends on area size, excavation depth, soil, pump needs, materials, and damage severity. A coordinated plan usually gives better value than selecting a single product. Homeowners can review local waterproofing options after an inspection.
| Option | Location | Best use | Main limit |
|---|---|---|---|
| Exterior excavation | Footing level | Outside intrusion | High disruption |
| Interior drainage | Beneath slab | Inaccessible walls | Does not seal outside source |
| Coatings | Interior masonry | Minor seepage | Needs prepared concrete |
| Crack repair | Localized openings | Small cracks | Movement may reopen them |
| French drain | Perimeter trench | Groundwater collection | Requires floor disruption |
| Sump pump | Sump pit | Collected flow | Needs power backup |
Build a Climate-Smart Waterproofing Plan with Local Expertise
Effective planning starts with local conditions, not a one-size-fits-all product. In Wilbraham, MA, an evaluation considers soil behavior, roof runoff, foundation design, room use, and seasonal moisture patterns. These details help shape a durable solution for each home.
Experience That Supports Better Decisions
More than 40 years of family-owned experience supports careful site reviews and clear recommendations. Actual entry evidence guides each choice, from exterior drainage to interior coatings, wall liners, and crack products. A drainage system can relieve pressure by channeling groundwater away from the foundation.
“Committed to Excellence” quality means using compatible materials, protecting finished space, confirming flow, and documenting care needs. Routine maintenance also protects results.
- Clean gutters and check downspouts.
- Review grading after major storms.
- Test the sump pump and backup power.
- Inspect the foundation at set intervals.
Local expertise turns these steps into a practical plan. Schedule an evaluation today, before recurring moisture leads to larger repairs.
Conclusion
The best way to protect a Wilbraham basement starts with a moisture inspection and corrected exterior drainage. Exterior drain tile collects groundwater beside foundation walls. Interior drainage and a sump system manage flow beneath the floor.
Coatings, hydraulic cement, and wall liners add support when surfaces are clean and expectations remain realistic. Durable materials, proper discharge, pump backup, professional review, and seasonal care help create a lasting result.
Compare options by soil, access, flow volume, foundation condition, and room use—not price alone.
FAQ
What is the best method?
Combine exterior drainage, crack repair, and interior controls.
When does interior waterproofing work?
It suits limited access and minor seepage.
Does a French drain help?
Yes. It routes groundwater toward a safe outlet.
How can a sump pump stay reliable?
Add backup power, alarms, and seasonal testing.