

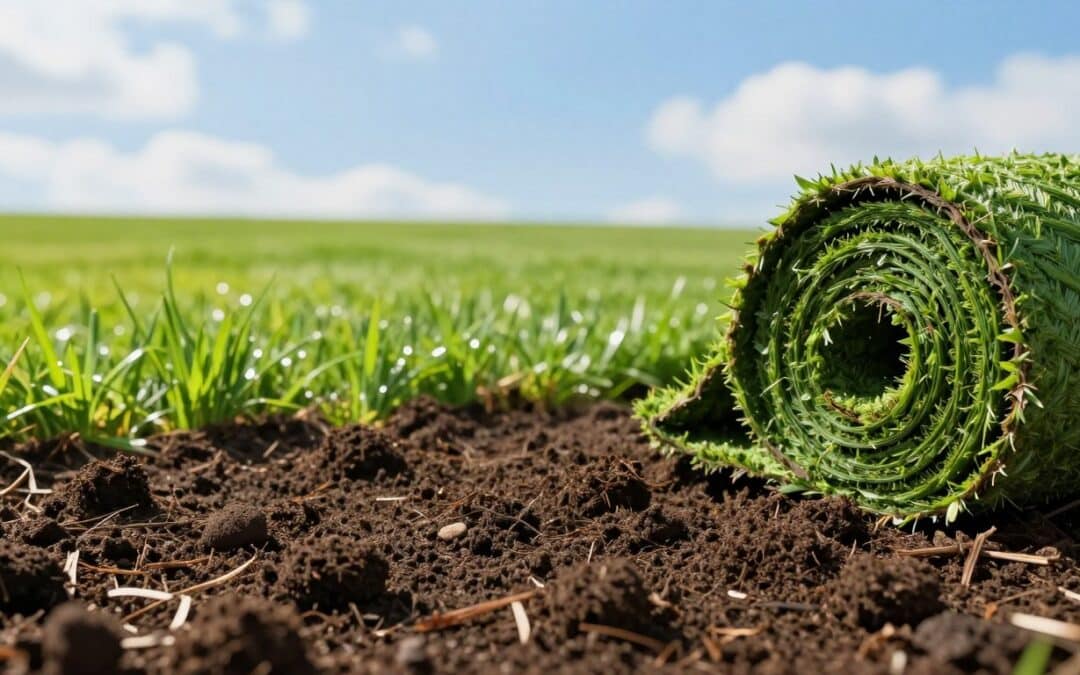
Neither method is universally better for a new lawn. Hydroseeding usually costs less than sod and offers more seed-blend choice, but grass needs weeks to grow and steady watering. Sod provides an instant green surface and can suit tight deadlines or erosion-sensitive sites, though it costs more and still needs careful watering while roots establish.
Would you rather wait for seedlings or see green right away? In Madison, Wisconsin, weather and the time available can shape that choice. This comparison starts with how hydroseeding works, then weighs the practical trade-offs for your yard.
Both methods can create a healthy lawn, but each asks something different of your site and schedule. Soil condition, access, and the need for quick coverage all matter. The right choice depends on how you want grass to take hold.
Key Takeaways
- Hydroseeding usually has a lower upfront cost than sod.
- Sod gives an immediate green surface, but roots still need time to connect.
- Hydroseeded seedlings need protection and steady moisture as they grow.
- Slopes and runoff may call for added erosion-control materials.
- Grass type and local weather help set the best planting window.
- Measure the site and compare estimates with the same work included.
Start by comparing how each method gets grass growing.
How each one establishes
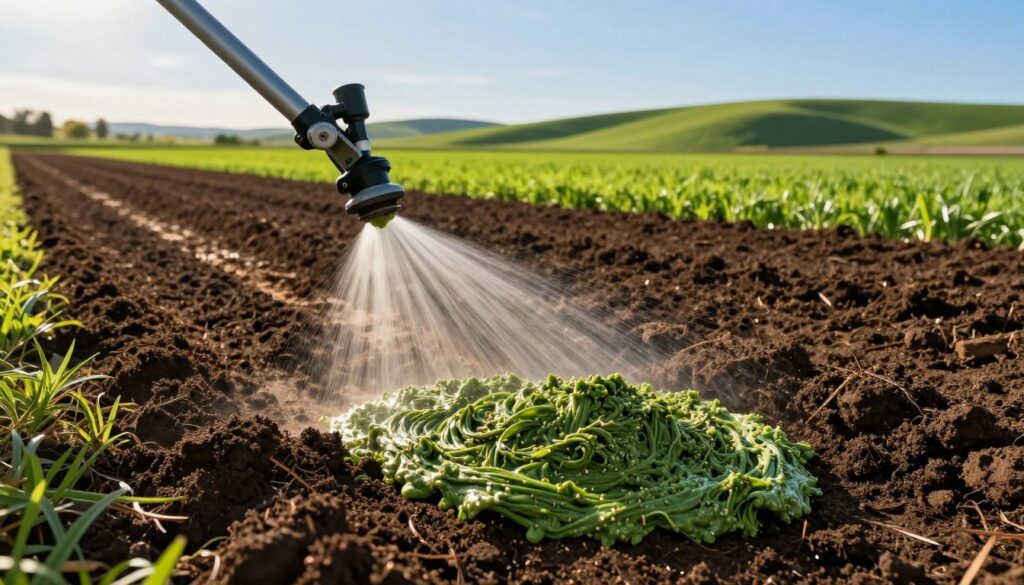
A green-coated bare yard and a yard covered in rolls of turf start from different materials. Hydroseeding applies seed to soil, while sod arrives as grown grass that covers the ground at once.
Hydroseeding coats prepared soil with a slurry
A slurry is a wet mixture of grass seed, mulch, water, and usually fertilizer that is sprayed onto prepared soil. A hydroseeding machine mixes the slurry and sprays it across the ground. The green spray that grows grass is this seed-and-mulch slurry, not paint.
Mulch helps hold moisture near the seed and shields it from wind and light runoff. Some mixes include a tackifier, a material that helps the slurry stick to slopes or uneven ground. Even coverage matters, since thin spots may leave bare soil between seedlings.
Hydroseeding works best on soil prepared to receive the seed. The machine’s spray can cover large areas, but it does not replace grading or soil preparation. A hydroseeding lawn still depends on seed making contact with suitable soil.
Sod brings an established grass surface
Sod consists of pieces of grown turf laid across prepared soil. Installers fit the pieces together, then press them into place so the underside meets the soil. Seams need close contact, since gaps can dry out or leave visible lines.
Sod gives a green surface as soon as installation ends. Its roots still need water and time to grow into the ground below. Dry seeding, by contrast, spreads seed directly onto prepared soil without a sprayed mulch layer.
| Method | What is applied | First visible result | Main early limitation |
|---|---|---|---|
| Hydroseeding | Seed-and-mulch slurry | Seedlings after germination | Needs moisture and protection |
| Sod | Pieces of grown turf | Green surface at installation | Roots need soil contact and water |
| Dry seeding | Grass seed | Seedlings after germination | Seed can shift or dry out |
Each approach begins with a different surface, but none skips the need for growth or root contact. Next, compare how long each takes to look and feel established.
Timing: instant versus three weeks
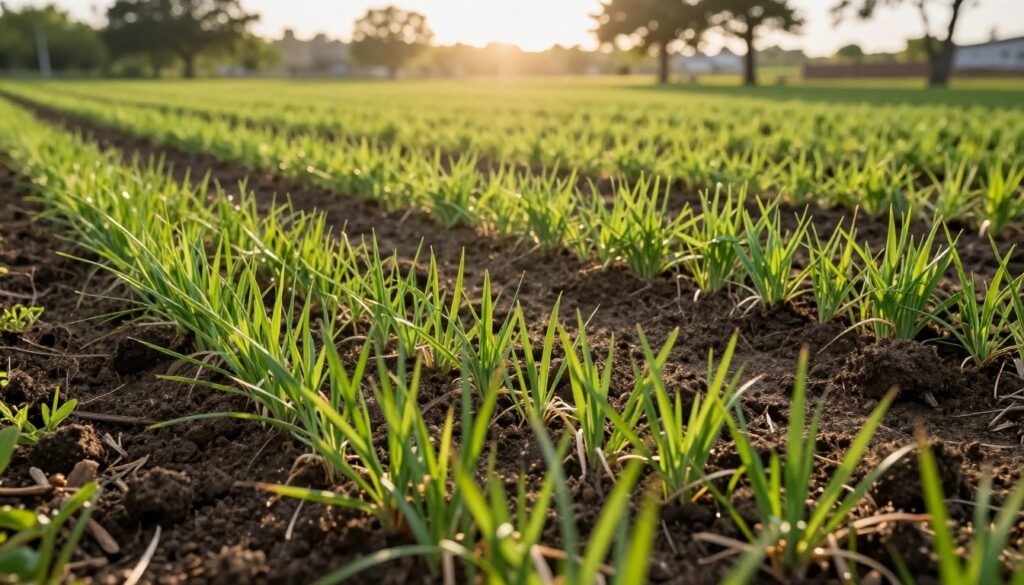
A sod delivery can change the look of a yard in a day, while seed has to germinate and grow. The phrase “instant versus three weeks” is only a shortcut: green color, rooted turf, and a lawn ready for regular use are different milestones.
Sod gives immediate color, not instant rooting
Sod looks green as soon as crews lay it. That appearance does not mean its roots have joined the soil below. Until roots connect, the turf can shift, dry out, or suffer damage from heavy foot traffic.
Give new sod time to root before you treat it like an established lawn. A quick visual change is useful when a property has a deadline, but it does not make the grass ready for games or frequent use right away.
Hydroseeded grass emerges and fills in gradually
Under favorable conditions, hydroseeded grass seed may germinate in about 5-7 days. Some hydroseeded areas sprout within 1-2 weeks. The exact pace depends on the seed and growing conditions.
Germination means seeds have started to grow; visible fill-in takes longer as seedlings spread and thicken. Full turf strength may take about 3-4 weeks, while the first mowing can take roughly 3-6 weeks. Seed type and weather affect those windows.
A lawn strong enough for regular use may need more time than the first green shoots suggest. The wait for usable coverage is a real downside to hydroseeding, especially when you need the yard soon. Young seedlings also need protection from people, pets, and runoff.
Color alone does not show whether grass can handle routine use. Waiting time and upkeep also influence the total cost.
How Hydroseeding Compares With Sod on Cost
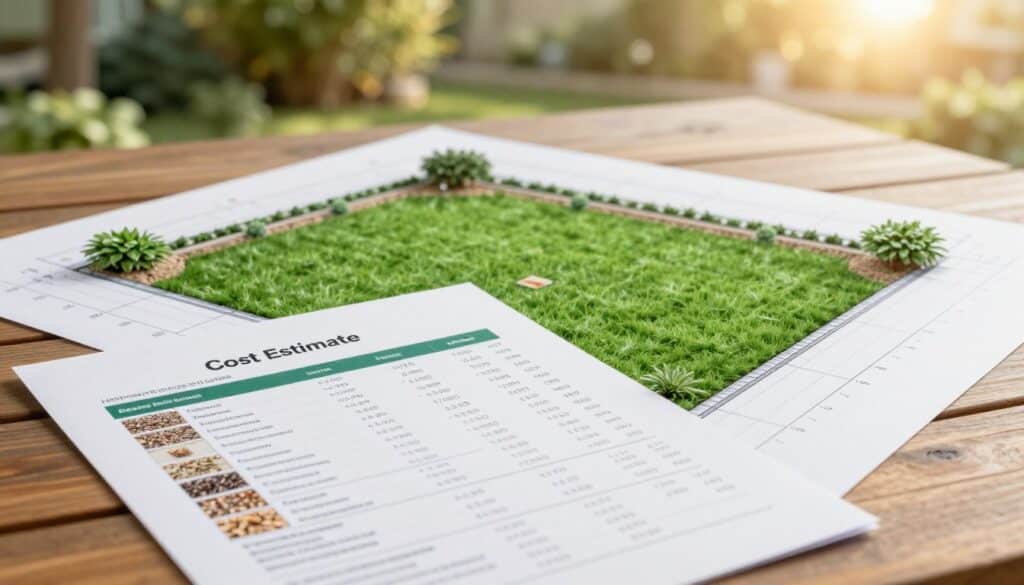
The same grass area can produce very different estimates depending on the installation method and what the site needs first. Broad national estimates put hydroseeding below sod in upfront cost, while dry seeding is usually the least expensive option.
What installation estimates usually include
Professional hydroseeding often costs about $0.05-$0.20 per square foot. Sod commonly runs about $0.30-$0.83 per square foot. These are broad estimates, not a quote for a specific yard.
A bid may cover labor, seed, mulch, equipment, and some site preparation. The scope varies, so compare what each estimate includes before judging the number. Clearing debris, grading, or improving difficult access can raise the price.
Local hydroseeding cost also changes with the area, slope, seed type, labor, and equipment needed. A steep site may take more work than a flat yard of the same size. Preparation can shift both methods’ estimates.
| Method | Broad installed estimate per square foot | Cost position |
|---|---|---|
| Dry seeding | About $0.02 | Cheapest typical upfront cost |
| Hydroseeding | About $0.05-$0.20 | Middle typical upfront cost |
| Sod | About $0.30-$0.83 | Highest typical upfront cost |
How project size changes the comparison
A broad estimate for an acre of hydroseeding is about $2,000-$4,000. Local prices vary with site preparation, slope, seed, labor, and equipment, so this range is not a set price.
For a 3,000-square-foot lawn, the broad hydroseeding range works out to about $150-$600 before extra site-preparation work. A complicated yard may cost more if crews need to grade the ground or move equipment through tight access.
Some estimates use hydroseeding cost per m2 instead of per square foot. Both measure an area-based price, though U.S. bids commonly use square feet. Check that estimates use the same units and cover the same work.
Price is only one part of the choice. On a slope, coverage and soil protection may matter more than the estimate.
Where Can Slurry Help Control Erosion?
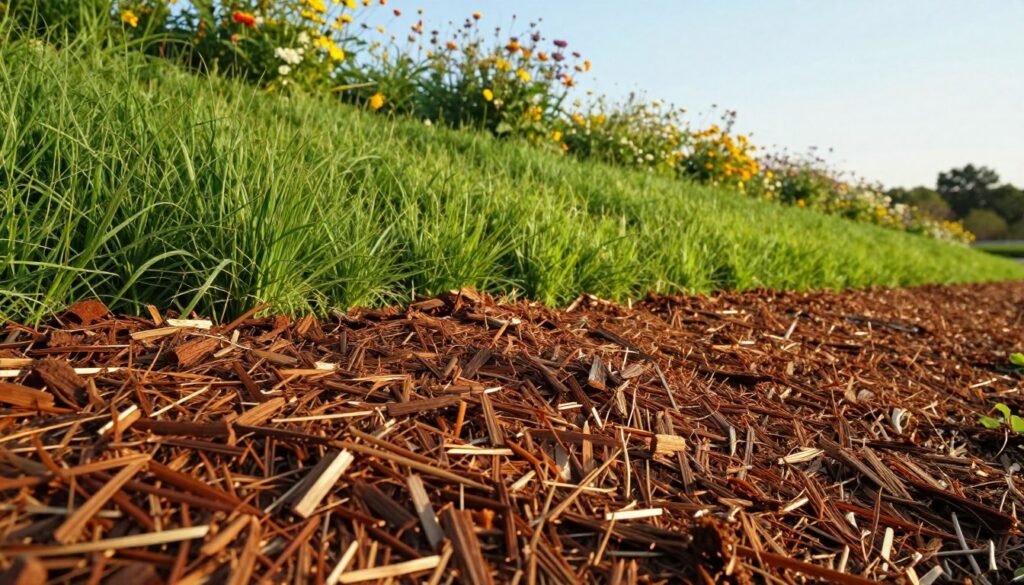
A bare slope facing runoff presents a different challenge from a level backyard. Hydroseeding can support erosion control by covering seed and soil with mulch, but a spray alone cannot stop every erosion problem.
Mulch shields seed from wind and light surface flow while helping retain moisture. A tackifier can help the slurry hold on slopes or uneven ground. Where erosion risk is higher, heavier wood fiber or a bonded fiber matrix may offer stronger coverage.
These materials do not replace sound grading or a plan for water moving across the site. The Tallgrass Prairie Center’s seeding methods guidance describes how mulch can reduce erosion and tackifier can help hold seed and mulch in place. Its guidance covers roadside vegetation, so residential sites still need materials suited to their own conditions.
Before choosing an erosion-control method, check the site:
- Slope steepness and the length of the bare area.
- Likely water flow during rain or snowmelt.
- How much soil remains exposed without plant cover.
- Whether the site needs a stronger erosion-control system.
Correct grading, suitable materials, and established vegetation all matter. A steep bank that receives strong runoff may need more than a grass-seed application. Match the system to the water and soil conditions.
Whatever method you choose, healthy grass depends on soil and care. Bring the focus back to the ground and the work needed for any successful new lawn.
What Should You Do Before and After Seeding?
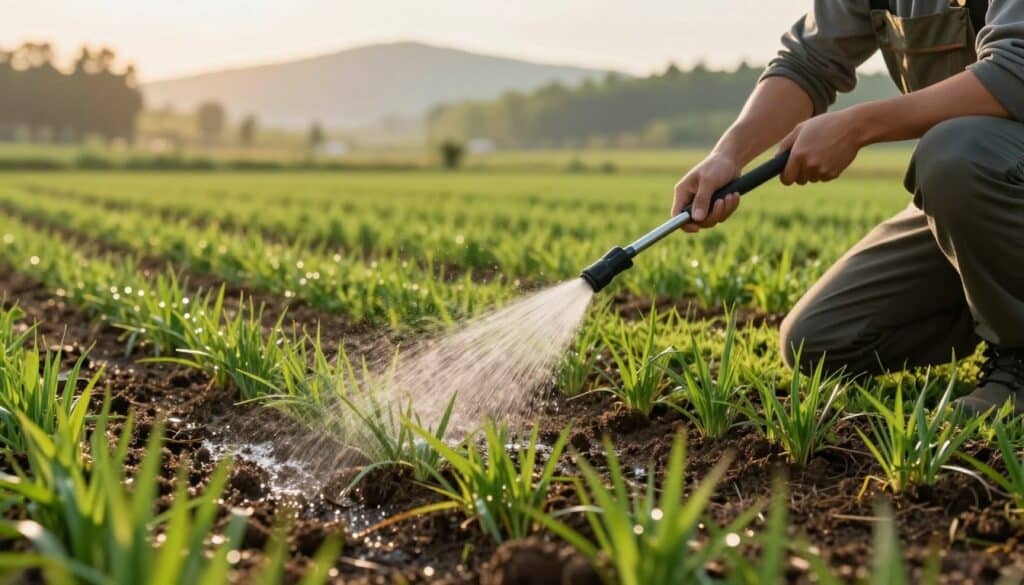
A level, prepared seedbed gives either installation method a better chance to take hold. Before application, clear the ground and address soil problems; afterward, protect seedlings and keep the surface moist.
Prepare the soil before application
Clear debris, weeds, and unwanted plants before seeding. Grade the area so water does not pool in low spots or rush down the slope. Loosen compacted ground so roots can move into the soil.
A soil test can show whether the ground needs changes. Use its results to guide amendments instead of adding lime or fertilizer by guesswork. Too much fertilizer can harm young grass, and the wrong soil change may create another problem.
Preparation helps seed contact the soil rather than rest on thatch or loose debris. A poor seedbed can lead to patchy growth even when the application looks even. Leave enough time for grading and soil work before the crew arrives.
Keep seedlings moist and protected
New hydroseeded areas need consistent moisture, especially during the first 1-2 weeks. Watering frequency depends on weather, soil, and sun exposure, so one schedule does not suit every yard. Use gentle water to avoid washing seed away.
Follow these aftercare steps as seedlings emerge:
- Keep the seedbed consistently moist with gentle watering.
- Avoid forceful watering that could wash seed or mulch downhill.
- Keep people and pets off new growth.
- Follow product guidance before adding fertilizer.
- Wait until grass reaches a suitable height before mowing, and remove no more than one-third.
Starter or slow-release fertilizer may be considered after about 30 days, but follow product directions and the installer’s advice. Do not add fertilizer just because seedlings look small. Too much care can be as harmful as too little.
Mow only when grass is about 3-4 inches tall. That often happens around 4-6 weeks, depending on seed and growing conditions. Set the mower so one pass removes no more than one-third of the grass height.
Preparation and care give seedlings a better start, but weather matters too. Once the site and care plan are clear, choose a season that gives new grass favorable growing conditions.
Which Season Gives Grass the Best Start?
The right planting month depends more on the grass type and local weather than on the calendar alone. Cool-season and warm-season seeds grow best at different times, so no single month suits every lawn.
Cool-season grass usually favors late summer or early fall
Cool-season grasses such as Kentucky bluegrass, fescues, and ryegrasses are generally seeded from late summer to early fall. This window can give seed a chance to grow before colder weather. Local climate still affects the best timing.
Spring is another common hydroseeding window for cool-season grass in some places. A late frost or hot spell can affect young seedlings, so consider the conditions expected at your site. Sun exposure and soil moisture also shape how well seeds start.
Warm-season grass usually favors late spring or early summer
Warm-season grasses such as Bermudagrass are generally seeded in late spring or early summer. They need warm conditions to grow well. In cooler areas, the season may not offer enough heat for this type of grass to establish well.
Summer heat and dry weather can increase watering demands. Freezing conditions or extreme heat can undermine establishment, especially when seedlings are young. Think about the local growing season, not just the month listed on a calendar.
The best month depends on the seed mix and local weather. Ask which grass type suits your area, then choose a window that supports its growth. A good season cannot fix poor soil, but it can give sound preparation a better chance.
Season and grass type affect how smoothly seedlings take hold. Use the remaining comparison to decide whether the slower seed-grown route fits the project at all.
When sod is the right call
If the yard needs to look green soon, sod can solve a problem that seed cannot solve immediately. It gives a finished appearance at once and can reduce the time bare soil stays exposed.
Choose sod when a deadline matters
Sod may suit a small area that needs quick coverage, such as a visible entry lawn or a patch beside a newly finished patio. It can also fit a site where waiting for seed to grow is a poor match for the project schedule.
Use the situation, not a promise of instant use, to guide the choice:
| Project situation | Why sod may fit | What to account for |
|---|---|---|
| A deadline for visible green | Gives the yard an immediate green surface | Roots still need water and time to establish |
| A small area needing quick coverage | Can cover bare soil in a short installation | Pieces need close seams and soil contact |
| A site where seed establishment time is a poor fit | Reduces the bare-ground period | Handling and follow-up care still take effort |
Check the limits before choosing sod
Sod still needs careful watering while its roots establish. Seams or poor soil contact can lead to gaps and drying. An immediate green surface does not mean the lawn can handle heavy use right away.
Available grass varieties may be more limited than a custom seed blend. Laying sod also takes substantial handling labor, especially across a large area. If the soil below has not been prepared well, the turf may struggle even though it looked finished on day one.
Sod is a fair choice when the schedule or need for coverage outweighs its higher upfront cost. For some projects, reducing bare ground is more important than choosing from a wider seed mix. For readers who can wait, a seed application may be an option to handle themselves.
Quick coverage has real value, but the method needs labor and follow-up care. If time allows, consider what a DIY setup requires before choosing that route.
What Does a DIY Setup Require?
A small, accessible bare-soil project is more realistic for a DIY attempt than a large, steep site. You can use a hydroseeding kit, rent a hydroseeding machine, or try a small homemade setup, but each option has limits.
Match equipment and materials to the project
A machine’s capacity and agitation affect how well it mixes and sprays the slurry. Agitation keeps materials from settling, while the tank size limits how much ground you can cover before refilling. A small kit may suit a modest patch but struggle with a large area.
Do not assume every machine can handle every mulch type or mixture. Some wood fiber products may not work in a given tank or nozzle. Ask the equipment supplier which materials fit the machine before you buy or rent them.
Professional hydroseeding avoids the need to source equipment and learn its operation. You still need to prepare the site and care for the new growth, whether a crew applies the mix or you do it yourself.
Follow a careful application sequence
Plan the work before you start mixing. A practical sequence can help prevent missed areas and reduce the chance of walking across fresh coverage:
- Measure and clear the area you plan to seed.
- Test and prepare the soil before application.
- Select suitable seed and mulch for the site.
- Mix ingredients according to product directions and the machine manual.
- Spray evenly without walking over coated ground.
Read the product directions and machine manual before loading materials. A hydroseeding machine that cannot move the chosen mulch may clog or spray unevenly. Confirm compatibility with the supplier instead of guessing from the equipment’s size.
DIY hydroseeding makes most sense when the site is accessible and manageable. Large, steep projects can need more control over coverage and erosion than a small setup can provide. A professional may also know how to match materials to the ground.
DIY application cannot fix every lawn problem, especially where grass already exists. A thin, living lawn usually calls for a different repair method.
Can You Hydroseed an Existing Lawn?
A thin patch in a living lawn is a different job from starting a new lawn over bare soil. Hydroseeding generally suits bare, prepared soil, not a spray applied over healthy existing grass.
The slurry can cover or smother the turf underneath. Seed may also fail to reach the soil through a thick layer of grass. For thin areas in an established lawn, overseeding is usually a better fit because it adds seed to existing turf.
If the lawn is badly damaged, starting over may make sense. Clear the failed grass and weeds, prepare the soil, then choose a new seeding method. The right fix depends on whether the damage is limited to thin spots or affects most of the lawn.
Use these signs to sort out the job:
- Thin patches with healthy grass nearby: consider overseeding.
- Widespread dead turf: assess whether a full restart makes sense.
- Healthy grass across most of the yard: avoid covering it with slurry.
For a full new installation, choose an installer who can explain the work clearly. If a full new installation is still the right choice, compare local professionals before you hire.
How to Choose a Local Lawn Installer
Two installers can describe the same job differently, so compare the work included as well as the final number. A search for hydroseeding near me is only a starting point, not a test of quality.
Ask each provider for clear answers to the same questions:
- What site preparation does the estimate include?
- What seed mix and mulch type do you plan to use?
- What watering and establishment instructions will you provide?
- Can you share written scopes, insurance, qualifications, and similar project experience?
Request estimates for the same area and scope so the work is easier to compare. Read each written bid and ask about changes that could add charges. You can also review tips for hiring a landscaping contractor before choosing a provider.
Ask to see past work or speak with people who hired the installer. Their experience can help you judge timeliness, communication, and how the crew handled unexpected issues. No estimate can guarantee a specific result, since weather and site conditions affect growth.
Measure the area and request estimates with the same scope, including preparation and aftercare instructions.
Conclusion
Choose the method that fits the site and the time you have, not just the fastest-looking result. Hydroseeding suits you when you can wait for grass to establish and want more seed-blend flexibility.
Sod makes sense when immediate green coverage or a tight schedule matters enough to justify its higher upfront cost. It still needs care while roots establish, so plan for follow-up even after installation.
Measure the lawn and request like-for-like estimates that include preparation and clear aftercare expectations.
FAQ
How long does it take for hydroseed to turn into grass?
Is it cheaper to lay sod or hydroseed?
FAQ
How long does it take for hydroseed to turn into grass?
Hydroseeded grass may sprout in about 5-7 days under favorable conditions, but a lawn can take several weeks to fill in and strengthen. Some areas show sprouts within 1-2 weeks. Germination is only the start; seedlings need time to grow into thicker coverage before regular use.
Is it cheaper to lay sod or hydroseed?
Hydroseeding usually costs less upfront than sod. Broad estimates put hydroseeding at about $0.05-$0.20 per square foot and sod at about $0.30-$0.83. Your estimate depends on preparation, area, seed mix, access, and local labor. Compare bids with the same work included, since one may include grading while another does not.
What is the best month to hydroseed?
There is no universal best month to hydroseed. Cool-season grass is usually seeded in late summer or early fall, while warm-season grass is usually seeded in late spring or early summer. Local climate also matters: heat, dry weather, frost, and the length of the growing season can change how well seedlings establish.