

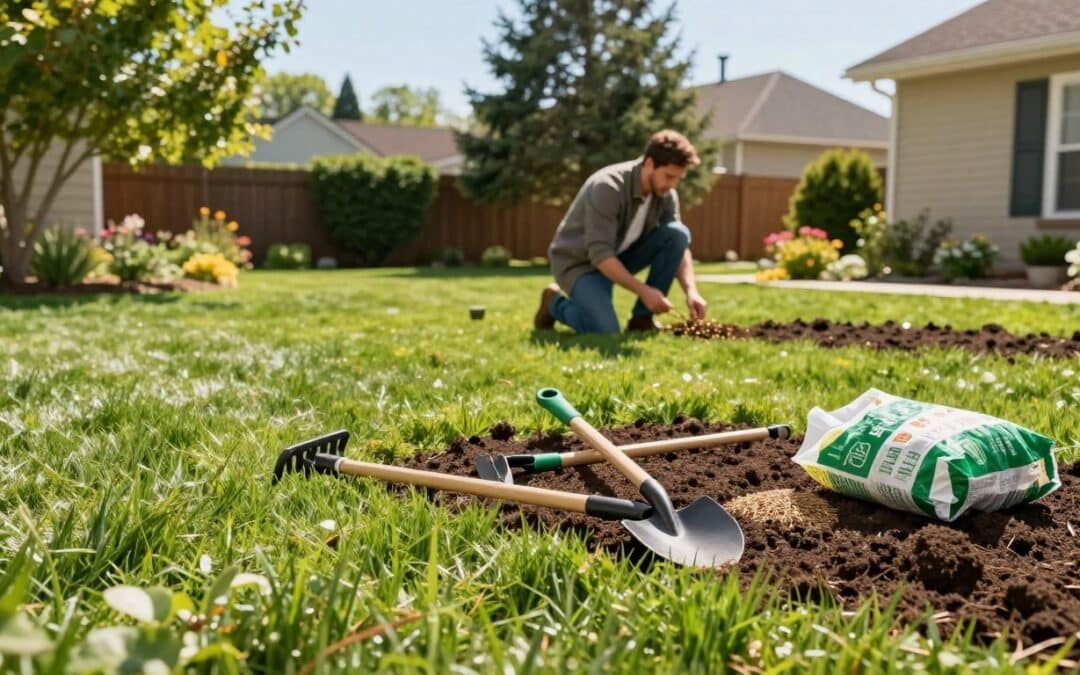
Have you ever looked at your yard and wished it could look lush and healthy again? If your lawn has become thin, patchy, or overrun with weeds, it may be time for a complete lawn renovation. More than simply improving curb appeal, renovation restores the health, strength, and long-term vitality of your landscape. Like renovating a well-loved home, investing in your lawn helps protect your property while creating a beautiful, vibrant outdoor space you can enjoy for years to come.
This guide will walk you through every stage of the journey, from determining if renovation is necessary to executing each step with confidence. Many homeowners rush into renovation, overlooking simple lawn care adjustments that could resolve their issues. By the end of this article, you’ll be equipped with expert insights on optimal timing, soil preparation, seed selection, and post-renovation maintenance tailored specifically for American climates.
Imagine transforming your outdoor space into a lush, green haven that enhances your home’s curb appeal. The journey may require patience, but the reward of a thriving turf is well worth the effort. Join us as we explore the essential steps for achieving a healthy, vibrant yard starting today!
Key Takeaways
- Understand the importance of assessing your yard’s condition before starting.
- Learn about the necessary steps for soil preparation and seed selection.
- Discover the timing for optimal renovation results.
- Explore post-renovation care to maintain your new grass.
- Utilize expert advice for a successful transformation.
Understanding Complete Lawn Renovation: Why and When to Start
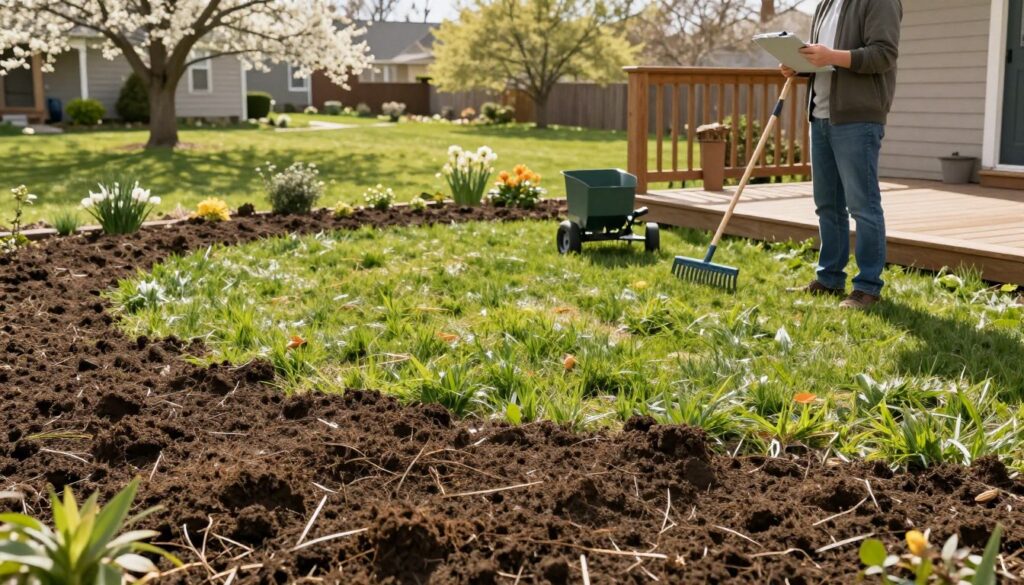
Is your yard starting to look more like a desert than a green oasis? If so, it’s time to take a closer look at its condition. A thoughtful assessment can help you determine if your outdoor space needs a makeover. Understanding the signs that indicate your grass may need help is crucial before diving into any renovation plans.
Identifying Signs Your Lawn Needs Renovation
Start by walking your yard with fresh eyes. Look for bare patches, thinning areas, or discolored grass. These telltale signs often signal deeper problems beneath the surface. If your existing grass shows 30 to 50 percent dead or sparse growth, it’s a strong candidate for renovation. This is especially true if simple adjustments like improved mowing or watering haven’t revived it.
Another indicator is the “spongy feel” test. If walking across your existing lawn feels soft and springy, excessive thatch buildup may be choking the grass. This buildup can prevent water and nutrients from reaching the soil, making it difficult for your grass to thrive.
Additionally, if broadleaved weeds such as dandelion and plantain or grassy weeds like crabgrass cover nearly half your lawn, it’s a sign that your existing grass is too weak to compete. Renovation can be a smarter long-term solution in this case.
Optimal Timing for Lawn Renovation: Seasonal Considerations
Timing is key when it comes to renovation. For cool-season grasses, the best time to overseed is from mid-August to mid-September. During this period, the soil is warm, the air is cooler, and moisture is reliable, creating optimal conditions for seed germination and growth. Early spring is another option, but fall remains the gold standard for establishing new seedlings before the summer heat arrives.
If you have warm-season grass, plan your renovation for late spring to early summer. This timing ensures that soil temperatures consistently support rapid germination and establishment.
Assessing Lawn Conditions: Soil, Thatch, Weeds, and Damage
Before any seeds touch the ground, assessing soil conditions through a professional soil test is critical. This test reveals pH imbalances, nutrient deficiencies, or compaction issues that need addressing. Ignoring these factors can sabotage even the most carefully executed renovation.
Moreover, identifying underlying issues like poor drainage, persistent weed problems, or damage from pests and pets is essential. Taking the time to evaluate your lawn’s condition can save you months of frustration and wasted effort. This foundation will set the stage for a successful lawn transformation that lasts for years.
Essential Steps in the Complete Lawn Renovation Process
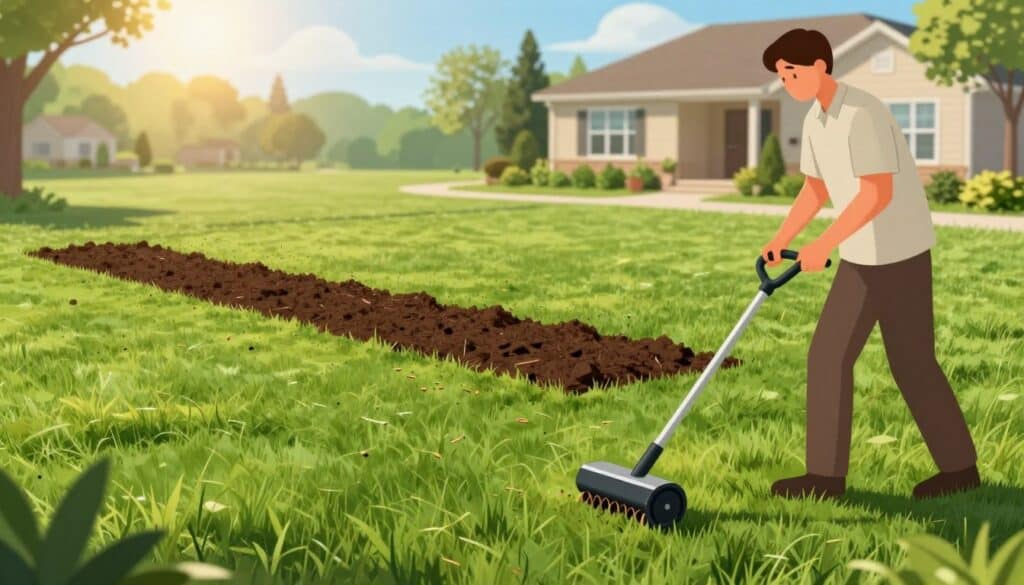
Wondering how to revive your tired-looking grass? Follow these essential steps to bring your yard back to life. Each step plays a crucial role in ensuring a successful transformation. Let’s break down the process into manageable tasks.
Step 1: Conducting a Soil Test and Preparing Your Lawn
Start by assessing your soil. Contact local county extension offices or the University of Minnesota Soil Testing Laboratory for a basic soil test. This will help you understand the pH and nutrient levels. Knowing these factors prevents guesswork and sets the stage for every subsequent step in your renovation process.
Step 2: Effective Weed Control Strategies
Next, tackle any weeds. Use broadleaf herbicides for non-grass weeds like dandelions. For a total vegetation kill, a non-selective herbicide is effective. Always follow pesticide label directions and allow 5 to 14 days for the products to work before moving on.
Step 3: Lawn Mowing and Thatch Removal Techniques
Now it’s time to mow. Cut your existing grass very short, down to about 1 inch. This allows sunlight to reach the soil surface, encouraging new seedlings to establish without being shaded. For thatch removal, vigorous hand raking works for small areas. For larger patches, consider renting vertical mowers or hiring professional services.
Step 4: Soil Preparation and Aeration Methods
Proper soil preparation is key. If your soil is compacted, make three to five passes with a commercial aerifier. Vertical mowing should nick the soil surface to a depth of 1/8 to 1/2 inch, ensuring optimal seedbed preparation.
Step 5: Fertilization Best Practices for Renovation
Fertilization is next. Apply phosphorus and potassium as determined by your soil test. Avoid adding extra nitrogen at this stage, as it can crowd out new seedlings. After the first mowing, use a slow-release nitrogen source at a rate of 1/2 pound per 1000 square feet.
Step 6: Seeding and Ensuring Good Seed-to-Soil Contact
When seeding, divide your seed lot into halves or quarters. Seed in two or four directions for even coverage. For patches under 8 feet across, hand seeding works well. Mix 1 part seed with 4 parts natural organic fertilizer to bulk up. Rotary and drop spreaders are effective, while slit seeding requires skill.
Step 7: Proper Irrigation and Post-Seeding Care
After seeding, ensure good seed-to-soil contact by rolling lightly. Water lightly and often to keep the soil surface slightly damp. Avoid letting the soil become too dry or too wet. Remember, Kentucky bluegrass seeds can take 2 to 3 weeks to germinate, so patience is essential.
Step 8: Mowing and Early Maintenance After Renovation
Finally, focus on early maintenance. Keep the existing lawn cut short for about 1 month. This ensures sunlight reaches the new seedlings until they are established. Gradually raise the mowing height as the new grass grows.
Each of these steps is vital for achieving a healthy, vibrant yard. Though the process may seem daunting, thorough preparation now will lead to a lush, thriving outdoor space for years to come. For more information on lawn renovation services, check out this link.
Complete Lawn Renovation: Selecting the Right Grass and Seed Mixes
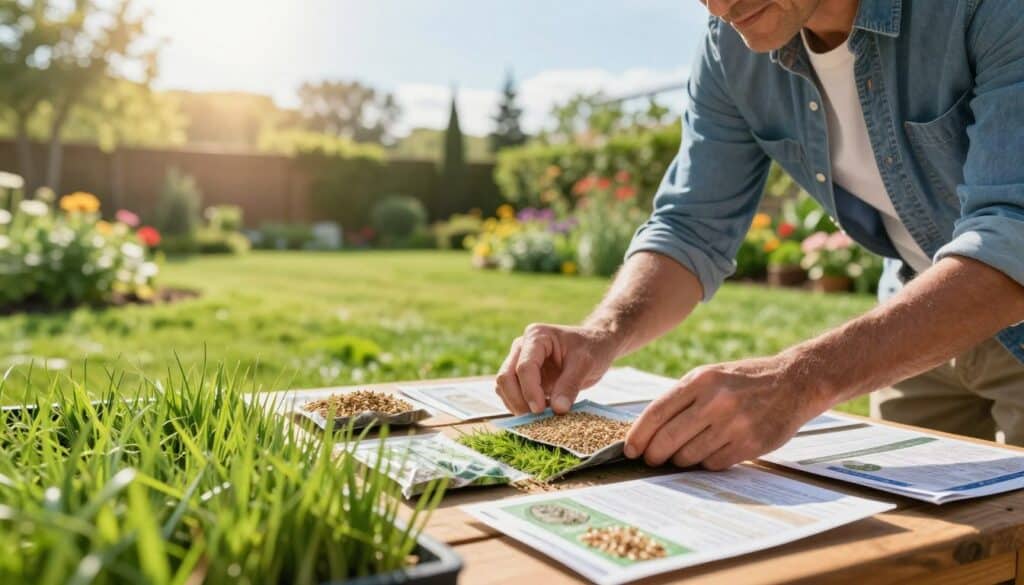
Choosing the right grass and seed mixes is essential for a successful yard transformation. To make the best choice, consider your lifestyle and how much time and effort you can realistically invest in maintaining your outdoor space. This decision is not just about aesthetics; it’s about creating a sustainable environment that suits your needs.
There are various categories of grass types based on sunlight and maintenance requirements. Let’s explore these categories to help you select the ideal mix for your yard.
Understanding Lawn Categories Based on Input and Shade
Assess your yard honestly. How much water, time, and effort can you commit each year? Your answers will guide you in selecting the right grass type. Here are the categories:
| Category | Input Type | Sunlight | Recommended Seed Mix | Maintenance Notes |
|---|---|---|---|---|
| 1 | Minimum | Sunny | 50-60% Kentucky bluegrass, 40-50% fine fescue | Water infrequently, fertilize once a year, mow weekly |
| 2 | Minimum | Partially Shady | 80-100% fine fescue, 20% Kentucky bluegrass | Water infrequently, fertilize once a year, mow weekly |
| 3 | Moderate to High | Sunny | Improved Kentucky bluegrass or Kentucky bluegrass/perennial ryegrass mix | Water regularly, fertilize 2-4 times per year |
| 4 | Low to Moderate | Shady | Fine fescue species (Chewings, creeping red, hard, sheep) | Water infrequently, fertilize once a year, mow weekly |
Recommended Seed Mixes for Each Lawn Category
Each category has specific seed mixes that work best. For sunny areas with minimal input, consider a blend of Kentucky bluegrass and fine fescue. In partially shaded spots, fine fescue dominates, while a touch of Kentucky bluegrass can help in slightly sunnier areas.
For those willing to invest more effort, a blend of improved Kentucky bluegrass varieties or a mix with perennial ryegrass is ideal. Lastly, in shady regions, focus on fine fescue species, steering clear of perennial ryegrass and older varieties that may not perform well.
Choosing Grass Species Suitable for Your Climate and Yard
It’s vital to select grass species that thrive in your local climate. Planting cool-season grasses in warm areas can lead to persistent growth issues. If you face drought conditions, consider drought-tolerant varieties, especially if water restrictions are a concern.
For lawns that endure heavy foot traffic, turf-type tall fescues can provide the durability needed while still being drought-resistant. Remember, the right seed selection now can mean the difference between a thriving yard and ongoing struggles.
Even if previous failures stemmed from the wrong grass types, this renovation is your chance to reset. Choose species that are well-suited to your soil, shade, and climate for a healthy, sustainable yard.
Addressing Common Lawn Issues During Renovation
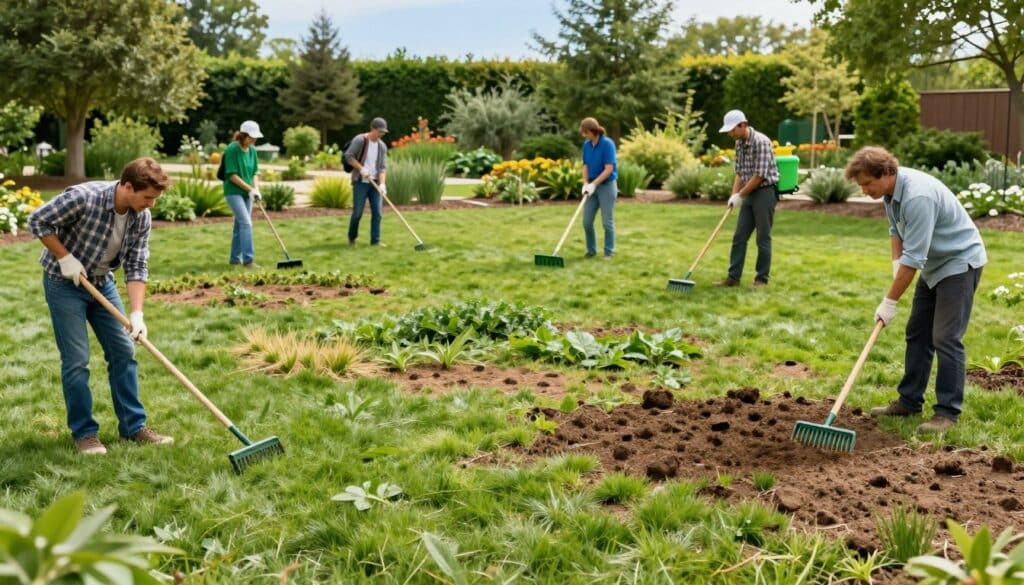
Finding soil compaction, drainage issues, or persistent weeds during your yard’s transformation can be discouraging. However, tackling these challenges directly is what turns a temporary fix into a lasting solution. Let’s explore how to effectively manage these common problems.
Managing Soil Compaction and Drainage Problems
Soil compaction occurs when soil particles are pressed together, making it hard for roots to access essential water, air, and nutrients. To alleviate this issue, consider making three to five passes with a commercial aerifier. This process will open up the ground and restore a healthy soil structure before you lay down new seed.
Drainage problems often lurk beneath the surface and can lead to significant issues. After rain, observe where water pools in your yard. If you notice standing water, regrade or install simple drainage solutions before seeding. Remember, even the best grass seed cannot thrive in waterlogged soil.
Controlling Persistent Weeds and Lawn Diseases
Persistent weeds can be a major setback during renovation. Non-selective herbicides may be necessary to fully kill existing vegetation, but they require 5 to 14 days to work effectively. Skipping this step can allow weeds to compete with new seedlings, undermining your entire renovation effort.
Lawn diseases can also impede progress. Look for symptoms like brown patches, fungal growth, or thinning areas. Treat the underlying causes, such as poor air circulation, overwatering, or thatch buildup. This ensures that your new grass won’t inherit the same problems.
Repairing Damage from Pests, Pets, and Environmental Stress
Inspecting your soil for pests is crucial. Look for larvae that could be damaging your grass. Consider targeted treatments during the renovation when the lawn is already being disturbed and reseeded. This proactive approach can help mitigate future issues.
For pet damage, it’s important to recognize that dogs and outdoor play are part of family life. Designate specific areas for play or repair spots affected by urine by thoroughly flushing the soil and reseeding those patches as part of your renovation process.
Environmental stressors like drought, foot traffic, or extreme temperatures can also affect your yard’s health. Use this renovation as an opportunity to select more resilient grass species and improve soil health. This will help your lawn bounce back stronger from future challenges.
Addressing every problem area during your renovation is an investment. This effort will lead to a yard that requires less time, water, and frustration to maintain in the long run. By taking the time to resolve these issues now, you set the stage for a thriving outdoor space.
Maintaining Your Lawn After Complete Renovation for Long-Term Health
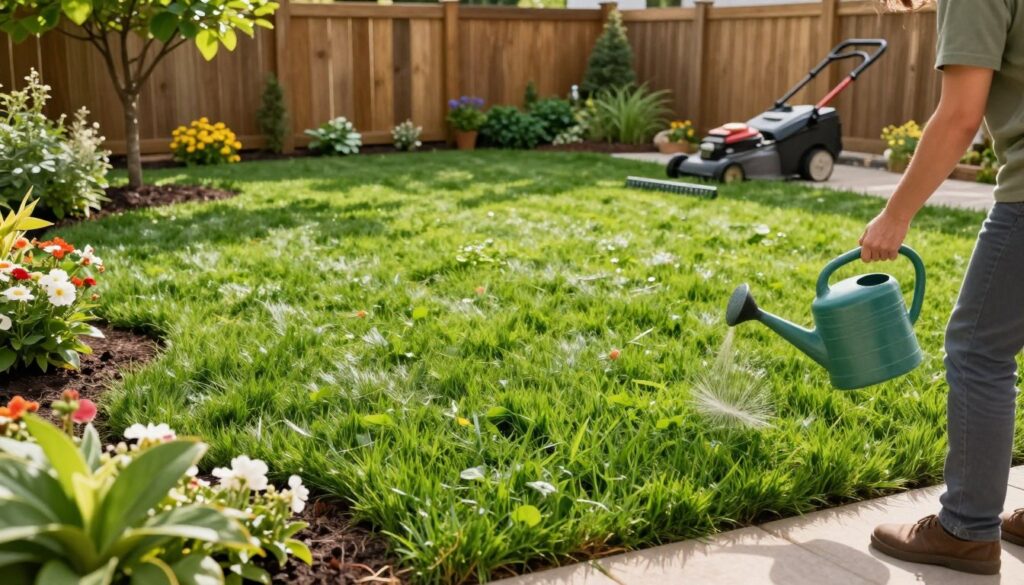
Congratulations on your hard work in transforming your yard! Now that you’ve completed the renovation, it’s time to focus on maintaining your investment. A healthy lawn grows stronger with each passing season, and with the right routine, you can ensure its longevity.
Routine care is essential. It involves proper fertilization, mowing, and watering. By following a few simple guidelines, you can create a thriving environment for your grass.
Routine Lawn Care: Fertilization, Mowing, and Watering
Start with fertilization. Always base your fertilizer choices on annual soil tests. This way, you avoid guesswork and ensure your grass receives the nutrients it needs. Use slow-release nitrogen at rates suitable for your grass type. This helps prevent over-stimulation, which can lead to thatch problems.
Mowing is another crucial aspect. Follow the one-third rule: never cut more than one-third of the grass blade height in a single session. Wait until your new grass reaches nearly three inches tall before the first cut. This approach helps avoid stressing young seedlings.
When it comes to watering, deep and infrequent irrigation is best. This encourages roots to grow deep into the soil, making them more resilient to drought. Shallow, frequent watering can create weak grass that struggles during dry spells.
Preventing and Managing Weeds and Thatch Build-up
A thick, healthy lawn is your best defense against weeds. Early spot-treating of any emerging weeds prevents them from spreading and reduces the need for broad herbicide applications later. This proactive approach saves time and effort in the long run.
Thatch management is an ongoing task. Over-fertilizing with nitrogen and frequent shallow watering contribute to thatch build-up. To combat this, aerate your lawn every year or two. This practice keeps the soil and root zone healthy, promoting robust grass growth.
When to Seek Professional Lawn Care Services
Don’t hesitate to seek professional help when needed. This isn’t a sign of failure; it’s a smart partnership for busy homeowners. Professionals can assist with aeration, overseeding, disease diagnosis, and seasonal maintenance routines.
Companies like St. Clair Landscaping and Irrigation offers satisfaction guarantees and tailored care services. They can help maintain your lawn’s health, ensuring it remains vibrant and resilient. For more information on professional services, check out this link.
Remember, the time you invest in post-renovation care pays off exponentially. With consistent effort, your lawn will become a self-sustaining landscape that requires less intervention over time. Maintenance is not about perfection; it’s about consistency. Even small, regular efforts keep your lawn healthy, green, and enjoyable for family and friends throughout every season.
Conclusion
As you reflect on the journey through this guide, you can feel proud of the knowledge you’ve gained. From assessing your struggling yard to understanding the steps needed for a vibrant transformation, you’ve taken a significant step forward. A thorough renovation is not just about aesthetics; it’s an investment in your home’s curb appeal and your personal enjoyment.
Even the healthiest outdoor spaces need renewal from time to time. The insights you’ve gathered empower you to tackle future challenges with confidence. If you prefer expert assistance, professional lawn care services are available from trusted providers like St. Clair Landscaping and Irrigation and Lawn Pride.
So why wait? Take the first step today. Whether it’s conducting a soil test or marking a renovation date on your calendar, the time to act is now. Remember, a healthy yard can lead to joyful moments—backyard gatherings, children playing, or peaceful mornings with coffee in hand. Your effort will be worth it.