

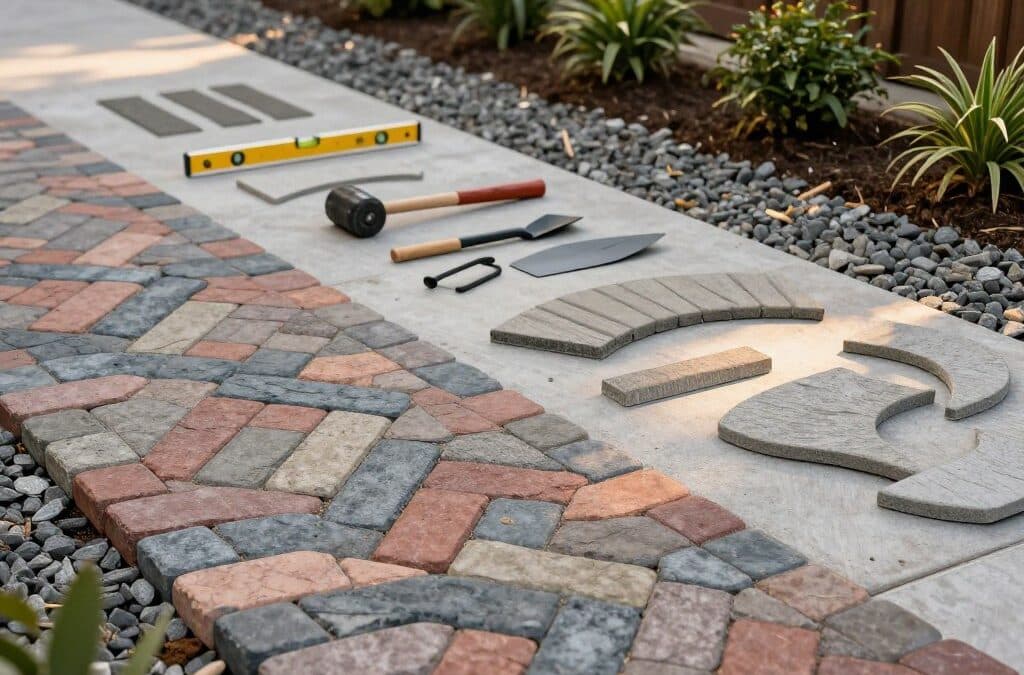
Have you ever wondered how a simple entryway can transform your home’s curb appeal? A well-designed paver walkway not only enhances the beauty of your property but also provides a safe passage for you and your guests. This guide will walk you through the essential steps of installing a stunning walkway, ensuring that your project is both efficient and cost-effective.
In this article, we will explore various installation techniques, suitable materials, and layout patterns that can elevate your outdoor space. Whether you are a seasoned DIY enthusiast or a beginner, understanding the fundamentals of a successful installation will make all the difference. With the right approach, you can turn your vision into reality, creating a functional and attractive entry point to your home.
Key Takeaways
- Learn the basics of walkway installation.
- Understand material options to suit your budget.
- Explore different layout patterns for aesthetic appeal.
- Discover tools and techniques for a successful DIY project.
- Find out how to reuse materials to save costs.
What is a paver walkway and why is proper installation important?
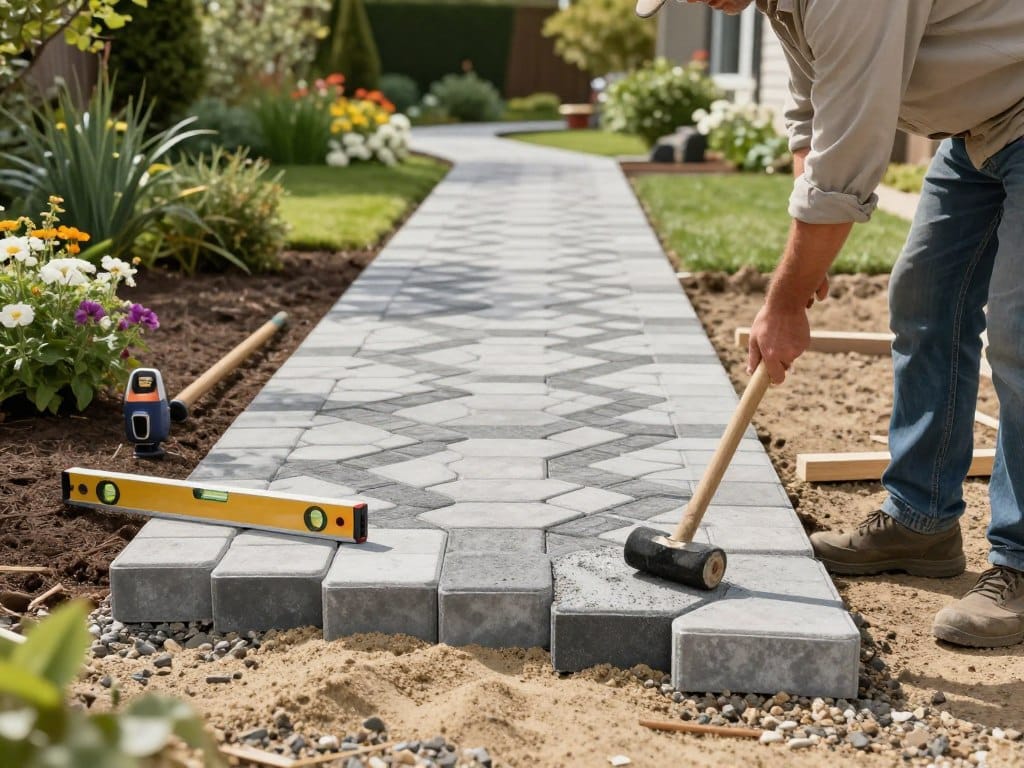
A walkway constructed from pavers is not just a functional path; it’s a beautiful addition to your home’s exterior. Proper installation is crucial to ensure durability and aesthetic appeal. When installed correctly, these walkways provide a safe and attractive passage for you and your guests.
A paver walkway consists of individual stones, often made from concrete or natural materials, arranged in a specific pattern. The main components include:
- Pavers: The individual stones that create the surface.
- Base: A solid foundation that supports the pavers.
- Sand: A layer used for bedding the pavers and filling joints.
- Stones: Additional materials that may be used for drainage or decoration.
Improper installation can lead to several issues. For example, if the base is not compacted correctly, the walkway may settle unevenly. This can cause movement, standing water, and even trip hazards. Inadequate sand bedding can result in loose pavers, which may sink over time. A failed installation often features:
- Excessive sand beneath the pavers, such as 5-6 inches instead of the recommended 1-2 inches.
- Wide joints of 1/2-1 inch, allowing too much movement.
- Pavers that sink more than 2 inches in certain areas, leading to instability.
To avoid these problems, make sure to follow best practices during installation. This will ensure your walkway remains beautiful and functional for years to come.
How do you prepare the base for a durable paver walkway?
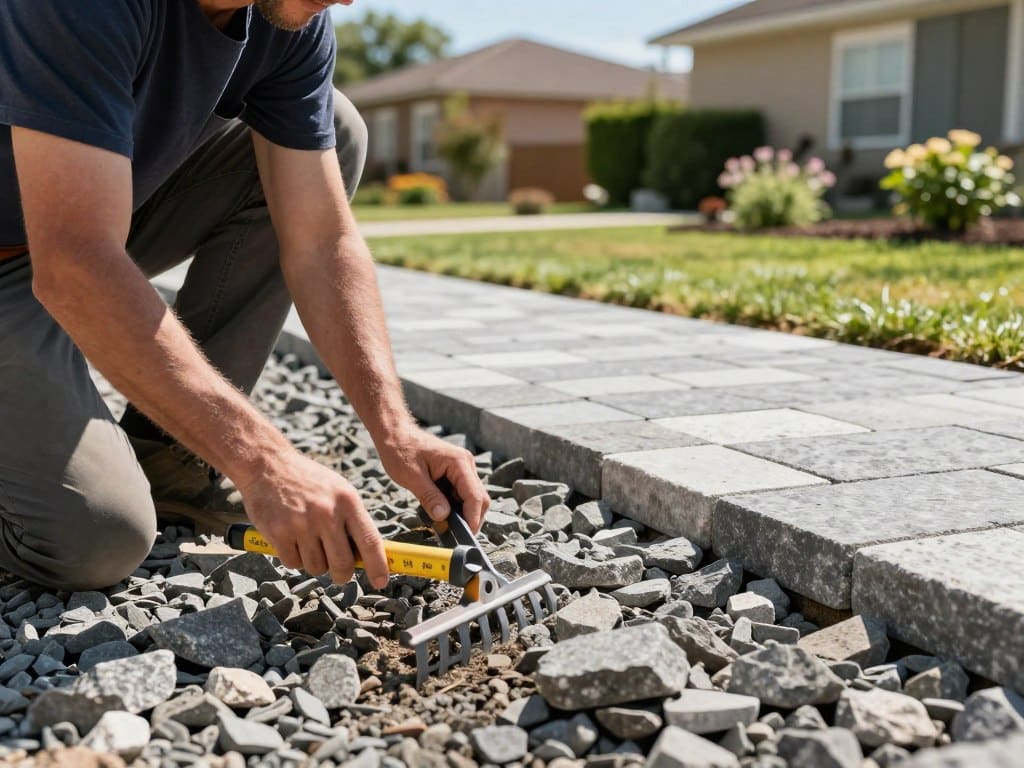
The strength of your entryway begins with the right base preparation. A well-prepared base is essential for ensuring that your path remains stable and visually appealing over time. Follow these steps to create a solid foundation for your project.
Step 1: Demolition and Excavation
Start by removing any existing materials from the area. This includes old sand, gravel, or other debris. Ensure the area is clear and free from any obstructions. Once cleared, excavate the ground to a depth of about 6 to 8 inches. This depth will accommodate the base materials and allow for proper drainage.
Step 2: Base Material Selection and Installation
Choose the right base material for your walkway. A mixture of gravel and crushed stone works well as a paver base. Spread this material evenly across the excavated area, ensuring a thickness of about 4 to 6 inches. Use a rake to level it out, and then compact it using a 14-inch plate compactor. Make sure to compact the base thoroughly to prevent future settling.
Step 3: Sand Bedding
After establishing the base, it’s time to add a layer of sand. Spread approximately 1 inch of sand over the compacted base. This sand will serve as a bedding layer for the pavers. Use a screed board to level the sand, ensuring a smooth and even surface. Proper sand bedding is crucial for the stability of the pavers, allowing them to sit firmly in place.
Keep in mind that weather conditions can affect your installation process. If it rains, allow time for the area to dry before proceeding. Proper drainage is also essential to prevent water accumulation, which can undermine the base. Following these steps will ensure a durable and long-lasting walkway.
What are the best paver patterns and layouts for walkways?

Selecting the right pattern for your stones can greatly enhance the look of your entryway. The choice of layout affects not only the appearance but also the durability and ease of installation. Understanding how to choose a pattern based on traffic, geometry, and cutting difficulty is essential for a successful project.
Comparison Table of Common Paver Patterns
| Pattern | Appearance | Traffic Suitability | Cutting Difficulty |
|---|---|---|---|
| Herringbone | Classic and stylish | High traffic | Moderate |
| Running Bond | Simple and linear | Moderate traffic | Low |
| Basketweave | Intricate and unique | Low to moderate traffic | High |
| Random Pattern | Natural and varied | Moderate traffic | Moderate |
How to Choose a Pattern Based on Walkway Size and Shape
When selecting a pattern, consider the size and shape of your walkway. For narrower paths, a linear design, like the Running Bond, can create an illusion of length. Conversely, wider walkways benefit from patterns like Herringbone, which add visual interest.
Traffic is another crucial factor. High-traffic areas require sturdier patterns, while low-traffic paths can accommodate more intricate designs. Assessing these factors will help you choose the best layout for your project.
Tips to Minimize Paver Cuts
Minimizing cuts can save time and reduce waste. One effective strategy is to widen the path slightly. For instance, increasing the width by 2 inches can significantly decrease the number of cuts needed. This adjustment led to only 20 cuts in a 4 1/2-foot-wide by 20-foot-long walkway using 16-inch by 16-inch stones.
Another method involves marking the center point of your layout with stakes and string. Align the first stones to the center string, then use scrap 2×4 boards as spacers for the surrounding stones. This approach not only improves alignment but also enhances the overall appearance of your walkway.
What tools and materials do you need for DIY paver walkway installation?

Starting your project with the right tools and materials is crucial for success. This section outlines the essential equipment and supplies you’ll need to install your walkway effectively.
Tool List with Purpose
- Shovel: Used to clear the area and remove existing materials.
- Rake: Helps level the ground and remove debris.
- Mattock: Assists in digging and removing stubborn soil or roots.
- Tiller (optional): Loosens soil before base installation.
- Chalk reel: Maps the center and layout of the path.
- Stakes and string: Guides the layout and ensures alignment.
- 14-inch plate compactor: Levels and compacts the base and sand, keeping pavers in place.
- Masonry saw or angle grinder: Cuts paver stones to fit edges.
- Mallet: Drives in edging spikes and secures edging.
- Safety gear: Includes safety glasses, dust mask, hearing protection, and work gloves for protection during installation.
- Utility knife: Useful for cutting materials as needed.
Materials List with Details
- Paver base: Foundation material spread and compacted before laying pavers.
- Paver sand: Used as bedding between pavers to lock them in place.
- Paver stones: The main materials for the walkway, often in a specific size like 16×16 inches.
- Artificial grass: Fills gaps between pavers for a natural look.
- Landscape edging: Installed along the edges to prevent movement and provide support.
- Mulch: For finishing touches around the walkway.
Rental and Purchase Tips
When it comes to acquiring tools and materials, consider renting equipment to save costs. Home Depot offers a range of tools for rent, including the plate compactor needed for leveling. You can reserve tools online or through their mobile app, with options for hourly, daily, or weekly rentals.
Additionally, Home Depot provides project calculators to help estimate the quantity of materials needed for your project. This can be particularly useful for ensuring you have enough paver sand and base material.
Before starting your project, make sure to gather all necessary tools and materials. This preparation will save you time and help ensure a smooth installation process.
How do you install the pavers step-by-step for a stable and attractive walkway?
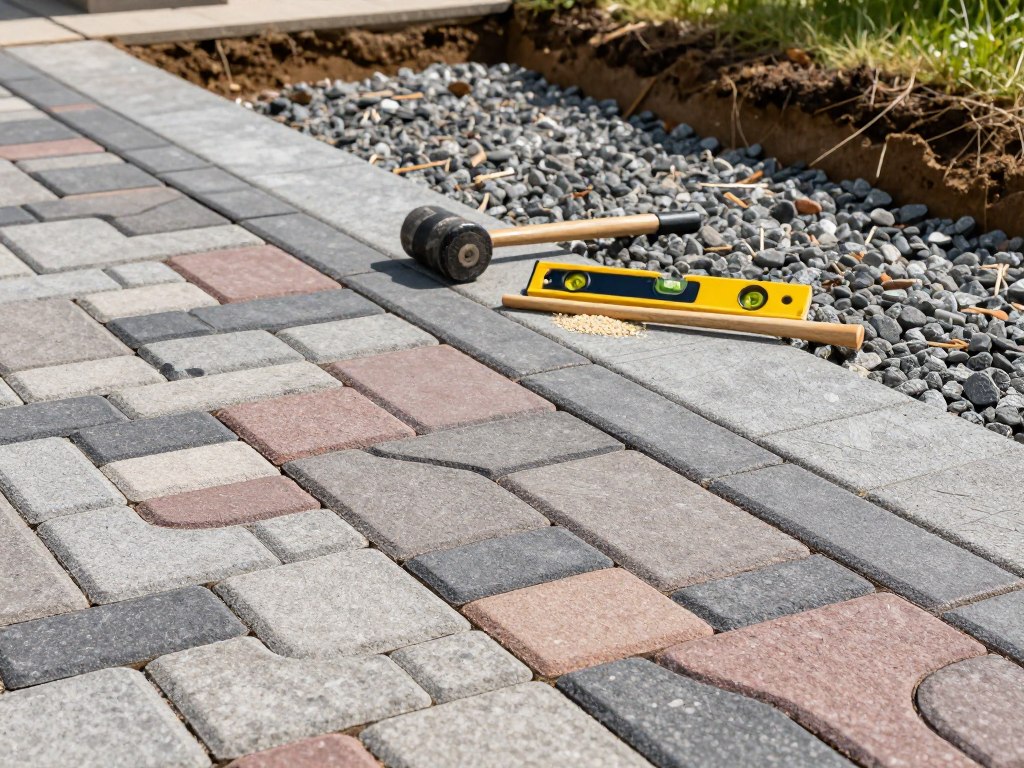
Installing pavers requires careful planning and execution. Following a systematic approach ensures a stable and visually appealing path. Here’s a step-by-step guide to help you through the process.
Step 1: Layout and Marking
Begin by outlining the path using string lines and stakes. This will help ensure that your layout is square. Use the 3-4-5 method to check angles for accuracy. Make sure the path slopes away from your home at about 1/8 inch per foot for proper drainage.
Next, excavate the work area to a depth of around 6 inches, adjusting as necessary for your chosen stones and soil conditions. Remove any sod and lay landscape fabric to prevent weeds while allowing for drainage.
Step 2: Laying Pavers
Start by building a stable gravel base. Spread 4 to 6 inches of gravel and compact it in several passes, ensuring the slope remains consistent. Begin laying the pavers along one straight edge, carefully aligning them with the string lines or edge guides.
Choose a pattern that suits your style, such as running-bond or herringbone. Stagger the joints for better interlock. For a centered layout, use a diamond pattern marked by stakes and string, placing the center pavers first. Maintain consistent spacing with 2×4 screed guides to level the surface before laying.
Step 3: Cutting Pavers
To fit pavers along edges or curves, you may need to cut them. Use a circular saw equipped with a diamond blade for this task. Always wear safety gear while cutting. In one documented installation, about 20 cuts were required, mainly where the path met the driveway and front porch.
Step 4: Sand Filling and Compaction
Install edge restraints along the sides to prevent lateral movement. Use a plate compactor or hand tamper to compact the surface, setting the pavers into the sand bed and eliminating voids. Sweep joint sand across the surface and into all joints, then re-compact to settle the sand deeper into the joints.
After filling, sweep away excess sand and lightly mist the surface with water to activate any polymeric binders. Ensure the joints are tight and check the height of the pavers relative to the surrounding ground, maintaining a slight slope for drainage.
Following these steps will help you achieve a stable and attractive path that enhances your outdoor space. For more detailed guidance, you can check out this installation guide.
| Step | Action | Tools Needed |
|---|---|---|
| 1 | Layout and Marking | String, stakes, measuring tape |
| 2 | Laying Pavers | Gravel, pavers, screed guides |
| 3 | Cutting Pavers | Circular saw, diamond blade |
| 4 | Sand Filling and Compaction | Plate compactor, joint sand |
How can you add grass between pavers and finish the walkway professionally?
Integrating grass between your stones can elevate the beauty of your outdoor path. This design not only enhances the aesthetic appeal but also provides a natural look that complements the surrounding landscape. Follow these steps to complete your project professionally.
Step 1: Installing Artificial Grass
Begin by laying artificial grass over the entire area of your path. Carefully cut around each installed stone to create openings for the grass. Use a utility knife to make initial cuts and finish with scissors for precision. Secure the turf in place with landscape staples to ensure it stays put.
Step 2: Landscape Edging Installation
Next, install no-dig landscape edging around the perimeter of your project. This will help stabilize the edges and prevent any movement of the stones. Use anchoring spikes to secure the edging, especially for smaller cut pieces of grass. This step is crucial for maintaining the integrity of your design.
Step 3: Final Touches
To complete your walkway, add black mulch around the edges and between the stones. This not only provides a clean finish but also enhances the overall look of your landscape. Consider planting hydrangeas and other decorative plants beside the path to create a lush environment. You can use project calculators available at home improvement stores to estimate the amount of mulch and plants needed for your entire walkway.
In conclusion, creating a beautiful entryway involves careful planning and execution. Your project can transform your home’s exterior when you choose the right materials and techniques. Start with a solid base and select the perfect layout for your stones. Remember to utilize tools like a plate compactor and a diamond blade saw for precision and efficiency.
For a successful DIY project, consider these key points:
- Measure your area accurately to avoid excess material costs.
- Rent tools from places like Home Depot to save on expenses.
- Incorporate grass between stones for a natural aesthetic.
- Plan for proper drainage to maintain your walkway’s integrity.
Frequently Asked Questions
Q: What are the core steps to plan a walkway installation?
A: Set goals, evaluate sun and soil, decide on a style, plan layout, and determine lawn size.
Q: How does material choice affect maintenance?
A: Permeable options improve drainage; durable materials like brick work well for high-traffic areas.
Q: How should drainage be handled?
A: Direct water away from the home using swales or buried drains to prevent erosion.
Q: What privacy considerations should I keep in mind?
A: Use hedges or fencing to guide foot traffic while maintaining visibility and curb appeal.